Ronin-S
User Manual
6
©
2019 DJI OSMO All Rights Reserved.
Ronin-S
User Manual
6
©
2018 DJI OSMO All Rights Reserved.
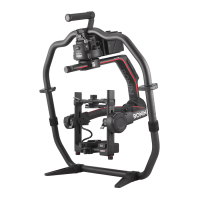
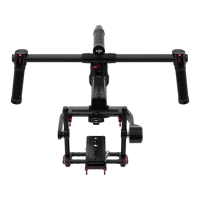
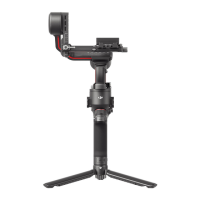
Mounting the Camera
Camera Size Requirements
The maximum depth from the center of gravity on the camera base plate is 98 mm.
The maximum height, measured from the top of the camera base plate is 150 mm. The
maximum width is 205 mm.
Make sure the camera is powered off during installation.
It is recommended to use soft connection cables to avoid obstructing camera
movement.
Supported Cameras and Lenses
Please refer to Ronin-S product page (www.dji.com/ronin-s) for most updated Ronin-S
Camera Compatibility List.
Camera Connections
The camera control button accesses different functions depending on the camera model.
Connect a provided camera control cable to the RSS port on the gimbal and camera.
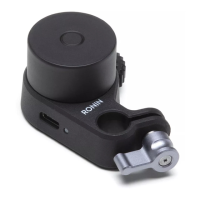
1. Connect the RSS-IR Control Cable to the RSS port on the gimbal, and then point the
infrared light to the camera’s receiver as shown below. You can use the small hook
and loop strap to secure the RSS-IR Control Cable to the gimbal. The gure shown
below takes the Canon 5D Mark III as an example. Please adjust the infrared light
position according to your camera type.
2. Connect the Multi-Camera Control Cable (Type-C) to cameras with a USB-C port.
3. Connect the Multi-Camera Control Cable (Type-B) to cameras with a Micro USB port.
After completing the camera connection and settings, press halfway to auto focus,
as you would for the shutter button on most DSLR cameras; press once to start/
stop recording; press and hold to take a photo. Please refer to the Ronin-S Camera
Compatibility List for details.
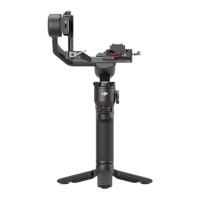
Mounting the Camera
Camera Size Requirements
The maximum depth from the center of gravity on the camera base plate is 98 mm.
The maximum height, measured from the top of the camera base plate is 150 mm. The
maximum width is 205 mm.
Make sure the camera is powered off during installation.
It is recommended to use soft connection cables to avoid obstructing camera
movement.
Supported Cameras and Lenses
Please refer to Ronin-S product page (www.dji.com/ronin-s) for most updated Ronin-S
Camera Compatibility List.
Camera Connections
The camera control button accesses different functions depending on the camera model.
Connect a provided camera control cable to the RSS port on the gimbal and camera.
1. Connect the RSS-IR Control Cable to the RSS port on the gimbal, and then point the
infrared light to the camera’s receiver as shown below. You can use the small hook
and loop strap to secure the RSS-IR Control Cable to the gimbal. The figure shown
below takes the Canon 5D Mark III as an example. Please adjust the infrared light
position according to your camera type.
2. Connect the Multi-Camera Control Cable (Type-C) to cameras with a USB-C port.
3. Connect the Multi-Camera Control Cable (Type-B) to cameras with a Micro USB port.
After completing the camera connection and settings, press halfway to auto focus,
as you would for the shutter button on most DSLR cameras; press once to start/
stop recording; press and hold to take a photo. Please refer to the Ronin-S Camera
Compatibility List for details.