6
©
2014 DJI. All Rights Reserved.
Installation
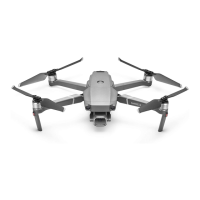
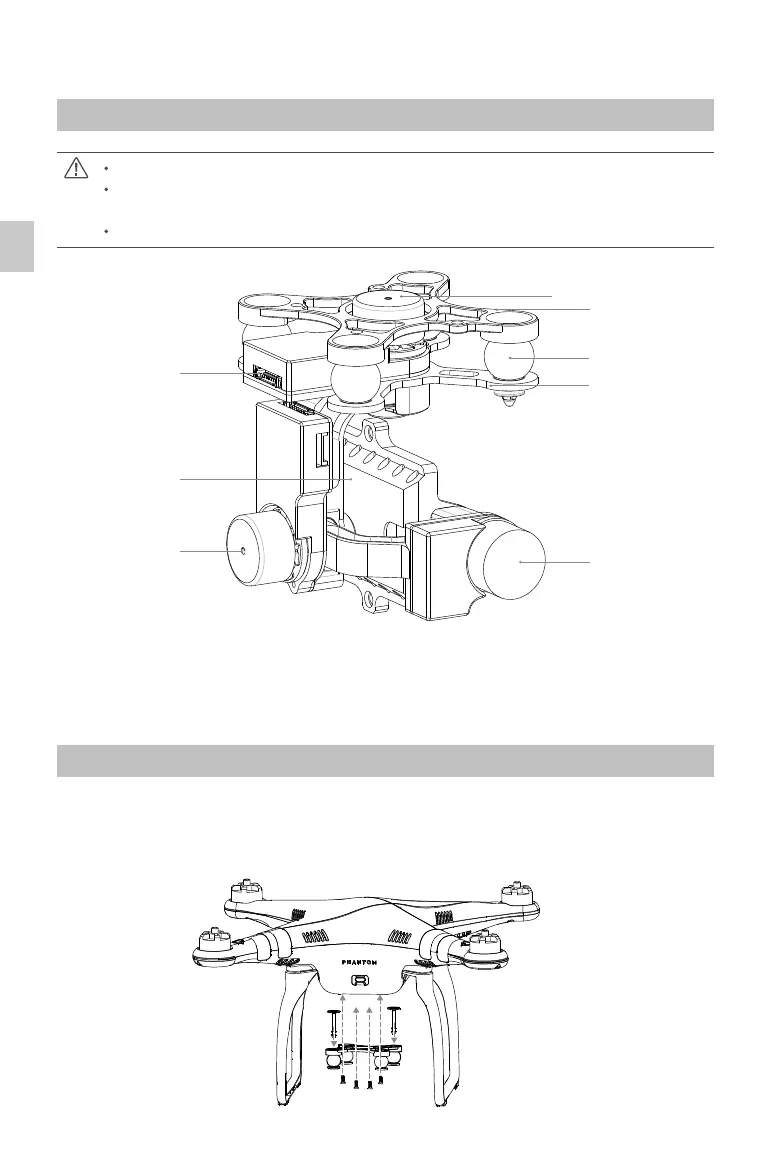
Gimbal Description
Ensure the gimbal servos are unobstructed, otherwise they may be damaged during operation.
If the gimbal becomes obstructed during operation, power off and clear all obstructions
immediately.
Always mount the camera before powering on the gimbal.
[
1
]
[
2
]
[
3
]
[
4
]
[
5
]
[
6
]
[
7
]
[
8
]
[1] Yaw servo driver module
[2] Upper plate of the damping unit
[3] Vibration absorbers
[4] Bottom plate of the damping unit
[5] Tilt servo driver module
[6] Roll servo driver module
[7] Camera mount
[8] 8
-
pin connector port (to GCU/Phantom 2)
Installing H3-3D onto a Phantom 2
Follow the instructions below to install the H3-3D gimbal onto a Phantom 2. You can also install
the H3-3D onto other aircraft.
1. Insert the securing pins into the holes on the upper plate of the damping unit as shown
below. Then, attach the upper plate of damping unit to the Phantom 2 with four M3x5 screws.
Installation
 Loading...