8
EN
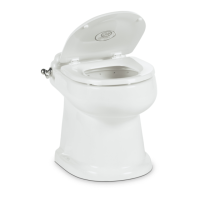
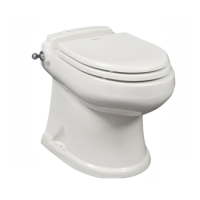
Installation Full Ceramic Gravity Discharge Toilet
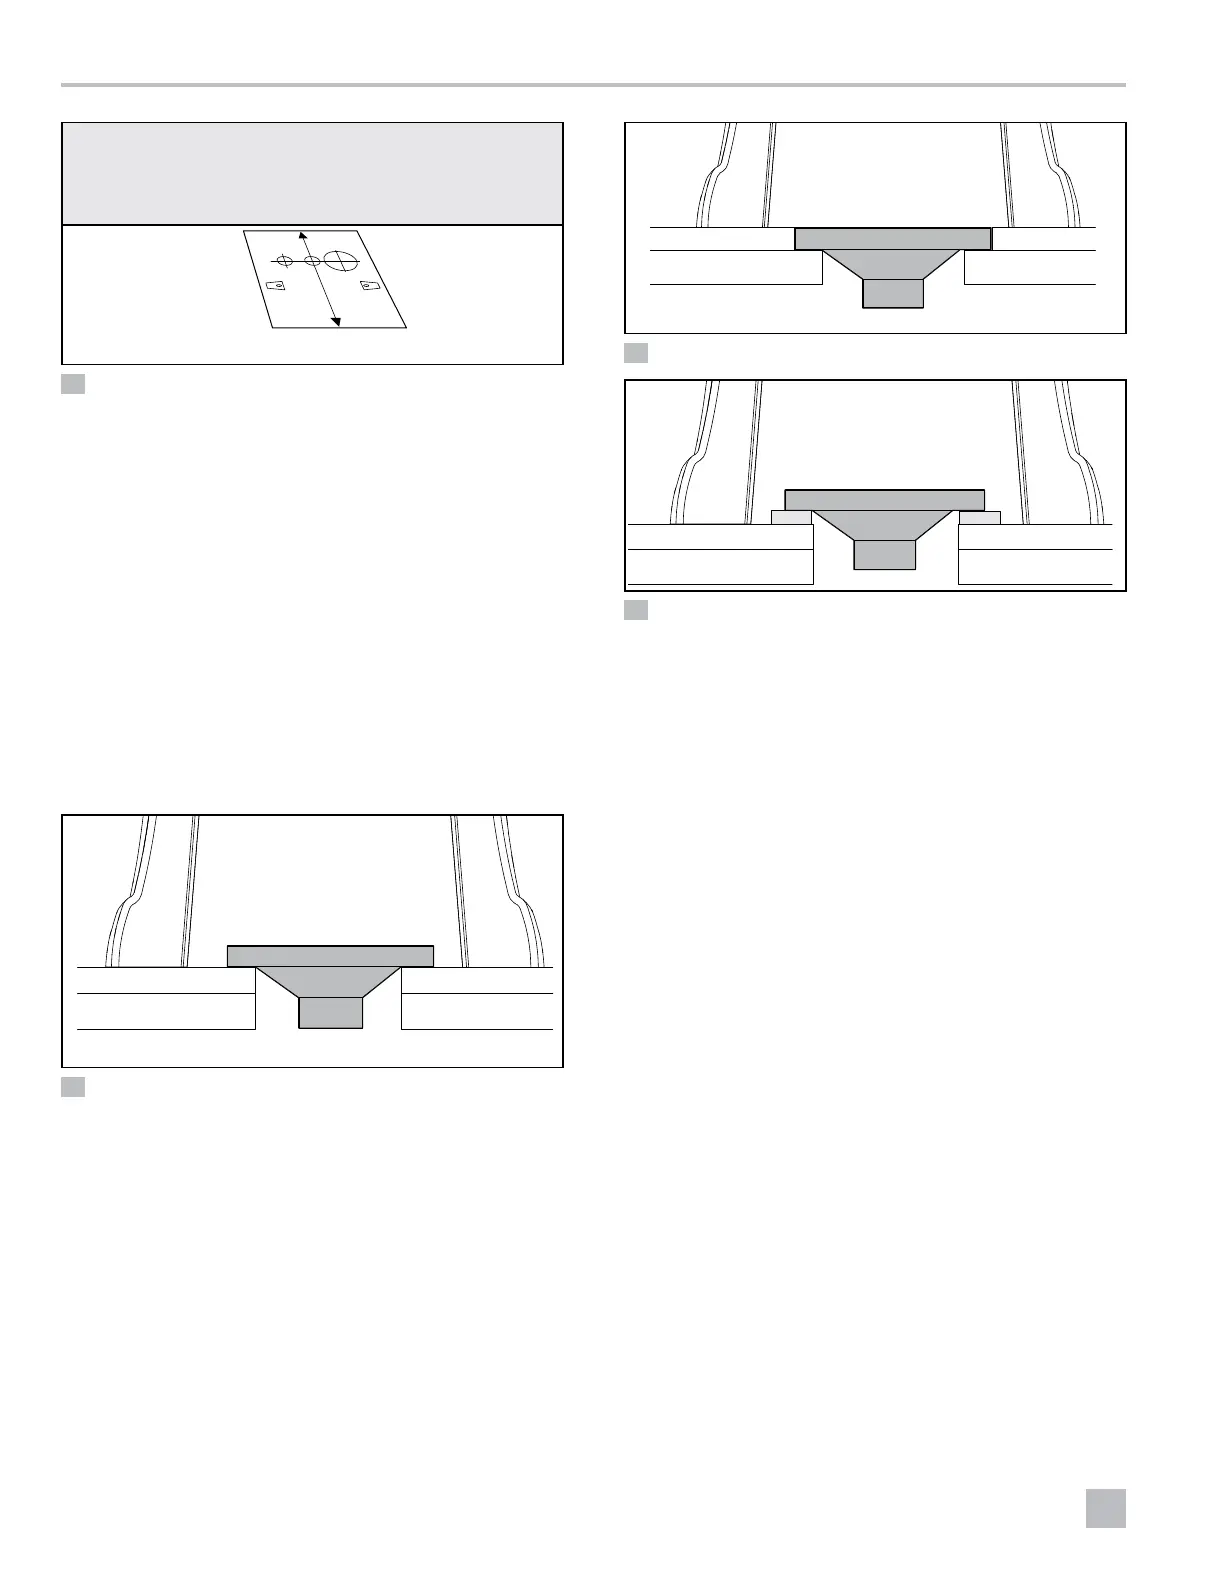
6 6500 Series: Mounting Template
2. Drill all access and fastener holes, except the
discharge hole, as appropriate to your installation,
using the center punches as guides.
3. Repeat these steps using the wall switch template
(included in wall switch manual). Drill a 1.0 in. (25
mm) diameter hole.
5.2 Installing the Discharge Flange
This section describes how to install the discharge
flange.
1. Determine your installation option before cutting the
discharge hole.
q
w
e
r
7 Preferred Floor Flange Installation Option
q
Floor Flange
e
Floor
w
Toilet Base
r
Sub-Floor
I
The space between the bottom of the toilet base
and the bottom of the floor flange rim should be no
greater than 0.38 in. (10 mm).
q
w
e
r
8 Below-Floor Installation
q
w
e
t
r
9 Above-Floor Installation
q
Floor Flange
r
Sub-Floor
w
Toilet Base
t
Spacer
e
Floor
2. Cut out the discharge hole.
I
Confirm your flange size before cutting. Make a
4.75 in. (121 mm) discharge flange hole for most
floor flanges. Some flanges will require a larger
diameter hole. A 5.125 in. (131 mm) hole is
recommended for swivel joint flanges.
3. Insert the floor flange into the discharge hole and
secure the flange to the floor using #12 x 3/4 in.
(19 mm) flat-head wood or sheet metal screws.
5.3 Installing the Floor Brackets
I
6500 Series Only
This section describes how to secure the floor brackets
that hold the toilet in place.
 Loading...