4
1. PINCH HAZARD. Maintain a
horizontal distance of at least 16″ between fully
open awning and any permanent object. Failure
to obey this caution could result in injury.
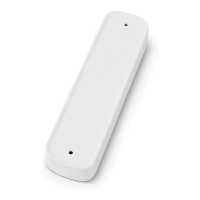
Press and hold toggle up (extend) on awning
switch until awning extends to its out position.
See (FIG. 1).
Awning will stop when button is released
no matter how far awning is extended / re-
tracted.
Switch
Appearance
May Vary
OFFON
Stop ONON
Track and LED Switches
Awning Switch
FIG. 1
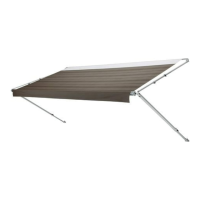
2. IMPACT OR CRUSH HAZARD.
Do NOT allow awning to remain in over-extend-
ed position as this could trap heavy debris, or
could cause water to pool or snow to accumu-
late on awning fabric. This weight will cause aw-
ning to become unstable, and bend or collapse.
Failure to obey this warning could result in death
or serious injury.
Verify valance is in correct position, and adjust
if necessary. If awning is over-extended, press
toggle down (retract) briey on awning switch
until valance is in correct position. See (FIG. 1)
& (FIG. 2).
FIG. 2
Wrong Position.
Awning Is Over-
Extended With
Valance Rope
Behind Roller
Tube.
Correct Position.
Awning Is
Extended
Correctly With
Valance Rope
At Top Of Roller
Tube.
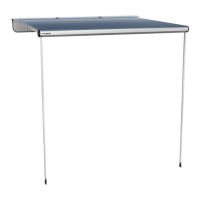
OPEN AWNING
SET AWNING POSITION
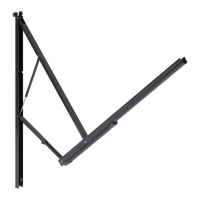
A. Adjust Awning Pitch (Optional)
The FRTA (fabric roller tube assembly) will be lower
than RV’s awning rail when hardware is fully ex-
tended. This pitch (slope) will help accommodate
water runoff. If a steeper pitch is desired, the FRTA
must be lowered.
To lower FRTA:
1. With awning fully extended, loosen adjustable
knob on adjustable pitch arm assembly (bottom
arm). See (FIG. 3).
2. Press in on spring loaded button on right side of
adjustable pitch arm assembly to allow adjust-
ment. See (FIG. 3) & (FIG. 4).
 Loading...