31
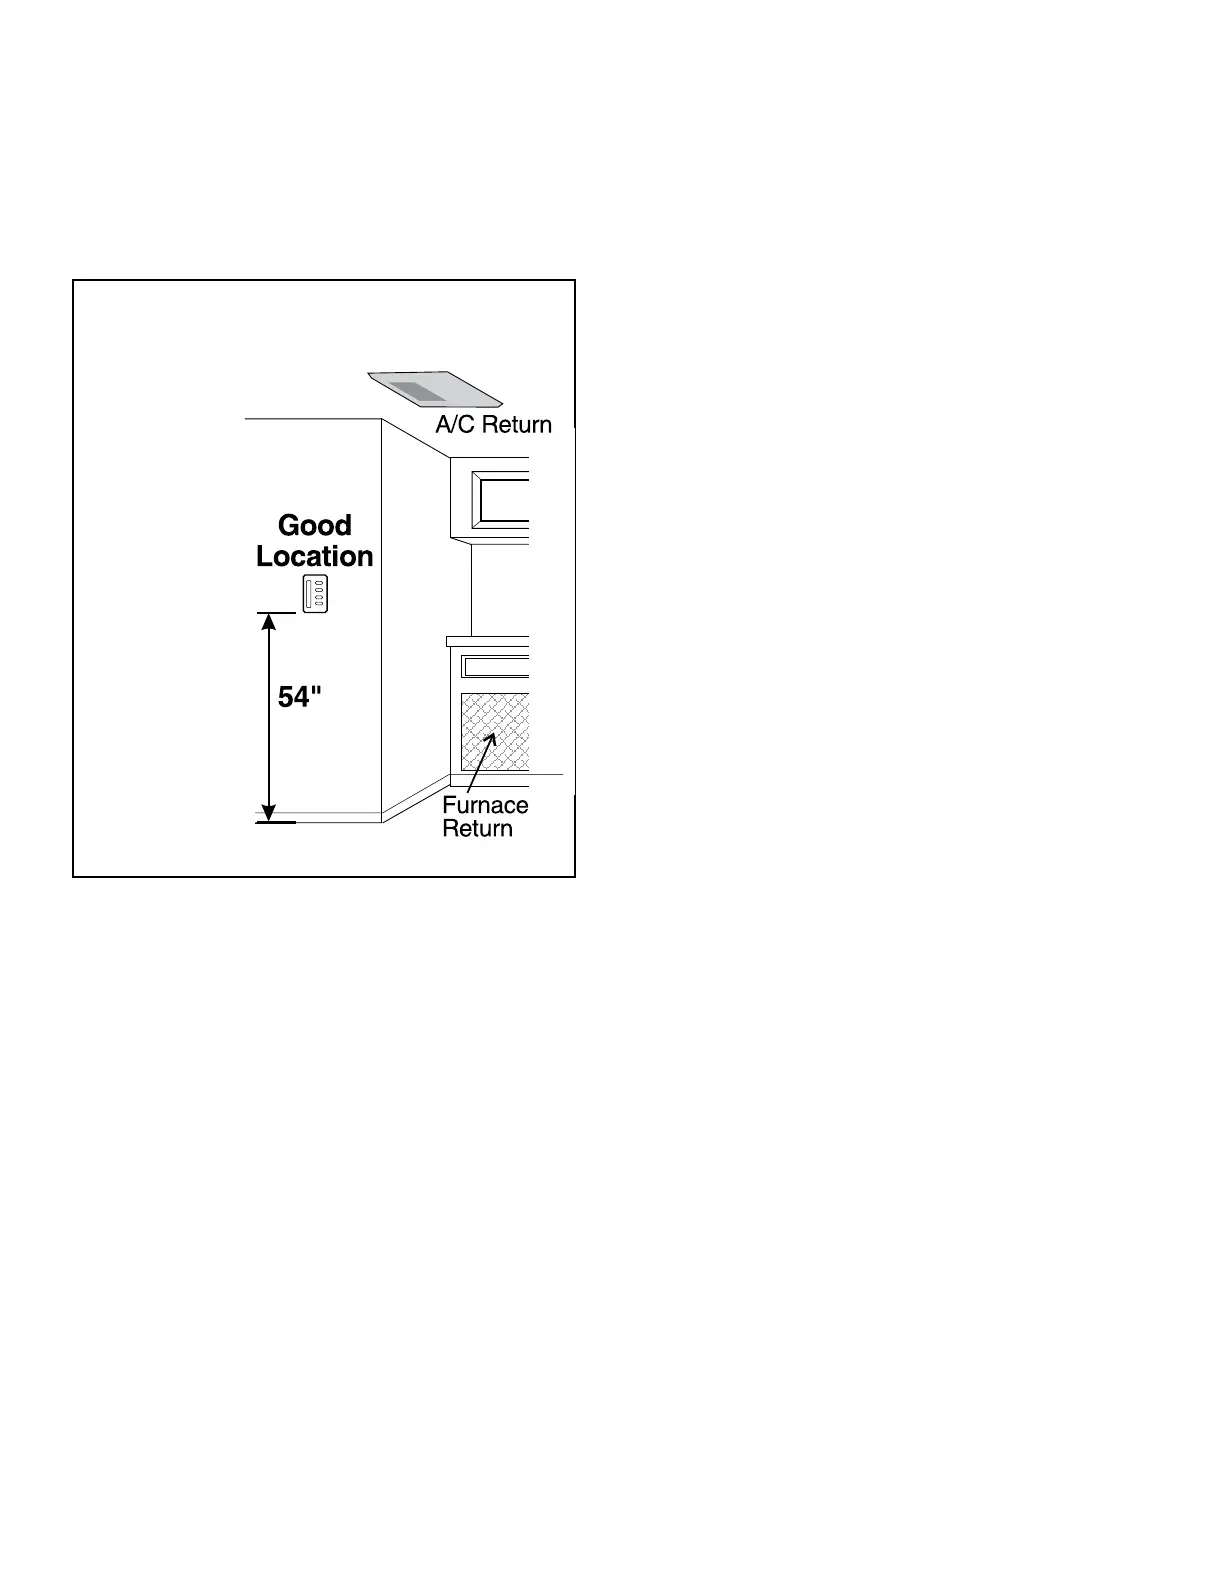
The proper location for the thermostat or remote sensor
is 54″ from the oor and on an inside wall. It should be
located where it cannot be affected by heat from the sun,
lamps, ovens, etc., or other sources of draft. Locations
close to entry doors and windows should be avoided. The
discharge from registers blowing directly on the thermo-
stat or remote sensor can cause the systems to short-
cycle and should be avoided.
Example of
Good Thermostat Location
(Interior Hallway Wall)
Section 8
Other
8.1 Ambient Temperature
Running the air conditioner or heat pump in the air condi-
tion mode at a temperature below 75° degrees Fahrenheit
may cause the inside coil (evaporator) to freeze up in the
cooling mode. The most common time for this to occur
is at night. Even after the ambient temperature has gone
up, the coils will remain frozen. To assist the defrosting of
the coil, turn the air conditioner to HI FAN mode; set the
temperature selector to a higher (warmer) setting and let
the air conditioner or heat pump fan run until the coils are
defrosted. Temperatures below 32° F. (Comfort Control
Center system) or 40° F. (mechanical changeover thermo-
stat) will turn off the operation of the heat pump system. It
is recommended the auxiliary heat (furnace) be used if the
temperatures are subject to dropping below this outdoor
temperature. Running of the heat pump in ambient tem-
perature above 70° F. will cause the system amperage to
increase. Popping of circuit breakers or compressor cy-
cling on overload would be common.
8.2 Heat Gain
cooking etc. Other factors to be taken into consideration
as possible heat gain causes are the size of the air con-
ditioner relative to the size of the coach; the “R” factor of
insulation; and the size and placement of window. Start-
ing the air conditioner early in the morning and giving it
a “head start” on the expected high outdoor ambient will
greatly improve its ability to maintain the desired indoor
temperature. For a more permanent solution to a high
heat gain, accessories like A&E outdoor patio and win-
dow awnings will reduce heat gain by removing the direct
exposure to the sun. They also add a nice area to enjoy
company during the cool of the evening. The manufactur-
er of the RV should be consulted for recommendations.
8.3 Blower Wheel or Fan Noise
The blower motor will have either a squirrel-cage or blade
type fan attached for moving the air. Turn the air condi-
tioner circuit breaker to OFF. Check and adjust the com-
ponent to make sure it is not rubbing against the bulk-
head. If it is a blade-type fan, the blades should be half
through the opening for proper operation. Check mount-
ing bracket on motor and base pan to bracket for bending,
tweak as needed. Replace the blade fan or squirrel-cage
if necessary.
8.4 Water Leakage
When troubleshooting a water leakage condition on an air
conditioner, it is important to know what conditions exist
when the leakage occurs. Does the leakage occur only
when the air conditioner is running, when fan cycles off,
only when it rains, or only during very high humidity condi-
tions? Once these conditions are known, the actual prob-
lem can be determined.
Leakage occurs only when air conditioner is running.
This is the most common type of complaint for a leakage
problem. All of these complaints are due to condensate
water not draining properly from the roof after it has left
the air conditioner, or condensate water not draining prop-
erly from the air conditioner. The unit must be installed on
a roof which allows water to drain away. Check the roof
around the unit to make sure water will drain away prop-
erly. If in doubt, stretch a string across the top of the RV.
If the string shows a low spot in the area of the unit, this
must be corrected. Check mounting gasket for any dam-
age such as torn, compressed or trapped material un-
der the gasket (i.e. screws, wood chips, metal shavings)
which could allow water to seep inside. If any of the above
conditions are found, install a new 14″ x 14″ gasket. When
attaching the unit to the roof, tighten the mounting bolts
only enough to compress the mounting gasket to 1/2 inch
(40 inch pounds of torque). DO NOT OVER-TIGHTEN the
mounting bolts as you may damage the unit base. Once
the unit has been installed, the mounting gasket will retain
its installed thickness. If the unit is removed for inspection
or service, avoid a future problem by installing a new 14″
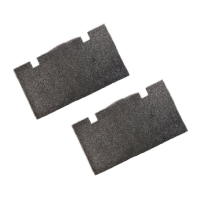
x 14″ gasket when you reinstall the unit. Seven styrofoam
blocks have been placed on the underside of the base
pan. The styrofoam blocks provide an even support for
the base pan which prevents it from bending and warping
during installation.
Heat gain can be caused by several factors; A hot, humid
and sunny day; a large number of people in the coach;
frequent opening of the door; excessive showering and
 Loading...