8
EN
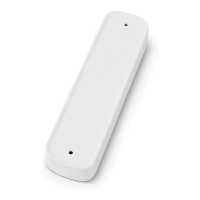
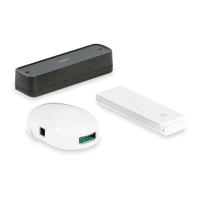
Installation Wireless Remote Control/Receiver & Wind Sensor
2. Remove the wind sensor cover.
3. Continue with either “Installing the Wind Sensor for
the 9200 and 9500” on page8 or “Installing the
Wind Sensor for the 9100” on page8.
7.2.1 Installing the Wind Sensor for the
9200 and 9500
This section describes how to complete a wind sensor
installation for the 9200 and 9500 awning series only.
q
w
e
r
y
t
u
7 Installing the Wind Sensor for the 9200 and 9500
q
Top Casting
t
#11 Holes
w
2 in. Measurement
y
Le Hardware
Front Channel
e
Pop Rivets
1
r
Wind Sensor Base
u
Existing 1/4-20 Screw
1
Installer-Supplied
1. Using the top hole in the le hardware front channel
as a reference, measure down two inches.
2. Mark the mounting hole locations using the wind
sensor base as a template.
3. Drill two #11 holes at the marked hole locations in the
le hardware front channel.
4. Use the installer-supplied pop rivets to attach the
wind sensor base to the le hardware front channel.
5. Continue with “Completing the Wind Sensor
Installation for all Awnings” on page9.
7.2.2 Installing the Wind Sensor for the
9100
This section describes how to complete a wind sensor
installation for the 9100 awning series only.
w
q
r
e
u
t
y
8 Installing the Wind Sensor for the 9100
q
1/4-20 x 3/4” Screw
y
Right Hardware
Front Channel
w
Lock Washer
e
Pop Rivet
1
u
Top Mounting
Bracket
r
Wind Sensor Base
t
#11 Hole
1
Installer-Supplied
1. Remove and reuse the 1/4-20 x 3/4” screw and lock
washer on the right hardware front channel to install
the wind sensor base.
2. If using a secondary securement (installer-supplied
pop rivet):
a. Open the awning far enough to remove the top
wire cover from the front channel.
b. Remove the wire cover to the motor wire and pull
the motor wire out of the way to avoid damage.
c. Reconnect the motor wire and replace the wire
cover aer mounting the wind sensor base.
3. Continue with “Completing the Wind Sensor
Installation for all Awnings” on page9.
 Loading...