Dometic Smart D Connecting and installing Dometic Smart D
43
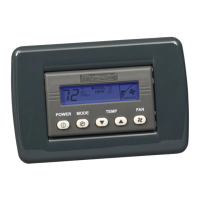
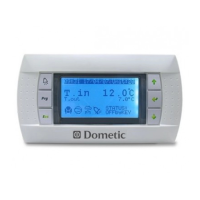
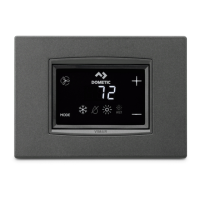
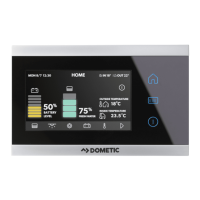
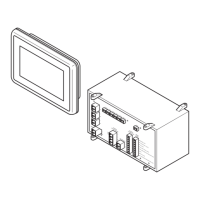
6.2 Connecting and installing the display
Install the display as follows:
➤ Prepare a recess in the wall measuring 187 x 126 mm and 43 mm in
depth (fig. 3, page 4).
I
➤ Attach the display using the four short screws and fastening hooks
supplied (fig. 4, page 4).
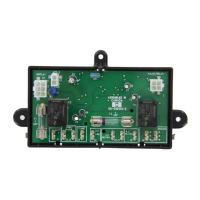
Connect the display as follows (fig. 5, page 5):
➤ Insert the green 9 pin plug into socket1 and screw tight.
➤ Insert the yellow 9 pin plug into the socket2 and screw tight.
➤ Connect the red cable on the end of the green 9 pin plug to +12 V
➤ Connect the black cable on the end of the green 9 pin plug to earth.
➤ Connect the white cable to an I/O card.
➤ Using a screwdriver attach the cables for the display's 12 V power supply
in the green plug connector:
– Socket 3: Plus
– Socket 4: Minus
➤ If you have an ALDE heater installed in your vehicle: Connect the white
plug on the end of the grey cable (5) to the ALDE heater.
NOTE
The maximum thickness of the mounting plate must not exceed
11 mm.