ENGLISH
9
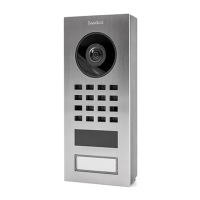
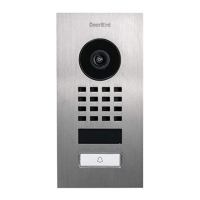
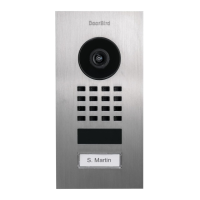
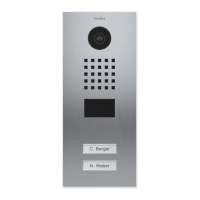
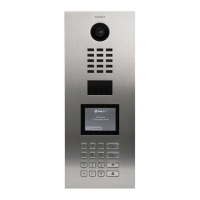
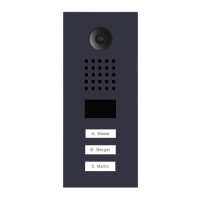
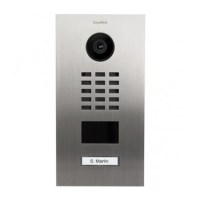
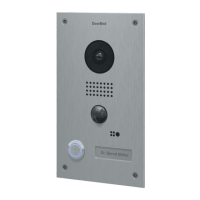
Flush-mounted models Surface-mounted models
. ASSEMBLING THE FRONT PANEL
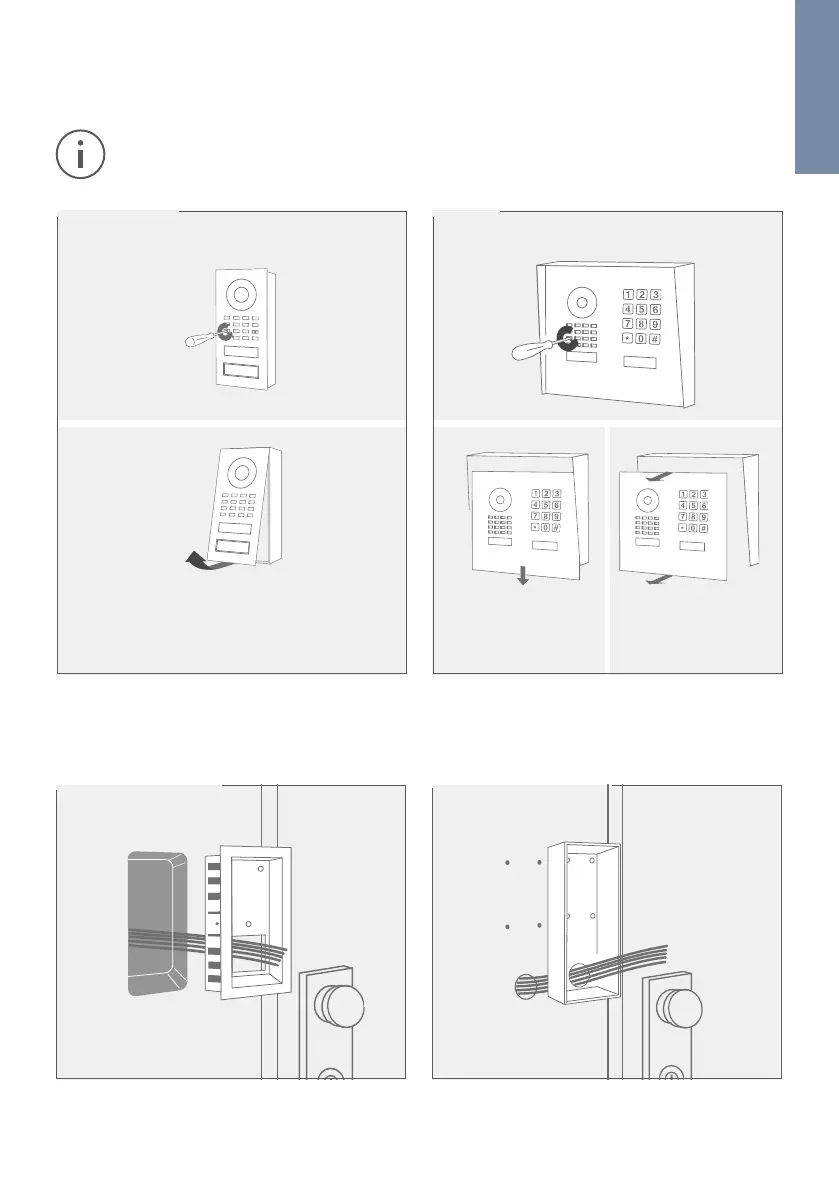
Remove the front panel with the attached Main Electrical Unit carefully from the mounting housing (backbox)
using the screw driver provided.
We have designed the front panel and safety screws in a way that they cannot be screwed through the
front panel so that they do not fall off / get lost during installation.
. MOUNTING
Lead all cables and wires you want to connect to the device through the mounting housing.
Pull down the front
panel.
Pull the front panel with
attached Main Electrical
Unit out of the mounting
housing (backbox).
Turn the safety screws counter-clockwise until
they are loose.
D1101V & D1102V D1101KH
Turn the safety screws counter-clockwise until
they are loose.
Pull the front panel with attached Main
Electrical Unit out of the mounting housing
(backbox).
 Loading...