DORMA
WN 056722 45532
10/08
ES 200
Easy
ES 200
ES 200-2D
Fixing instruction
Insert light barriers into profile slots.
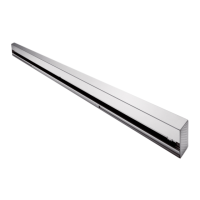
Screw down profiles to building / side screen.
Assemble the sliding panels.
Adjustment of sliding panels
Set the floor or floor guide clearance at the
sliding panel to 6 mm.
- Relax brackets of main and secondary closing
edge
- Adjust height with hexagon nut
- Screw down tight.
- Open the door and make sure that the centre
seals are parallel with the side screens.
- Close the door and then open again a few
millimetres. Check the gap between the centre
seals over its entire height to ensure good
parallelism.
Adjustment of derailment guard
Release the derailment guard of the roller carriers
and adjust.
- Undo the bolts in the diagonal oblong holes of
the carriers
- Adjust the derailment guard to a clearance
of 0.5 mm with respect to the track rail and
mounting girder.
- Check for smooth running and re-tighten bolts.
Adjustment of end stops and opening width
- Insert end stops.
- Move both sliding panels manually to the full
opening width and secure in this position.
- Move the end buffers along to meet the sliding
panels and screw down tight.
Adjustment of closing edge to centre point of the door
set (AM)
Viewed from the inside:
Determine the centre point of the door set (AM).
- Relax the connection between the carrier and
toothed belt on the left sliding panel.
- Move both sliding panels manually until the
closing edge (SK) coincides with the door set
centre (AM).
- Re-tighten the connection between the carrier
and the toothed belt.
In order to correct major discrepancies between
SK and AM,
- move the toothed belt one or more tooth pitch
along as explained in the drawing.
51
03
46A
46B
47a
47b
48
49
50a
50b
50c
52a
52b
53