ED50/ED100/ED250 2DL4615-015
www.dormakaba.com
T: 717-336-3881
12-2019
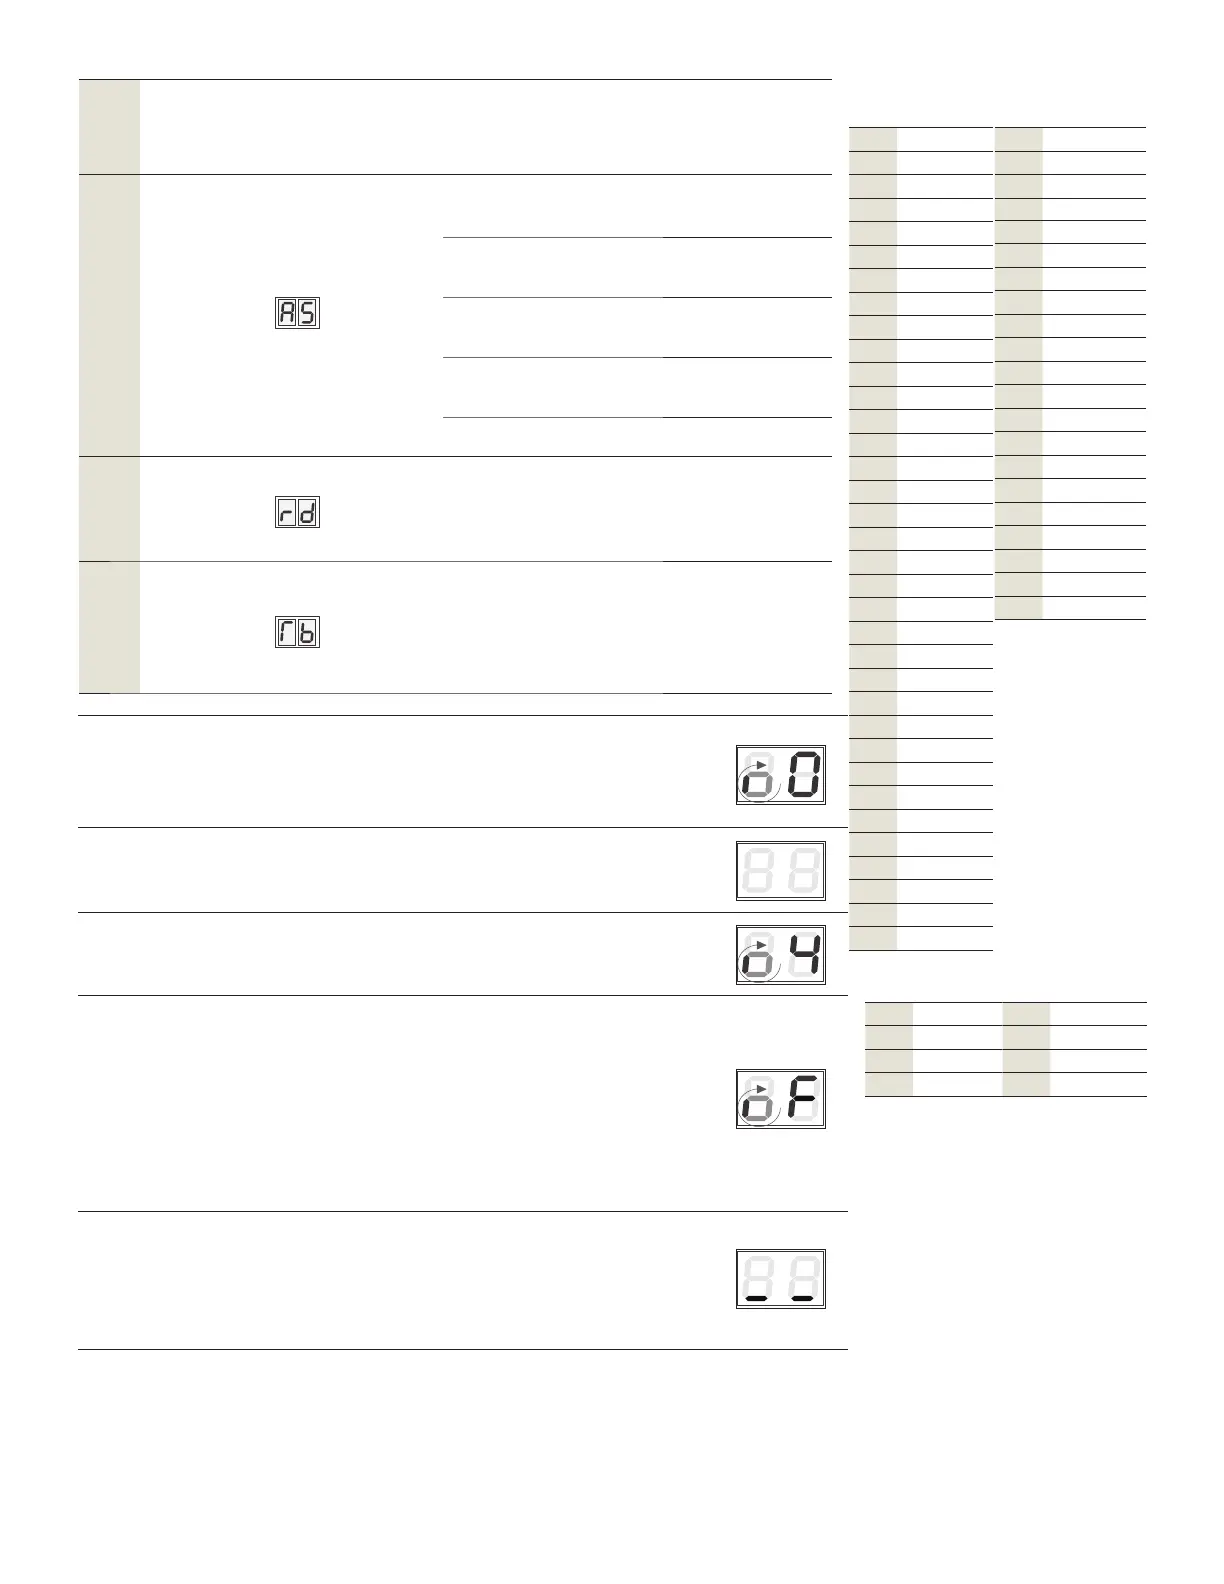
Step
Configuration
Parameter
Range
Factory
Settings
* Factory setting.
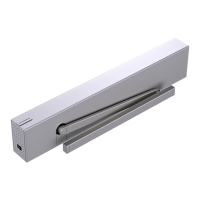
Installation
type
-
0*
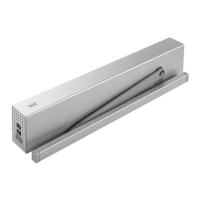
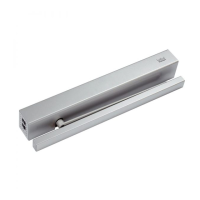
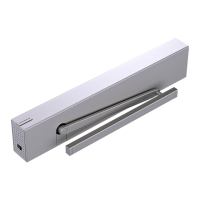
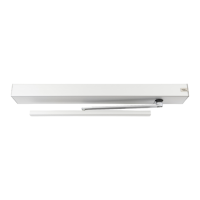
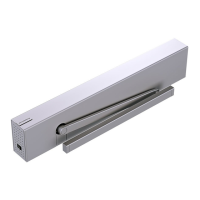
Pull arm with track, wall mounting
on pull (hinge side).
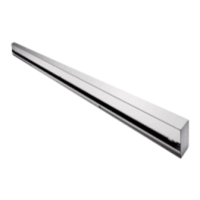
Press arm, wall mounting on
approach (non-hinge side).
Press arm with track, wall mounting
on approach (non-hinge side).
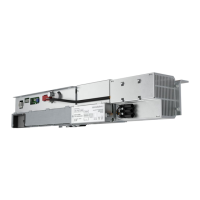
Overhead concealed (OHC) right
hand.
Overhead concealed, left hand.
Reveal
depth
ED/
- to
ED
- to
0*
Reveal depth rd is set in increments
of mm (/”).
Example: = mm ( /”)
Door width
ED/
to
ED
to
10*
The astragal is included in the door
width.
Door width Tb is set in increments
of mm (”).
Example: = mm (”).
Reveal depth rd
Door width Tb
Learn Cycle: a ““ displayed on the right side and a rotating segment
on the left indicates the unit is ready for a learn cycle.
• To start the learn cycle, press and hold the bottom button for
until the display changes (approximately three seconds).
The door will make several movements and the display will cycle
through several letters and numbers.
When the display stops at “” push the door open to the desired
opening angle between and degrees, then let go of the door
and press the bottom button to continue the learn cycle.
The operator will complete the learn cycle.
• When finished, there will be two horizontal bars side by side on the
display.
• You can now continue with the programming and customize the
door as desired.
rd
Inches
- - /
- -/
- -/
/
/
/
/
/
/
/
/
/
/
/
/
/
/
/
/
/
/
/
/
/
/
/
/
/
/
/
/
/
Tb
Inches
Tb
Inches
rd
Inches
/
/
/
/
/
/
/
/
/
/
/
/
/
/
/
/
/
/
/
ED50/ED100/ED250 ED250
If the door closes and an “F” is displayed, this is an indication
that the spring force is too low.
. Turn off the power.
. Increase the spring force.
• The spring should have a minimum of turns and a
maximum of to turns ( on ED).
. Restart the learn cycle. Press and hold the bottom button
until the display changes (approximately three seconds).
 Loading...