CONTACT US AT www.DRpower.com 9
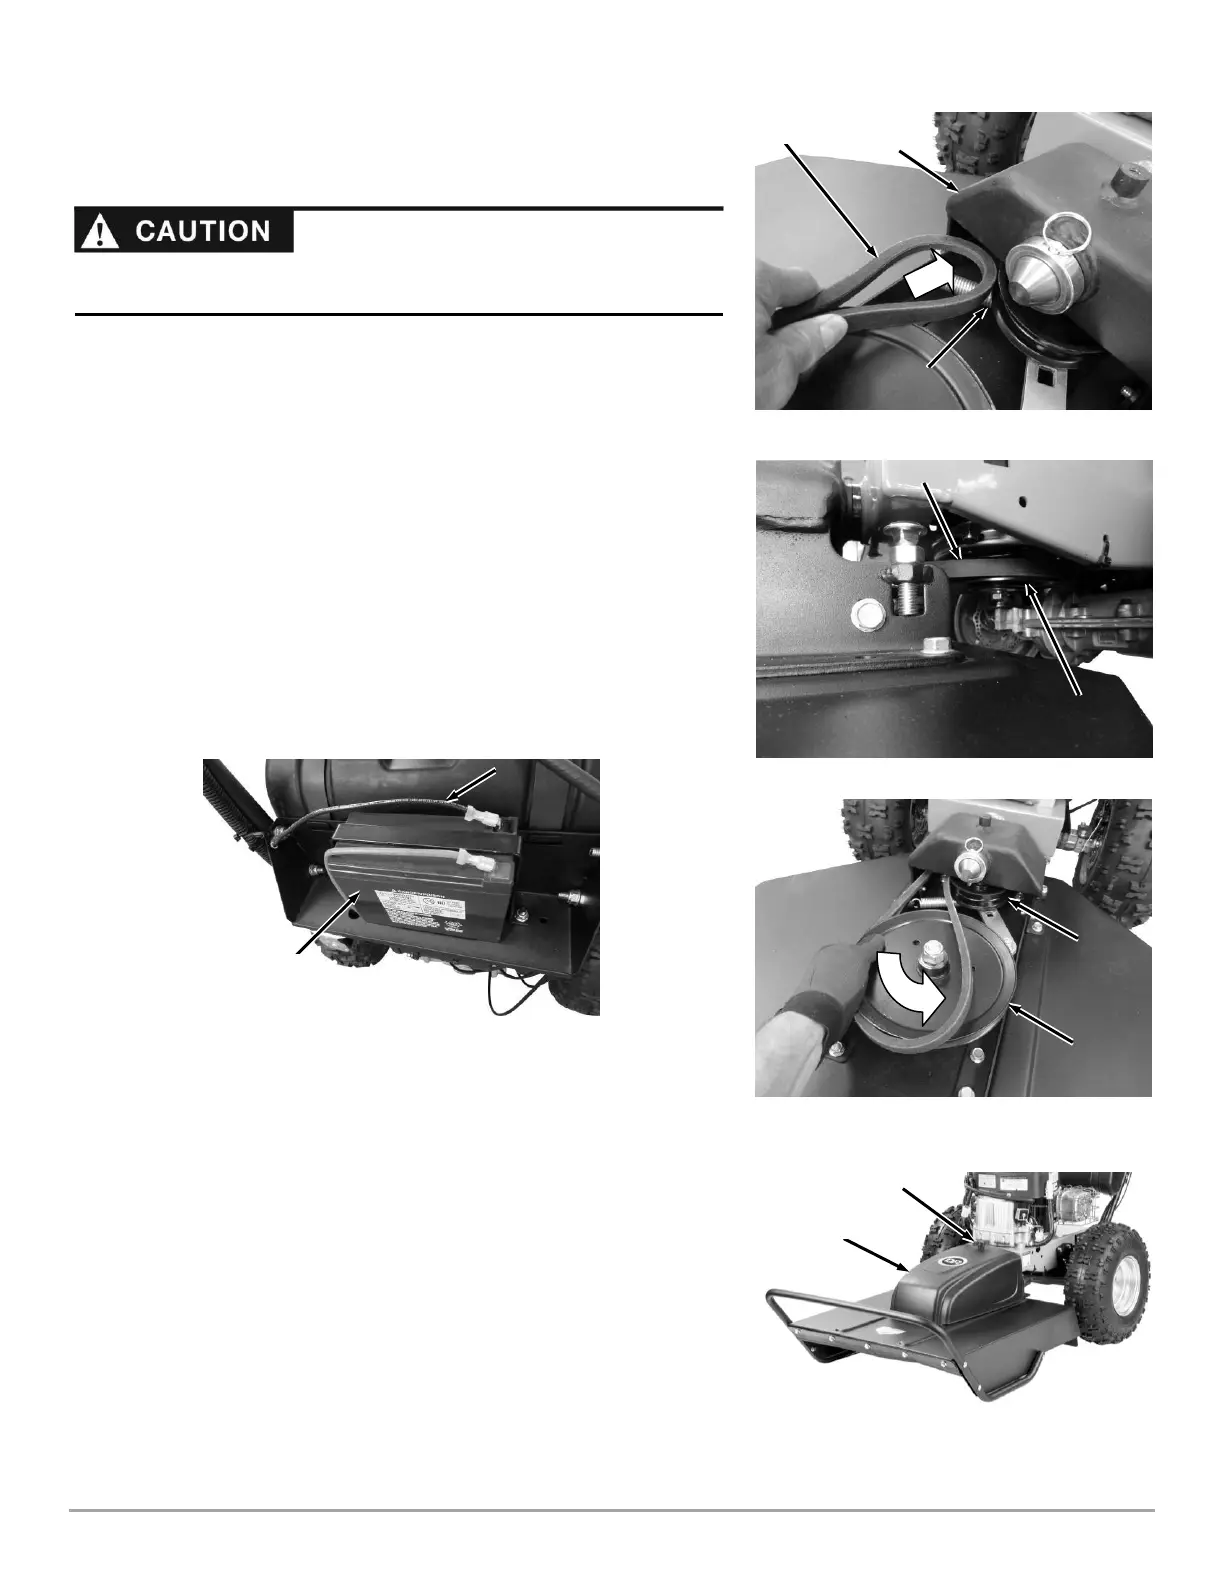
4. Insert the belt over the Tensioner Spring and through the inside of the Deck
Pivot Bracket (Figure 5).
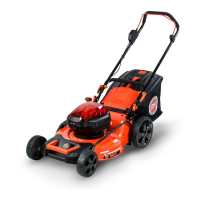
5. Wrap the Belt around the Clutch Pulley under the Power Unit (Figure 6).
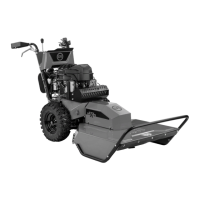
6. Start the Belt into the groove of the Deck Pulley and turn the Pulley as you
guide the Belt around and into the Pulley groove (Figure 7).
7. Install the Belt Guard that was shipped with the machine and secure with the
Knob from the product package (Figure 8).
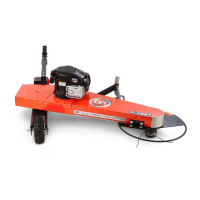
Connecting the Battery Wire
We ship all Electric-Starting Mowers with the negative terminal Battery wire
disconnected. This prevents the Battery from discharging during shipment.
Before using your Mower, you must connect the Battery wire.
1. Connect the negative (black) wire to the negative terminal on the Battery by
sliding the Connector onto the Terminal (Figure 9).
Your hands could get pinched when installing the Belt onto the Deck Pulley.
Wear Gloves to prevent injury.