52
phin kann zu schweren Schäden
oder zum Tod führen.
Patrone zu einem Drittel mit vor-
geschriebenem Atemkalk füllen
und ihn durch kräftige Schläge mit
der Faust gegen die äußere Pa-
tronenwand gut einrütteln (Bild
6.1.3). Eingerüttelt darf nur durch
Schläge gegen die Patronenwand
werden. Niemals die Patrone mit
dem Boden auf eine feste Unter-
lage aufstoßen. Patrone um ein
weiteres Drittel mit Atemkalk fül-
len und einrütteln. Nach dem Ein-
rütteln des zweiten Drittels Atem-
kalk wird die Manschette (32), mit
den Kanten nach oben auf die
Kalkfüllung gelegt. Nun solange
Atemkalk einfüllen und einrütteln,
bis die Patrone bis an die Füllmar-
kierung (Bild 6.1.4) gefüllt ist.
Warnung!
Unsachgemäße Füllung des Kalk-
behälters mit DiveSorb
®
kann zu
dessen Versagen unter Wasser
führen. Eine Mißachtung dieser
Warnung kann zu schweren Schä-
den oder zum Tod führen
In der Patronenwand befinden
sich zwei Rillen (Bild 6.1.4), die
obere und die untere Füllmarkie-
rung. Bei den Kalkpatronen der
neueren Generation (farbige
Steckanschlüsse) ist die Füllmar-
kierung eine Eindrehung am obe-
ren Ende der Gewindestange. Die
Oberkante der eingerüttelten
Kalkfüllung muß sich zwischen
den beiden Füllmarkierungen be-
finden, auf keinen Fall darf sie
höher als die obere Markierung
sein. Zum Schluß den Kalkpatro-
nendeckel locker aufsetzen und
leicht handfest verschrauben.
Warning!
Failure to carefully fill the CO
2
scrubber with DiveSorb
®
in the
manner listed above may lead to
its failure underwater, which could
lead to serious personal injury or
death.
If you look inside the CO
2
scrub-
ber cartridge you will see two
grooves in the inner wall (Figure
6.1.4). These are the upper and
lower filling lines. When you have
finished filling the scrubber cart-
ridge with DiveSorb
®
, the upper
level of the DiveSorb
®
must be
between these two filling lines. Do
not fill above the upper line. The
new generation of CO
2
scrubber
cartridges have their filling lines on
the threaded rod, below the
thread. Once you are assured that
the cartridge has been properly
filled, attach the cartridge lid and
secure it. Before finishing the as-
sembly of the scrubber unit, re-
move any DiveSorb
®
dust by blo-
wing through the cartridge in both
directions.
Warning!
Be careful, however, because as
with any CO
2
scrubber, Dive-
Sorb
®
can form a caustic solution
if it becomes too moist. Never al-
low DiveSorb
®
to come in contact
with bare skin. Read carefully the
safety data sheet of the Dive-
Sorb
®
. Failure to-do-so could lead
to serious personal injury or death.
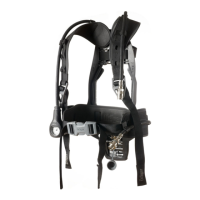
Component assembly
After you have finished filling the
scrubber cartridge, it is then time
to assemble the breathing hoses.
First, check the proper functioning
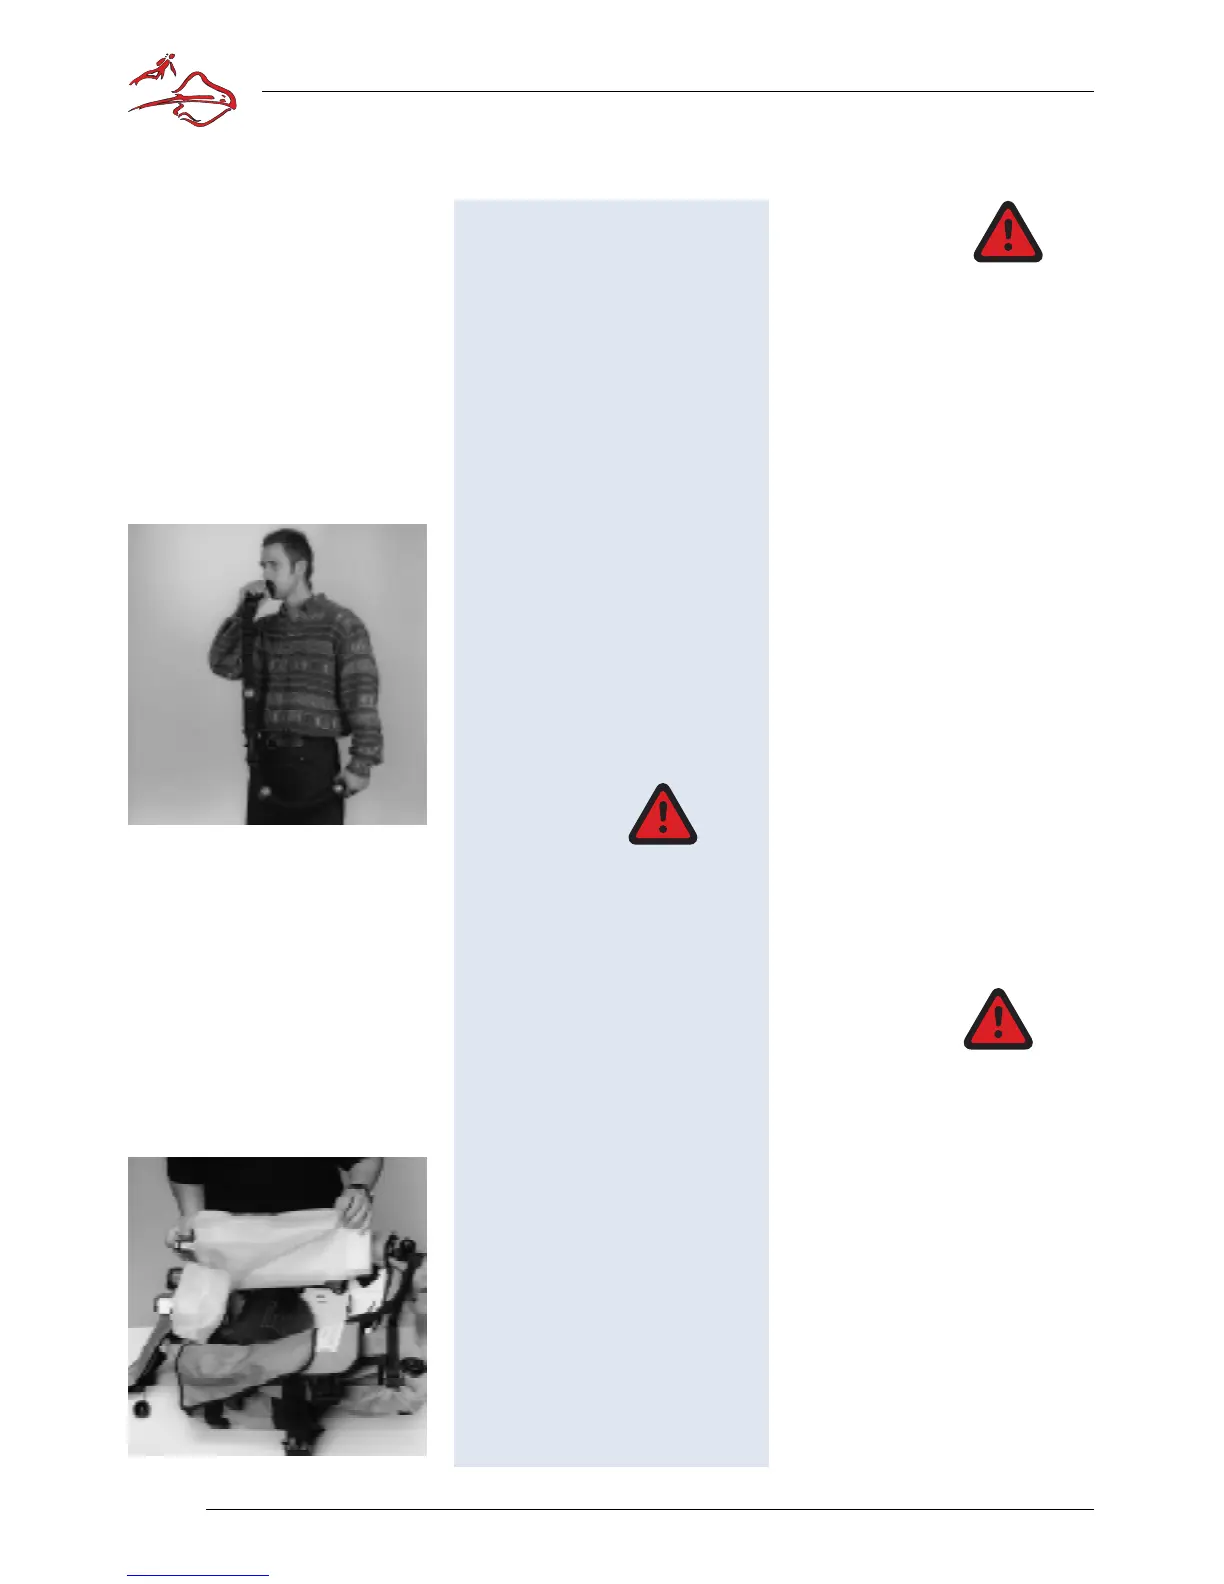
Bild 6.1.5
Figure 6.1.5
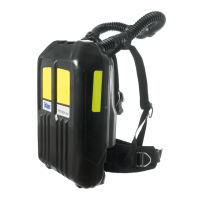
Bild 6.1.6
Figure 6.1.6