To make installation easier, we offer ready-made
accessories, including the pole mounting set for remote
sensors and the duct mount kit for adapting sensors into
pipes or ventilation shafts. Here are some other factors to
keep in mind when choosing where to install the Dräger
PointGard 3000 and its remote sensor:
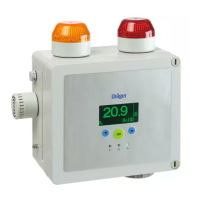
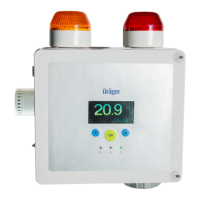
With its compact, yet durable, IP66-rated housing, the
Dräger PointGard 3000 can be installed almost anywhere.
However, if the measurement location is not suitable for
the installation of the the Dräger PointGard 3000 (for
example, because of limited space), you can remove the
built-in sensor and install it up to 30 metres away from the
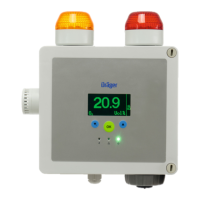
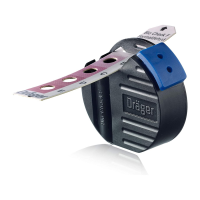
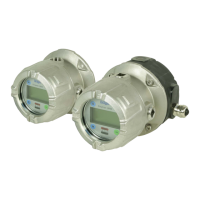
main device. To make maintenance and inspection easier,
we recommend to permanently connect the remote sensor
with a remote calibration adapter. This enables you to
easily supply test gas to the remote sensor when needed.
a timely alarm. In this case the Dräger PointGard 3000
device should be mounted separately from the sensor to
ensure easy operation and reading. The sensor is then
placed in a location where the light gases concentrate.
The Dräger PointGard 3000 device can still be mounted
at eye level. To make maintenance and inspection easier,
we recommend to permanently connect the remote
sensor with a remote calibration adapter. This enables
you to easily supply test gas to the remote sensor when
needed. (See image below.)
If you are testing for a gas that is approximately as
dense as ambient air (for example, CO), the Dräger
PointGard 3000 should be mounted at about eye level.
This position allows for reliable testing and makes it
easier to operate and read the Dräger PointGard 3000.
(See image above.)
In spaces with no ventilation or airflow, lighter gases
will rise and concentrate at the top of the space. Be
sure to install the sensor higher up in that case to ensure
55 ppm
55 ppm
2 | Whitepaper Positionierung des PointGards