www.dragino.com
LSN50 LoRa Sensor Node User Manual 53 / 60
LoRa Shield + UNO:
Use the LoRa Library and upload the LoRa_Receive Sketch to Arduino.
Refs:
http://www.dragino.com/downloads/index.php?dir=LSN50-LoRaST/LoRa_Raw_Example/Arduino/&file=LoRa.zip
http://www.dragino.com/downloads/downloads/LSN50-LoRaST/LoRa_Raw_Example/Arduino/LoRaReceiver.ino
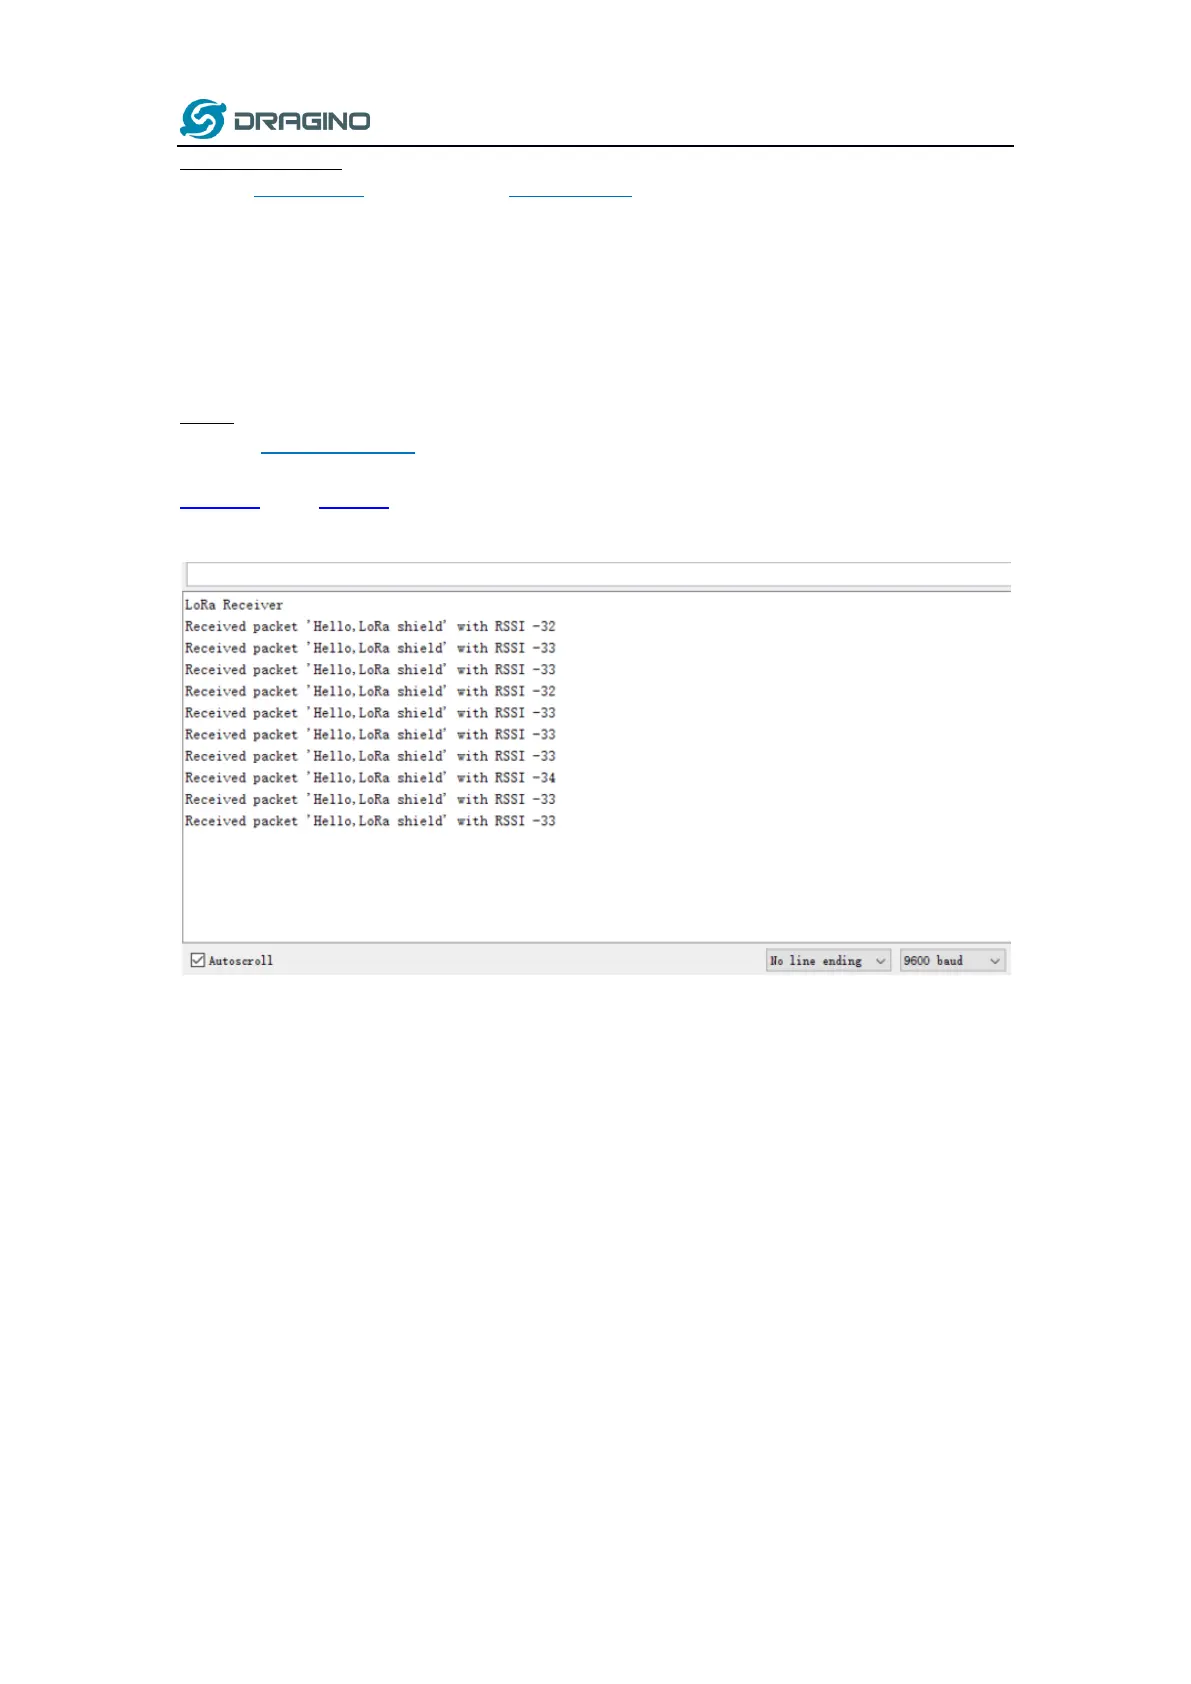
Open the serial monitor to Arduino. The device acts as a LoRa Receiver and listen on the
frequency 868.3Mhz by default.
LSN50:
Use the <LoRa RAW code> . The project file is in: MDK-ARM\STM32L072CZ-Nucleo\
Lora.uvprojx
Compile it and Upload it to LSN50, the LSN50 will transfer on the frequency 868.3Mhz.
In the Arduino Console, it will see the received packets as below.
6.5 How to set up LSN50 to work in 8 channel mode
By default, the frequency bands US915, AU915, CN470 work in 72 frequencies. Many
gateways are 8 channel gateways, and in this case, the OTAA join time and uplink schedule is
long and unpredictable while the end node is hopping in 72 frequencies.
You can configure the end node to work in 8 channel mode by using the AT+CHE command.
The 500kHz channels are always included for OTAA.
 Loading...