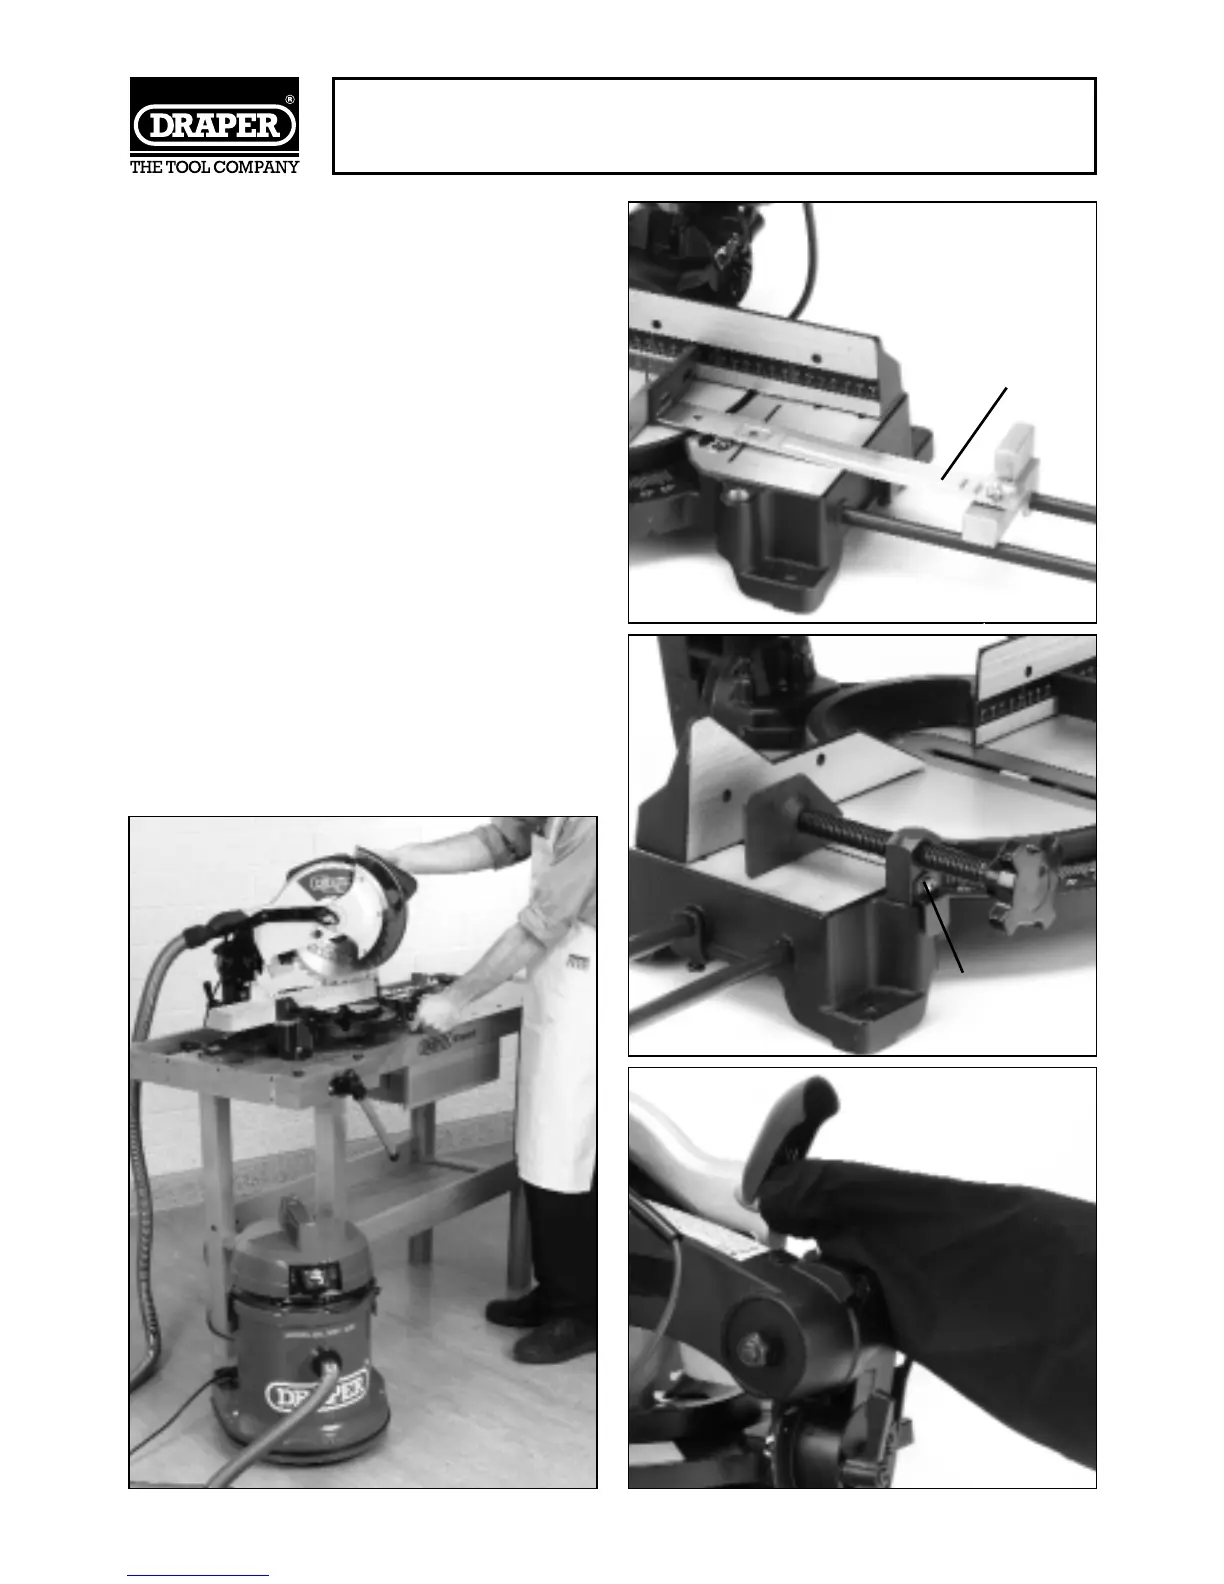
FITTING AND ADJUSTING THE END STOP (Fig.7):
Using the winged bolt, secure the guide ✳✌ to the
block. Secure using one of the two holes in the
bracket. To set the guide square use and engineers
square (Stock No.34049) flat against the fence.
FITTING THE WORK CLAMP (Fig.8):
The clamp ✵✌ simply slots into the table as shown.
There is the option to fit this on the opposite side of
the saw arm depending on the job in hand.
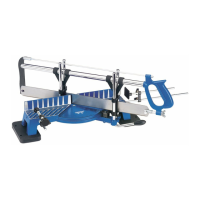
DUST EXTRACTION (Fig.9 & 10):
The saw comes supplied with a cloth dust bag. This
fits over the dust extraction port when the 2 metal
tabs are squeezed together. This should only be used
for small cuts.
For large amounts of work Draper Tools recommends
the use of a vacuum cleaner (Stock No.64674) to
reduce the airborne dust particles.
NOTE: An adaptor (Stock No.51280) is required to fix
the vacuum cleaner to the extraction port.
NOTE: SECURING THE MITRE SAW
For safe working practice it is recommended that the
saw be mounted to a secure, level surface. Using the
holes in the base and 4 suitable bolts (not supplied)
fix the saw down. Avoid mounting the saw where large
work pieces will be difficult to maneuver or support.
ASSEMBLY
- 9 -
Fig.7.
Fig.8.
✳✌
✵✌
Fig.9.
Fig.10.