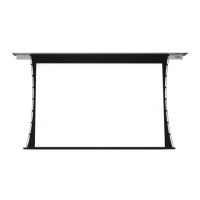
Types of Installation
Appropriate hardware
provided by installer.
SuspendedWall
Appropriate hardware
provided by installer.
If using "S"
Hooks )by
others), be
sure to crimp
both ends
of the "S"
Hooks.
Premier by Draper
Page 3 of 4
.draperinc.com (765) 987-7999
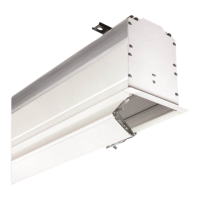
Optional Ceiling Opening Trim Kit
(Dims-Side View)
2
1
/8"
2
1
/16"
4"
6
3
/4"
1
1
/16"
8"
ADJUSTMENT
SCREW
TENSIONING
CABLE
DOWEL
T
O
R
E
L
E
A
S
E
T
E
N
S
I
O
N
T
U
R
N
C
O
U
N
T
E
R
-
C
L
O
C
K
W
I
S
E
C
L
O
C
K
W
I
S
E
ADJUSTMENT
SCREW
TENSIONING
CABLE
DOWEL
T
O
I
N
C
R
E
A
S
E
T
E
N
S
I
O
N
T
U
R
N
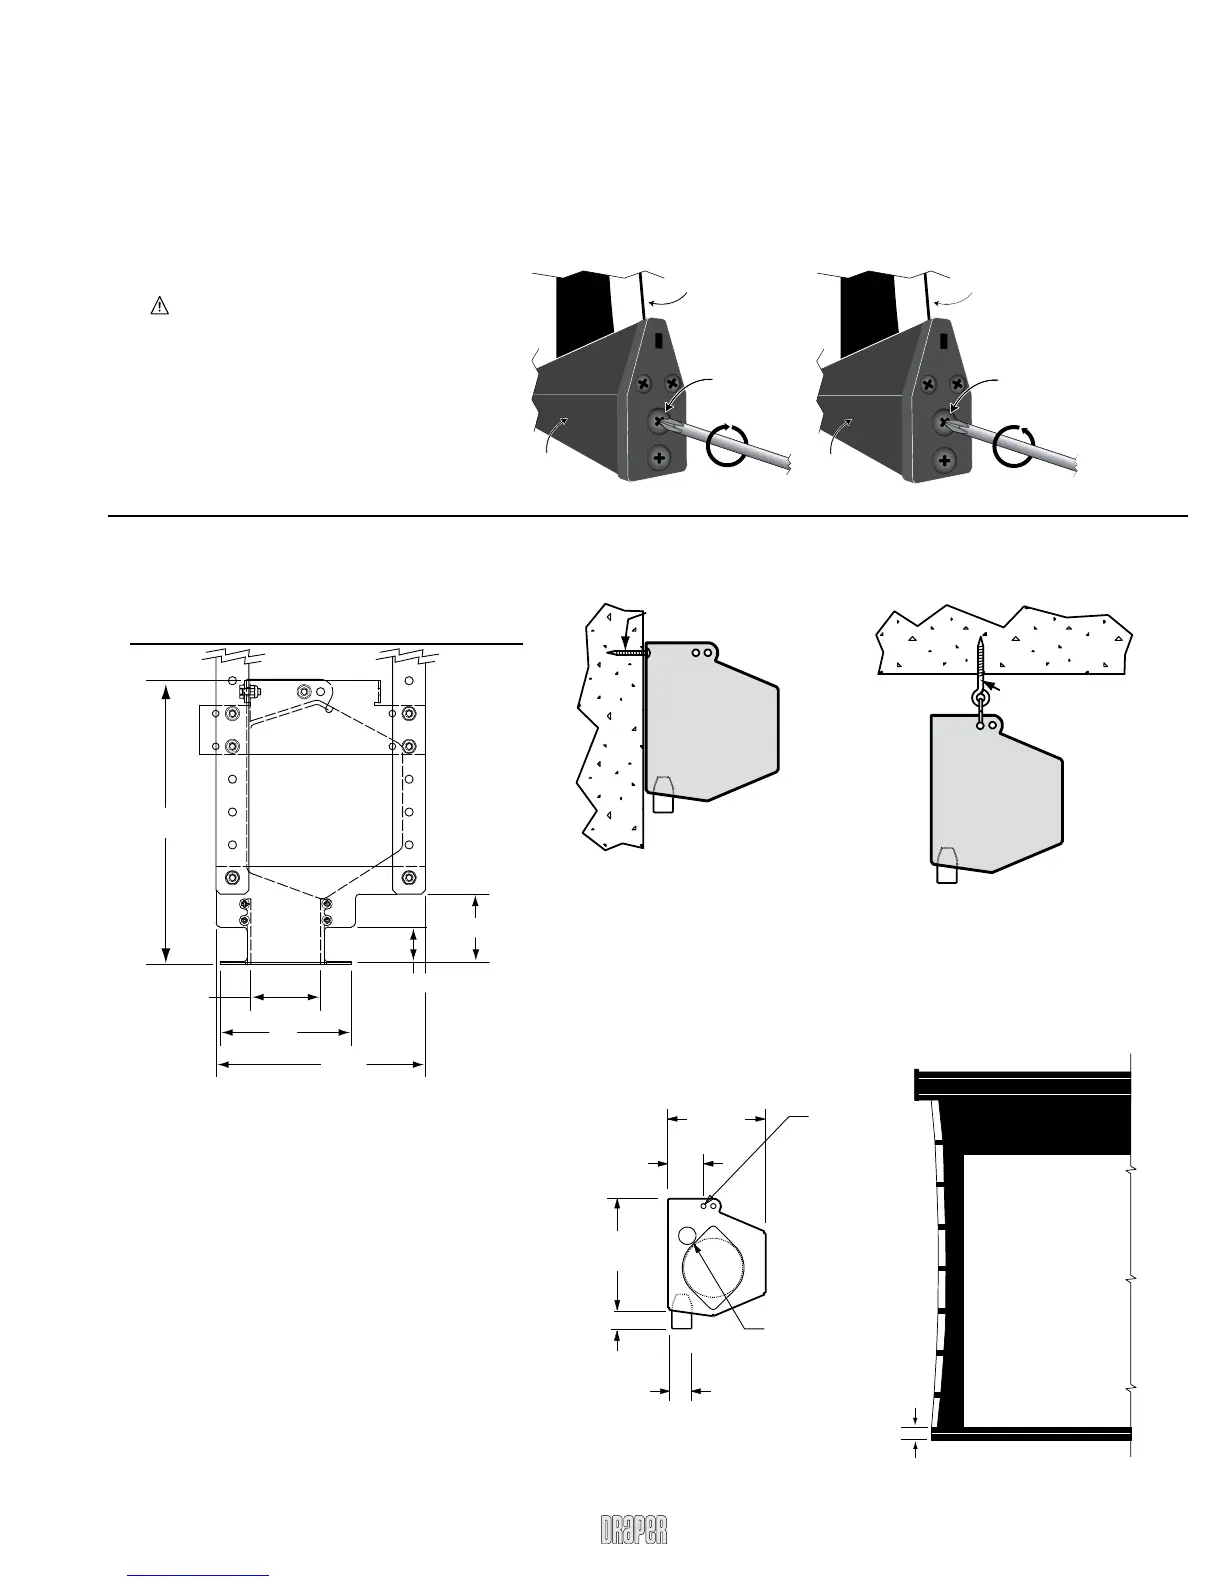
Tab-Tension Adjustment Procedure
Draper’s Tab-Tensioning System is factory-set, and under normal circumstances will not require field adjustment.
If, however, you notice wrinkles, waves or other indications that the tensioning cables need to be adjusted, follow the procedure below.
1 Determine which side requires adjustment.
2 Secure dowel with one hand.
3 Using Phillips-head screwdriver, depress spring-loaded adjustment screw and slowly turn CLOCKWISE TO INCREASE tension,
or COUNTER-CLOCKWISE TO RELEASE tension. The screw adjusts in 60° turn increments. Adjust only one increment (60° turn) at a time
4 If problem is not corrected, leave screen in position for 24 hours to allow surface material to stretch into position.
5 If problem still is not corrected, repeat steps 2 and 3.
Caution: Do not touch
or bend surface.
Case Dimensions*
5
1
/
4
"
1
13
/
16
"
5
7
/
8
"
1"
15
/
16
"
7
/8" dia.
electrical
connection
hole
Mounting
hole
2
1
/
8
"
PLEASE NOTE:
Built-In LVC-IV will increase
overall case length by 2".


 To Next Page