TEST FLIGHTS: TRIMMING FOR STRAIGHT AND LEVEL FLIGHT
1. Locate a flat, open, grassy field for initial test
flights. Choose a nice day with a light breeze
(no more than 5 mph).
2. Turn on transmitter, then glider by plugging
receiver battery directly into receiver - observe
proper polarity! Check controls and flight
surfaces for proper operation.
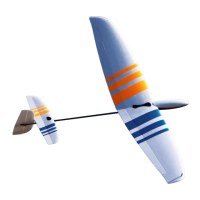
3. As shown, use simple, overhand javelin-style
launches until you achieve proper trim. Pinch
sides of fuselage in front of wing with middle
finger and thumb, supporting rear of glider with
index finger.
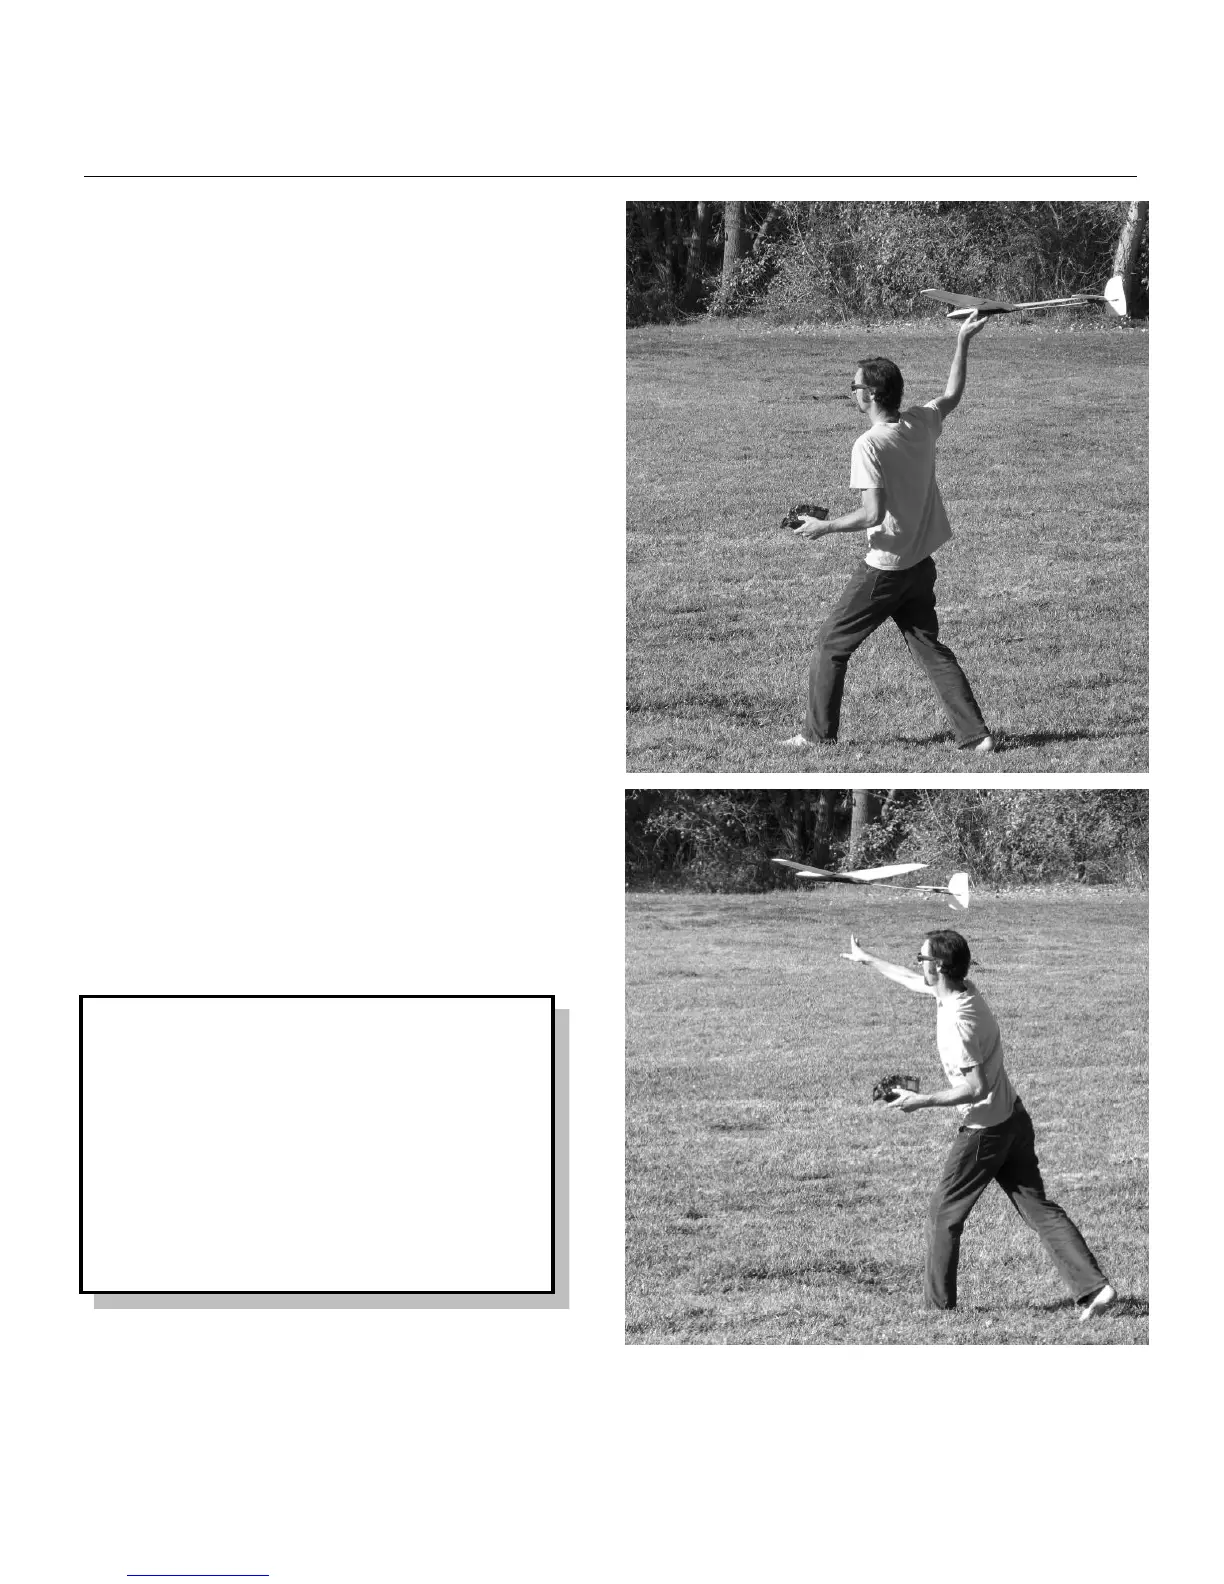
4. ALWAYS launch and land your glider into wind
to minimize ground speed. Throw the Libelle
firmly but not excessively, like a javelin, without
twisting your wrist. Make sure to point nose
towards horizon (not up or down). Make trim
adjustments via trim levers on your transmitter
until glider flies straight and level.
5. Once you have achieved a straight, level glide,
you can progressively try harder launches and
eventually side-arm launches by utilizing the
discus launch method described on Pages 21-22.
►HOT TIP: PREVENT LOOSE CLEVISES
It is possible for the clamping action of the
clevises on the pushrod to loosen after
numerous flights and several hard landings.
Once the glider has been flown and trimmed
to you liking, we suggest adding a drop of
CA to the clevis/pushrod to lock the pushrod
in place. DO NOT get any glue on the clevis
pin and control horn connection.
 Loading...