Page 8 For technical questions, please call 1-800-444-3353. SKU 66965
TO PREVENT SERIOUS INJURY:
Do not adjust or tamper with any
control or components in a way
not specically explained within
manual. Improper adjustment
can result in tool failure or other
serious hazards.
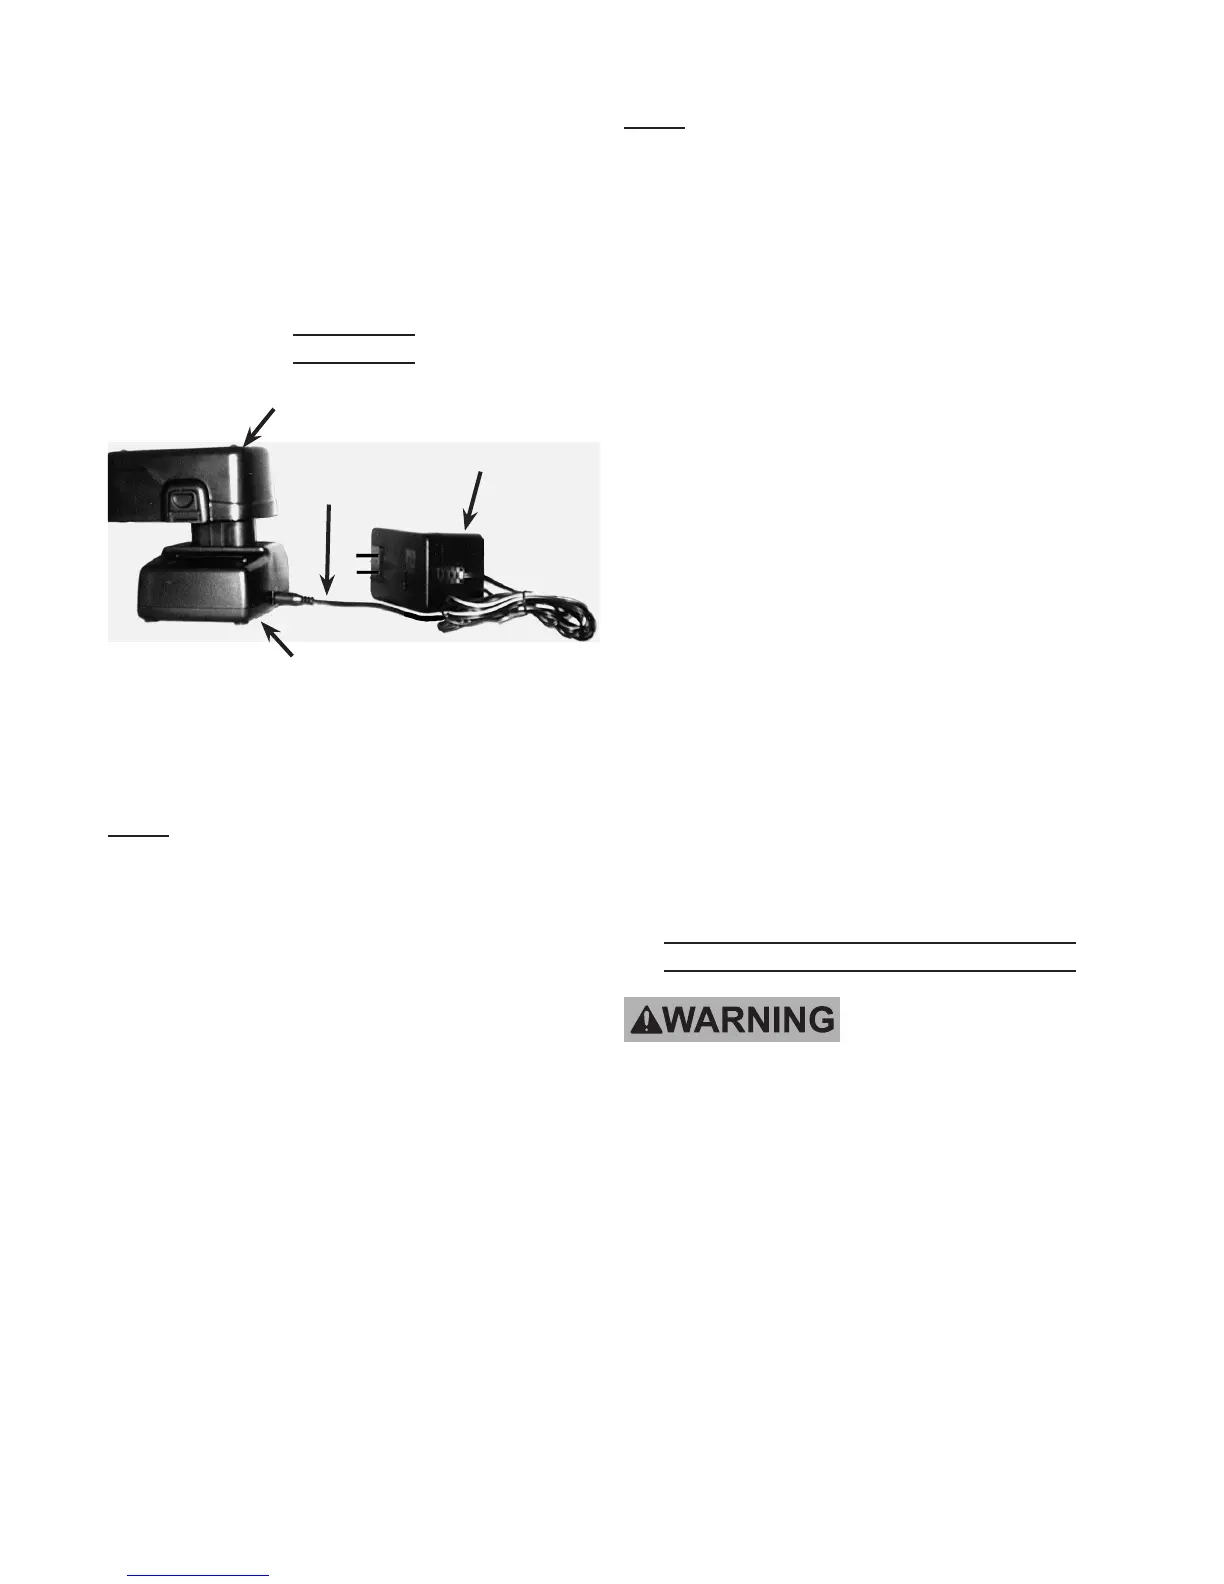
Charging
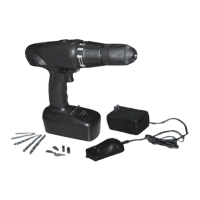
Battery Pack (11)
Battery Charger (20)
Adapter (21)
Figure 2
Cord
1. Place the Battery Pack (11) on a dry
temperature is from 50–104° F.
Note: If recharging a newly spent Battery
Pack, allow it to cool completely before
charging.
Make sure the Battery Pack is
undamaged; do not charge a cracked
or leaking battery pack.
Disconnect the Cord from the Battery 2.
Charger (20). Attach the Adapter plug to
Insert the Battery Pack into the Charging 3.
Socket of the Battery Charger, observing
the polarity.
Attach the Adapter (21) Cord to the 4.
Battery Charger.
The charging indicator light on the 5.
Battery Charger will illuminate to show
that charging is taking place.
Note: The Battery Charger will not
automatically turn off when the Battery
is fully charged, and the charging
indicator light will remain on until the
Battery Charger is disconnected from the
electrical outlet. Recharging the Battery
Pack for more than 7 hours can cause
damage to the battery cells.
The initial charge time is 7 hours. For a 6.
fully discharged battery, allow the Battery
Pack to Charge for at least 5 hours. Do
not charge the Battery Pack longer
than 7 hours.
Unplug the Charger and disconnect it 7.
While charging, the Battery Pack and 8.
Charger, and Adapter may become warm
to the touch. This is normal, and does
not indicate a problem.
Allow the Battery Pack to cool completely 9.
before using it.
Store the Charger and Battery Pack 10.
indoors, out of reach of children.
WARNING!
Charger or Battery to power this Drill.
General Operating Instructions
TO PREVENT
SERIOUS INJURY
FROM ACCIDENTAL
OPERATION: Always make sure
the Trigger Switch of the
Cordless drill is in its “OFF”
position, the Battery Pack is
removed from the Drill, and the
Direction Selector (13) is
centered in its mid-position
(which locks the Trigger) prior to
making any adjustments to the
tool.