EasyManua.ls Logo

Drucker Diagnostics 642E - Service Manual

Drucker Diagnostics 642E
16 pages
Print Icon
To Next Page IconTo Next Page
Loading...
DRUCKER DIAGNOSTICS SM006
MODEL 642E SERVICE MANUAL REV: A 1
200 Shadylane Drive
Philipsburg, PA 16866
Phone: (814) 342-6205
Fax: (814) 342-4510
www.druckerdiagnostics.com
Service Manual
Model 642E Centrifuge

Other manuals for Drucker Diagnostics 642E

Questions and Answers

  • S
    Stacy BurtonAug 6, 2025
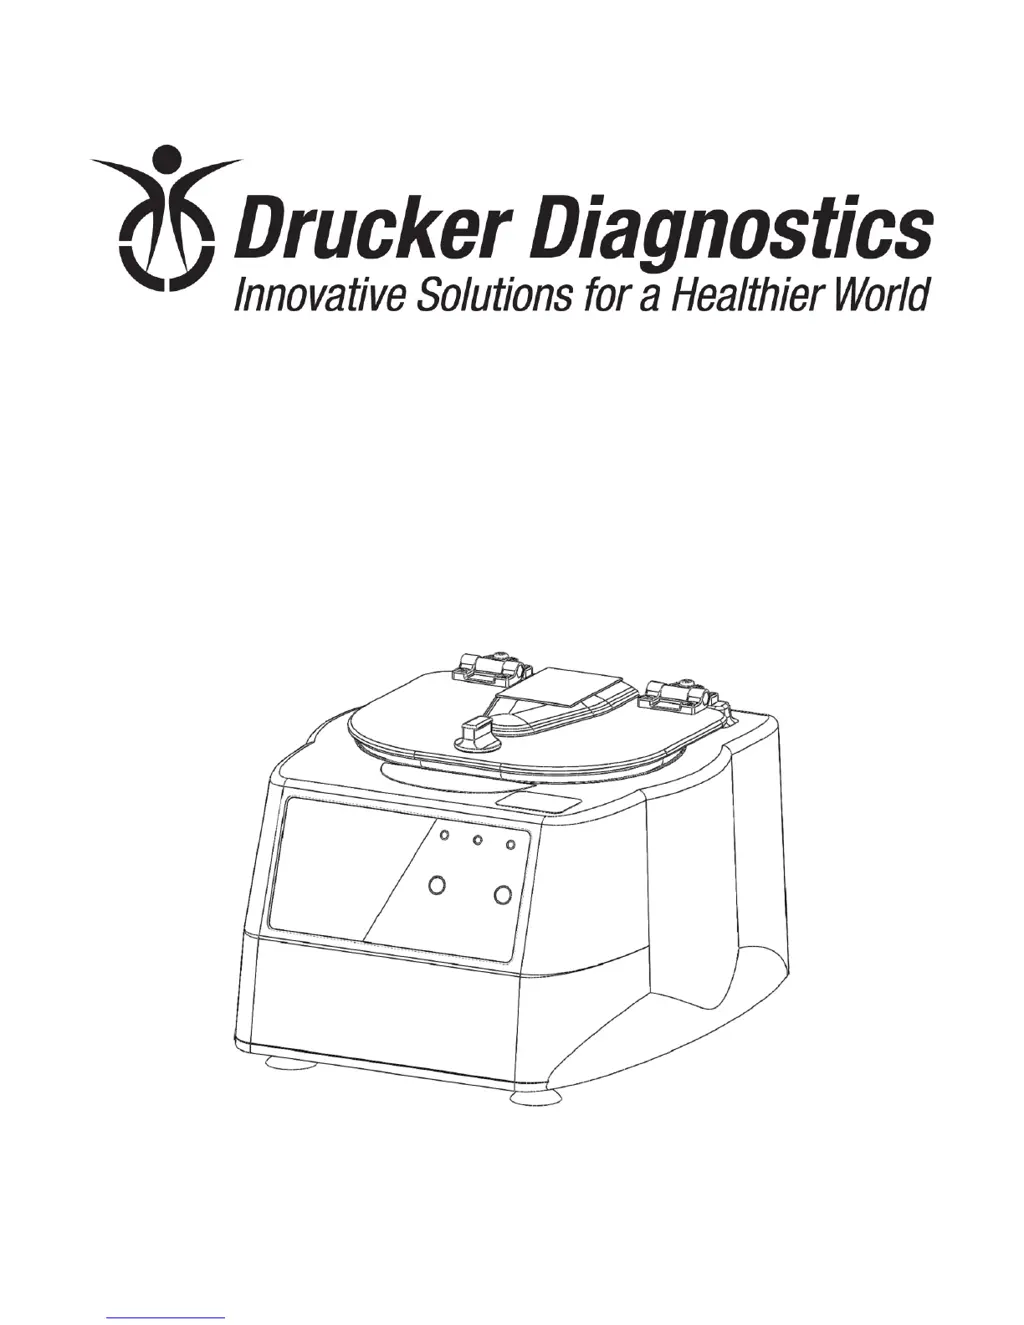
    Why is my Drucker Diagnostics 642E Laboratory Equipment lid not opening?
    • M
      Megan WilsonAug 6, 2025
      The lid may not open due to several reasons: * **No power**: Check the line cord, the circuit breaker on the underside of the centrifuge, and the wall outlet. * **Lid knob ajar**: Rotate the lid knob fully clockwise before pressing the ‘OPEN’ button. * **Lid lock active**: Press the ‘OPEN’ button to deactivate the lid. * **Lid tray unplugged or defective/PCB damaged**: Requires service. * As an alternative, you can remove the ‘OPEN/CLOSE’ sticker and slide the lid latch lever toward the front of the centrifuge to unlock the lid and access the rotor.
  • J
    James MartinAug 13, 2025
    What to do if my Drucker Diagnostics 642E has excessive vibration?
    • L
      leahsextonAug 13, 2025
      Excessive vibration may occur if: * The rotor is improperly loaded. Ensure equally filled tubes are symmetrically loaded in the rotor and that all carriers and/or tube holders are present, whether loaded or empty. * There is debris lodged within the rotor or tube carriers. Carefully inspect all rotor pockets, tube holders, and crevasses for debris. * If the centrifuge housing is loose, feet are missing/damaged, or there is a motor failure, service is required. A damaged rotor requires replacement.
  • R
    Roberta CastilloAug 18, 2025
    What to do if the rotor does not spin in my Drucker Diagnostics Laboratory Equipment?
    • R
      rosalesmichelleAug 18, 2025
      The rotor may not spin due to: * **No power**: Check the line cord, the circuit breaker on the underside of the centrifuge, and the wall outlet. * **Lid not properly latched**: Press down firmly on the lid and rotate the lid knob clockwise until the ‘LATCHED’ light illuminates. If there is an internal connection failure, PCB failure, or motor failure, service is required.
  • W
    Wayne KeithAug 25, 2025
    Why is there a whistling noise while my Drucker Diagnostics 642E is running?
    • D
      denise63Aug 26, 2025
      A whistling noise could be due to debris in the air intake/exhaust ports. Remove power before clearing any debris. It could also indicate a gasket failure, which requires service.
  • N
    Nicolas MaxwellAug 31, 2025
    Why is my Drucker Diagnostics 642E making a clicking noise during braking?
    • S
      Stephen HansenAug 31, 2025
      A clicking noise during braking may indicate that the rotor is loose. You should tighten the rotor nut.

Summary

Preface

General Description of Major Components

Warranty Information

Specifications

Troubleshooting

Service Instructions

Cleaning Procedures

Clean cabinet, rotor, and accessories with approved solutions like soap, water, or alcohol.

Rotor Handling and Maintenance

Includes removal, installation, maintenance, and proper tightening of the rotor nut.

Performance Testing

Covers speed calibration, verification, and line leakage checks.

Ground Continuity Testing

Check ground continuity periodically. Measure resistance between ground tab and chassis.

Cabinet Removal and Replacement

Remove cabinet by unscrewing and lifting. Reassemble carefully.

Lid Tray Assembly Replacement

Disconnect harness, remove Nylok nuts to slide tray off studs.

PCB Replacement Procedure

Remove cabinet, disconnect harnesses. Remove Nylok nuts to slide PCB off studs.

Motor Removal Procedure

Remove cabinet, drill rivets, lift base off guard bowl.

Motor Replacement Procedure

Use new washers. Position motor with wires exiting away from seam. Install motor and gasket.

Final Assembly and Power Connections

Ensure unit is unplugged. Connect motor/power to PCB. Place cabinet on base carefully.

Wiring Diagram

Final Centrifuge Assembly

Cabinet Assembly

Lower Assembly

Base Assembly

Motor Assembly

Revision History

Drucker Diagnostics 642E Specifications

General IconGeneral
TypeCentrifuge
Weight11 lb (5 kg)
MotorBrushless DC
Dimensions (D x H)11 x 9 in (28 x 23 cm)
Dimensions11 x 9 in (28 x 23 cm)

Related product manuals