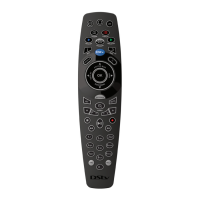
DStv Remote A6 (Advanced Options)
Press ARC and V+ on the A6 remote for 3 seconds.
The LEDs will go AMBER within
three seconds. When you release
these buttons, the LEDs will blink
AMBER continuously.
Take the remote of the audio equipment that you
want to control with the A6, and place it on a flat
surface, facing the A6 remote.
Press V+ on the other remote until the LEDs on the
A6 give two GREEN blinks.
The A6 LEDs will now turn
AMBER.
Press V- on the A6 remote.
The A6 LEDs will blink AMBER
continuously.
With the two remotes still facing each other, press V-
on the other remote until the LEDs on the A6 give two
GREEN blinks.
The A6 LEDs will now turn
AMBER.
Press MUTE on the A6 remote.
The A6 LEDs will blink AMBER
continuously.
With the two remotes still facing each other, press
MUTE on the other remote until the LEDs on the A6
give two GREEN blinks.
The A6 LEDs will now turn
AMBER.
Now that you have programmed the volume buttons,
press HELP to end the programming sequence.
The A6 LEDs will give three
GREEN blinks, confirming that
you have successfully completed
the programming sequence.
If the A6 LEDs give two RED blinks at any time - something has gone wrong and you will need to start the
programming sequence from Step 1.
The volume buttons on the A6 are now programmed, and when pressed, will
change volume on the other device (instead of on the DStv Explora).