8
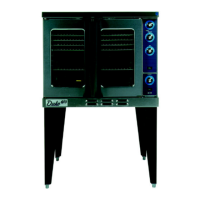
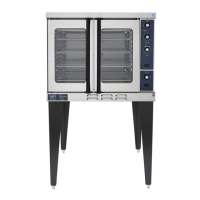
G. Oven Assembly
Before assembling and installing the oven, please check to
make sure that all necessary parts are present. In addition to
the oven itself, there will also be legs, feet or casters, the
flue/vent guard or draft hood & drafthood collar assembly,
(for double sections, retaining clips, flue riser and/or
common manifold) and miscellaneous hardware. Please
check the interior of all oven sections for the parts needed to
assemble and install your oven(s).
Leg Attachment
• Once the oven has been removed from the carton,
lay it on its left side (the side without the controls),
hold the leg and align with the threaded holes in the
front corner of the bottom of the oven. Carefully
start the threads of the corner leg bolt (5/16”-18 X
1/2”), avoid cross threading.
• Align the leg plate holes in each leg with those in
the corners of the oven bottom and secure using two
5/16”-18 x 1/2” bolts. Tighten all bolts firmly.
Repeat this procedure for all legs.
• Raise the oven up on its legs.
Level the oven by turning the adjustable feet in or out as
needed.
Caster Installation
• Casters are available as an option for both the single
and double oven sections.
• The installation of casters requires the removal of
the adjustable feet from the legs. This is done by
placing the bit of a large screwdriver against the lip
of the foot and rapping the screwdriver to drive the
foot out of the leg. The caster is then inserted fully
into the opening where the foot came out and the
locking nut tightened to expand the compression
sleeve of the caster.
NOTE: The casters with locking brakes are best
mounted on the front side of the oven for easier
access.
Double Sections
• Secure the short legs to the bottom of the lower
section as described in previous section.
• Casters are installed by the method described for
single section ovens. Previous section.
• Place upper section on top of lower section and
align all edges of the ovens.
• Locate securing straps and align with holes on rear
frames of oven section, install three screws each as
provided and tighten.
• At the rear of the oven, install the flue connector by
sliding it up through the flue vent opening in the top
of the oven and over the upper flue vent. Push it
flush with the back of the oven then slide it down
over the lower flue vent. Attach with screws
provided.
• Install flue guard or drafthood adapter and
drafthood & drafthood collar to upper section.
NOTE: If you plan to use casters and flexible fuel
gas connectors, a fixed restraint of the proper
length must be incorporated to secure the oven to a
non-movable surface to eliminate strain on the
connector. If the oven is removed from its normal
position, the restraint must then be reattached
when returned.