35
Pt. No. 67392
Issue 0918
Calibration Chart and Handy Hints
Basic Calibration Procedure
Seed Calibration
The calibration test should be done to confirm the required seed rate and is done with the
drill stationary and level.
Seed Calibration Procedures
1 Place the calibration tray in the brackets
2 Position all the clear plastic seed diverters to redirect the seed into the calibration
tray
3 Set Shutter Slide
4 Set Bottom Flap
5 Disconnect/connect Agitator Shaft
6 Select gearbox setting
7 Place the crank handle over the hex drive and turn anti-clockwise until the seed
flows consistently from all seeder units then empty into the seedbox.
8 Turn the crank handle anti-clockwise the required number of revolutions.
9 Weigh seed (scales must be accurate to within 2 grams)
10
HANDY HINTS
Keep a constant pace during calibration turns
Bottom Flap: check gap setting (0.3mm) regularly to avoid inconsistent seeding
and or seed damage. REFER TO MANUAL
For products not on sowing chart choose a similar product
For accurate seeding, ensure jockey wheel is inflated to maximum pressure shown
on the tyrewall
Keep turning in ground to a minimum
When fitted, disc opener should run approx 20mm deeper than boot
For
1
/
10
Hectare
Seed Rate = Actual Seed Collected (kg) x 10
For
1
/
40
Hectare
Seed Rate = Actual Seed Collected (kg) x 40
Machine
Size
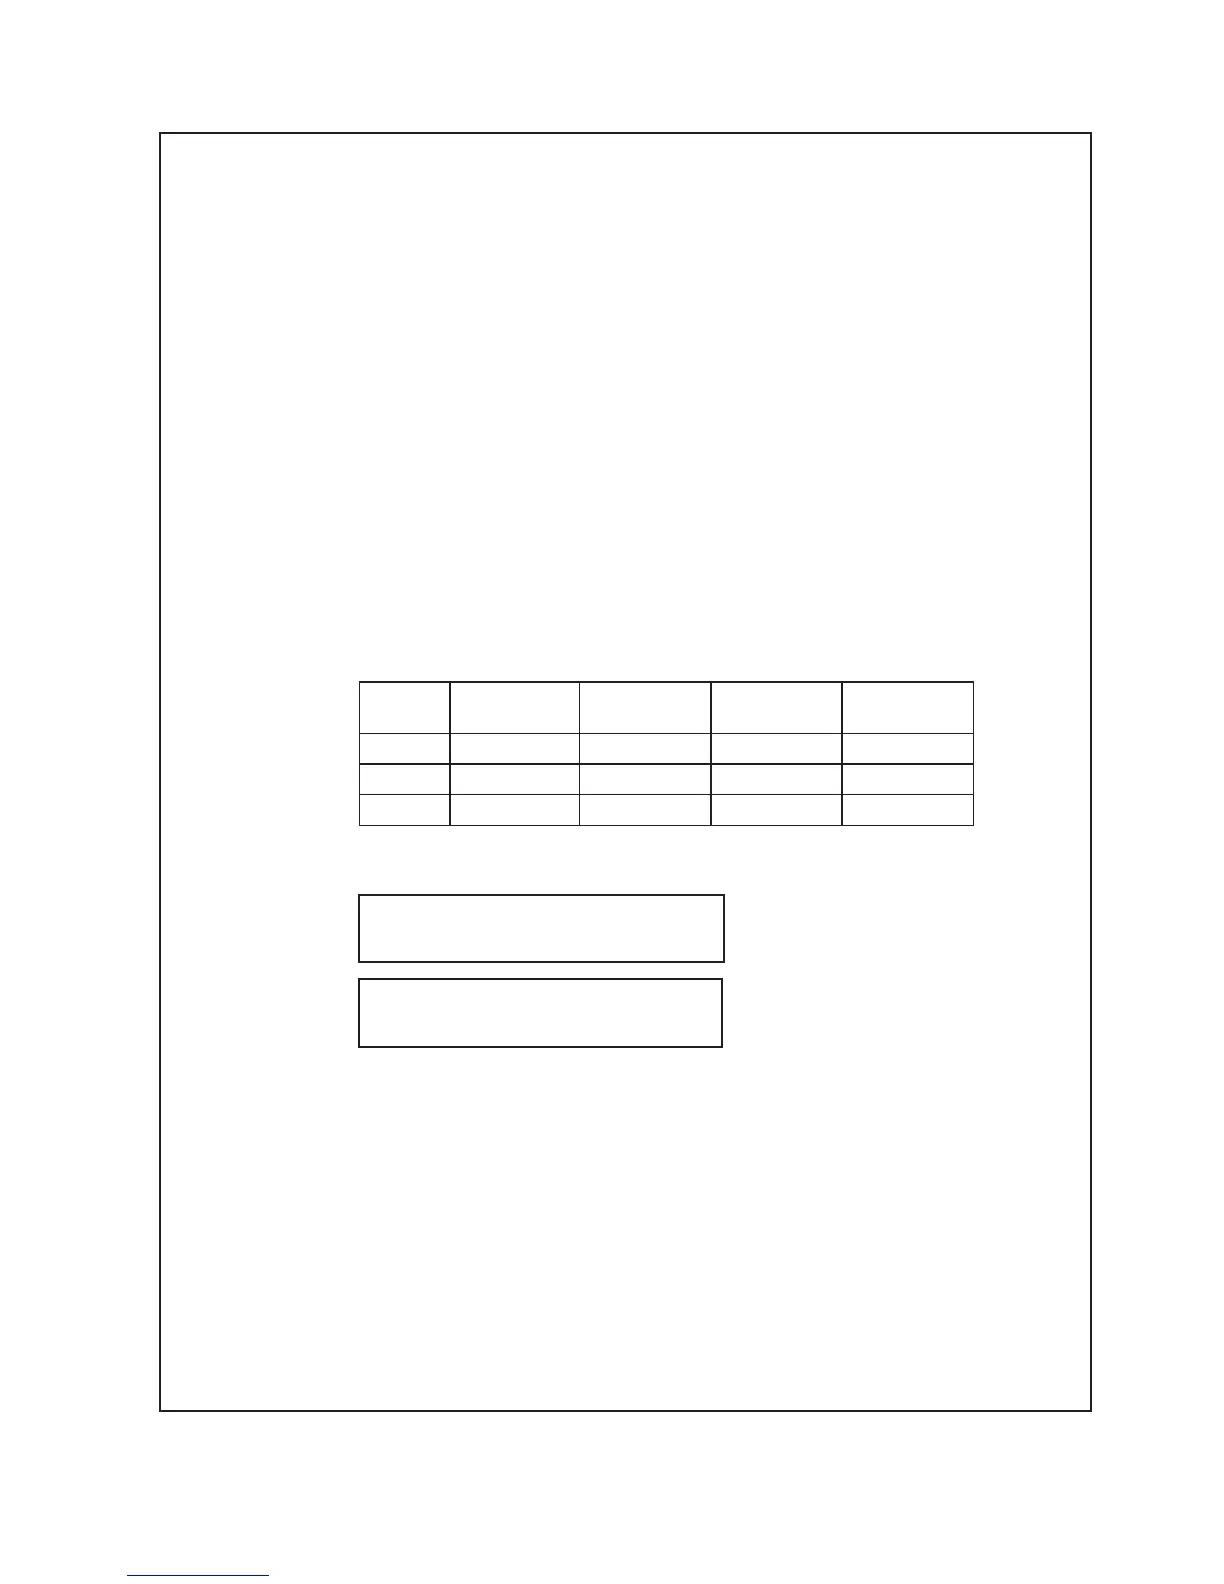
Row
Spacing(mm)
Sowing Width
(m)
Turns for 1/40
Hectare
Turns for 1/10
Hectare
14 Run 148.5 2.079 29 114
16 Run 148.5 2.376 25 100
18 Run 148.5 2.673 22 89