7.6 Taking the X-ray image
CAUTION
Injuries through x-rays
X-rays can cause tissue damage.
❯
Comply with the radiation protection
regulations.
❯
Maintain the minimum distance.
CAUTION
Danger of excessively high radiation
dose
❯
Before an image acquisition is trig-
gered, all data entered on the PC must
be checked on the touch screen.
❯
Check all parameters on the touch screen and
change them if necessary.
The changed parameters are immediately syn-
chronised with the imaging software. The
parameters can then no longer be changed in
the imaging software.
❯
Remind the patient to press his/her tongue
against the gums during image acquisition.
❯
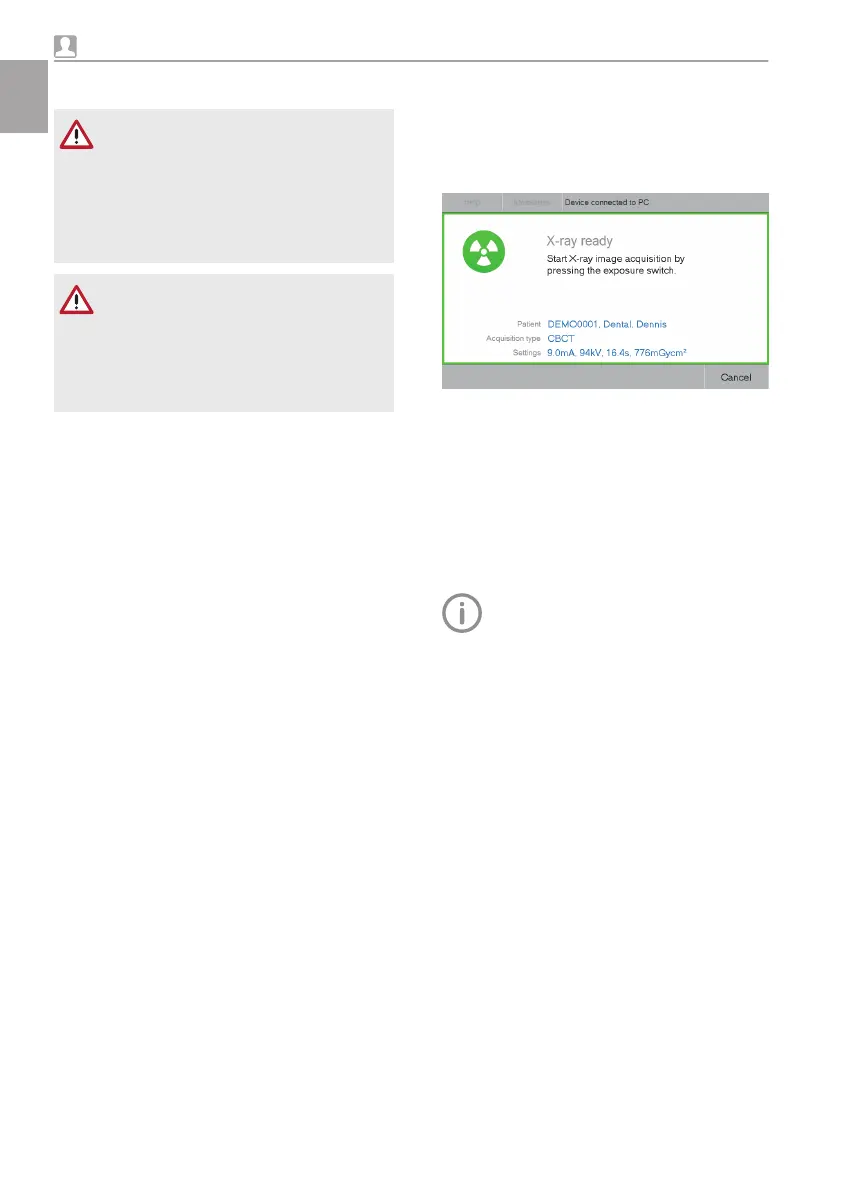
Press Start to confirm the parameters.
The C-shaped arm is positioned. The LED on
the exposure switch and the status LED on the
unit light up green.
The touch screen displays that the unit is ready
to take an image.
❯
Trigger the image by pressing and holding the
button on the exposure switch until the acous-
tic signal stops and the control lamp goes out.
The scan times depend on the patient type,
imaging program and image quality (see "12
Program parameters").
Image acquisition is started. While the image is
being taken, the LED on the exposure switch
and on the unit lights up yellow. An acoustic
signal sounds.
If the button on the exposure switch is
released before the control lamp goes
out or the emergency stop switch is
pressed (e.g. if there is a danger to the
patient or to anyone else in the area)
then the ongoing image acquisition will
stop. The X-ray image will be unusable
as a result and should be retaken as
required. In this case the operator must
use their skills and training to decide on
the risks of a repeated image acquisi-
tion.
In addition, an error message appears
on the touch screen.
While an X-ray is being taken, this is indicated
on the touch screen with:
Usage
38 2210200378L02 1907V009
EN
 Loading...