88
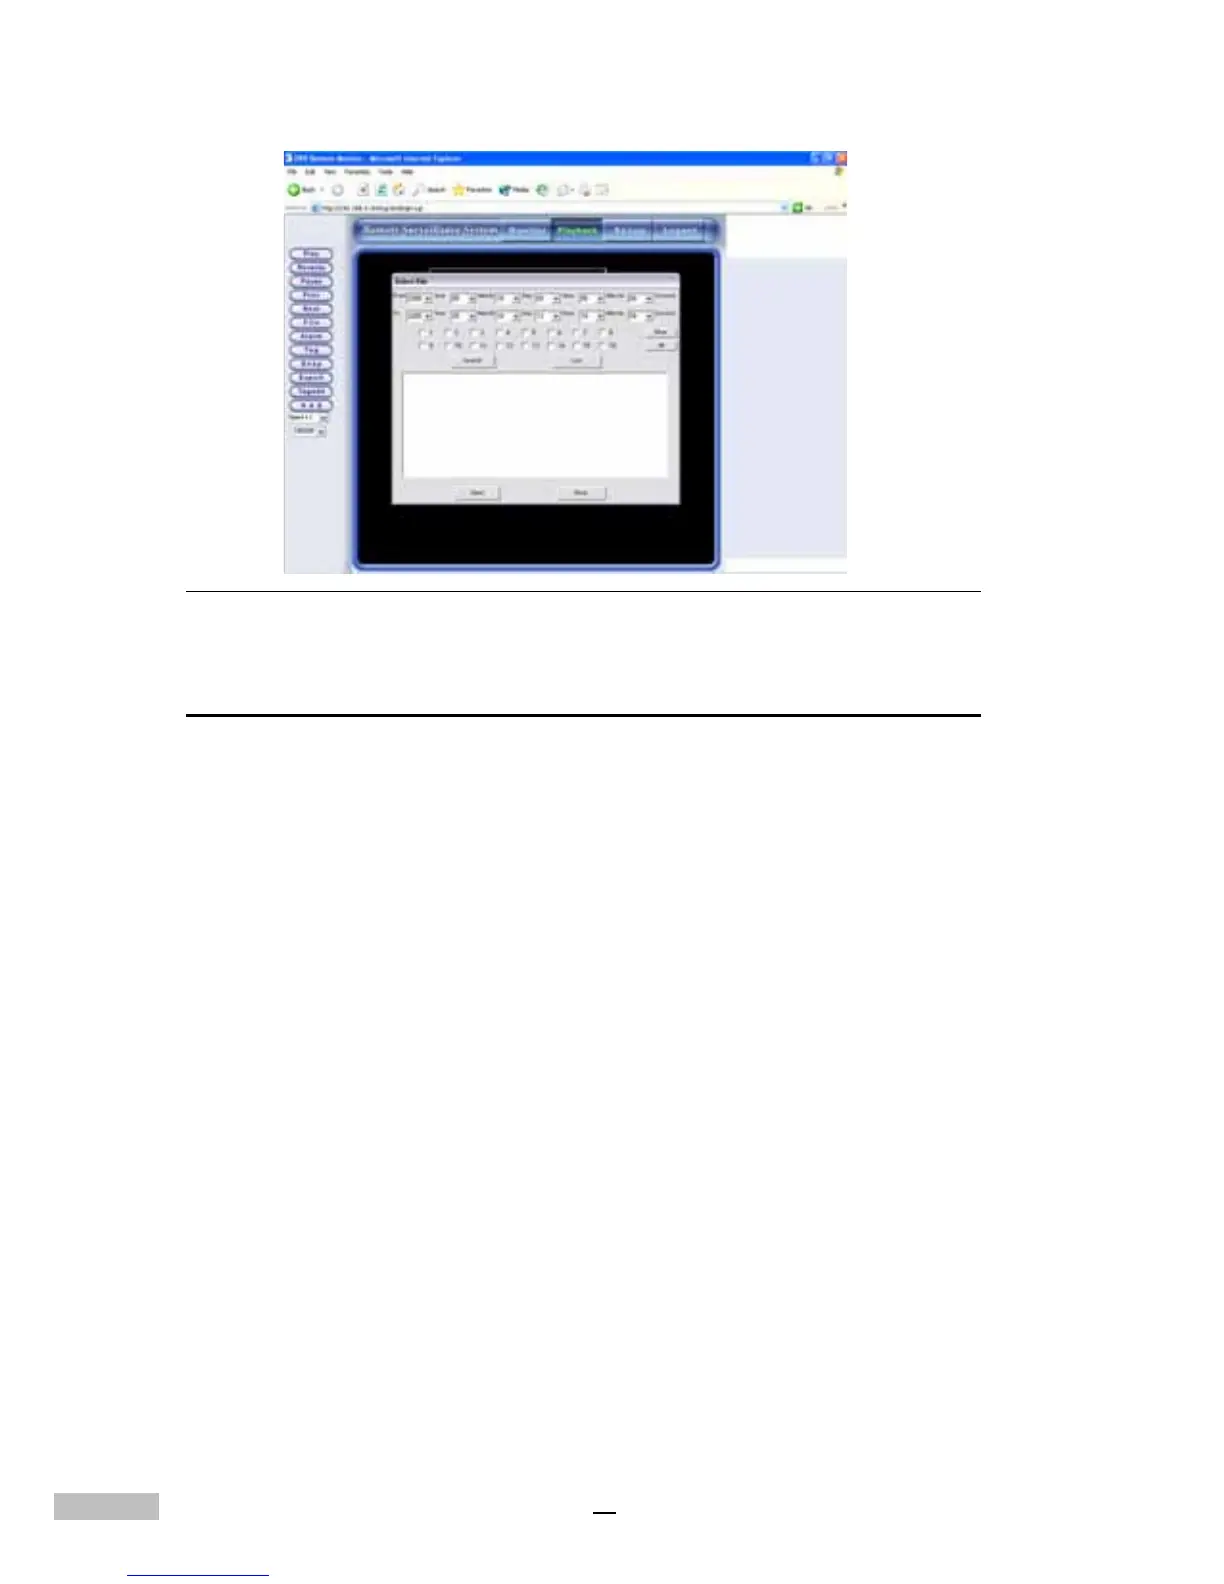
Figure 14-13: Understanding the Playback Toolbar
Understanding the Playback Toolbar
The playback sidebar gives users the freedom to manipulate the image to
their benefit. Let’s take a closer look at these icons:
1.Play Button: Click this button to play the file
2.Reverse Button: Click this button to rewind the played image
3.Pause Button: Click this button to stop playing for a pause
4.Last Section Button: Click this button to rewind to last section
5.Next Section Button: Click this button to go to the next frame
6.File Button: Click this button to choose the file you want to view
7.Alarm File Button: Click this button to find an alarm recorded file
8.Tag File Button: Click this button to find a file by its tag
9.Snapshot Button: Click this button to take a snapshot and print it out
10.Export Button: Click it to export and save an image to output
devices
11.Tag Button: Click this button to mark a recorded file
12.NAS: If there are video data back up to NAS, then you can click it to
playback the back up clips in NAS.
13.Speed: 8x,6x,4x,2x,1x, 1/2x, 1/4x, 1/6x, 1/8x and one frame
14.Resolution: Click this button to select the size of the screen; the
options are 320x240, 480x360, 640x480 etc.