Z
zhigginsJul 29, 2025
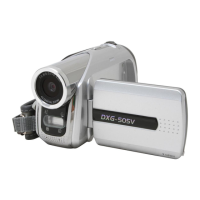
Why does my DXG DXG-5C0V HD Camcorder suddenly turn off?
- Rrobert17Jul 29, 2025
Your DXG Camcorder might be turning off suddenly because the auto power off function was enabled. To solve this, simply turn the power on again. Alternatively, the camera could be running out of battery power, in which case you should replace the batteries.