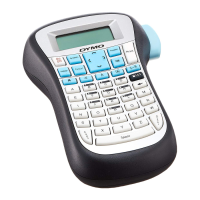
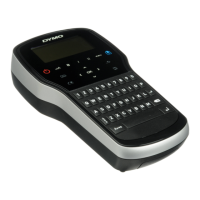
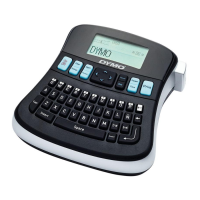
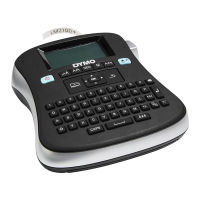
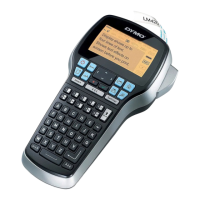
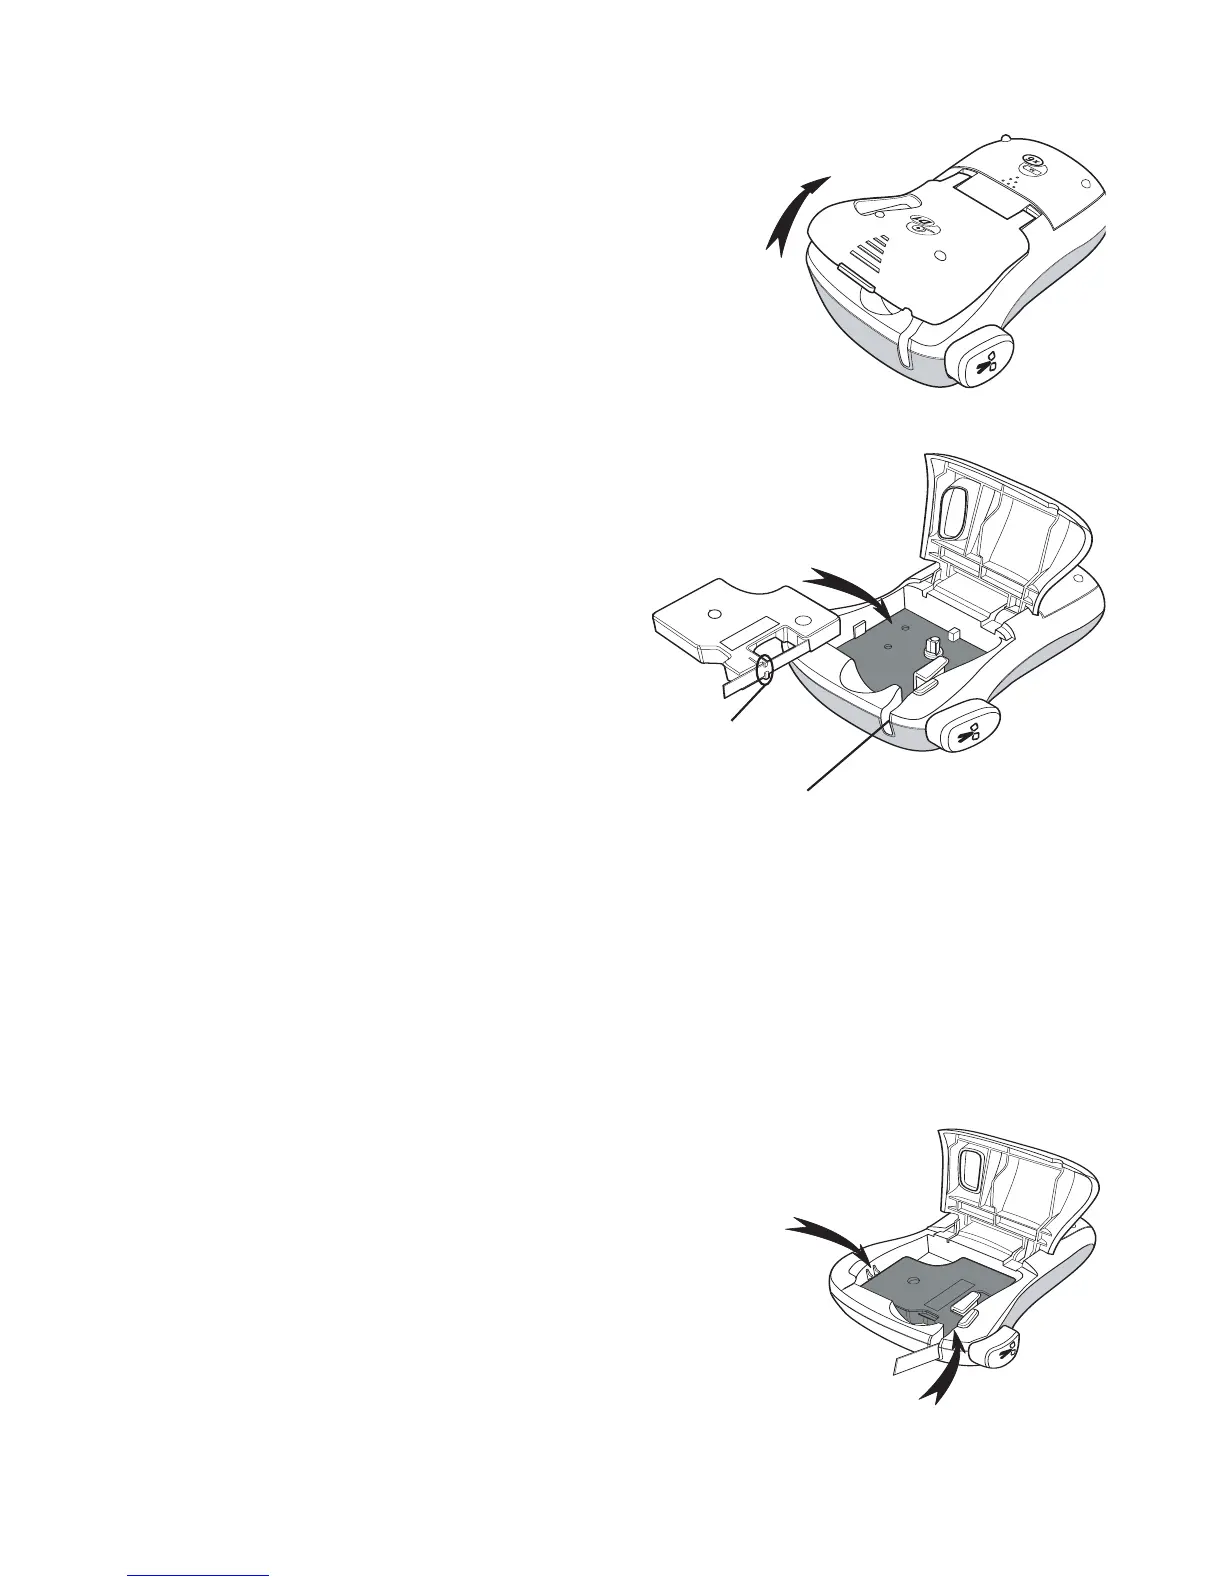
Inserting the Tape Cassette
Your label maker comes with one tape cassette.
You can purchase additional tape cassettes from
your local office supply retailer.
To insert the tape cassette
Lift the tape cassette cover to open the 1.
tape compartment. See Figure 3.
x Before using the label maker for
the first time, remove the protective
cardboard insert from the tape exit
slot. See Figure 4.
Insert the cassette with the label 2.
facing up and the tape positioned
between the guideposts.
Press firmly until cassette clicks 3.
into place. See Figure 5.
Close the tape cassette cover. 4.
Using the Label Maker for the First Time
The first time you turn on the power, you are
asked to select the language and units of
measure. These selections will remain set until
you change them, or until the label maker is
reset. You can change these selections using
the Settings key.
Figure 5
Click!
Click!
Figure 4
Remove
cardboard insert
Figure 3
Guideposts
LM120P manual UK_WEU.indd 6 01-08-2007 10:13:22