7
Setting the Current Date
The default date format depends upon the language
selection for the label maker. You can change the
default date format by following the instructions in
Changing the Date Format on page 13.
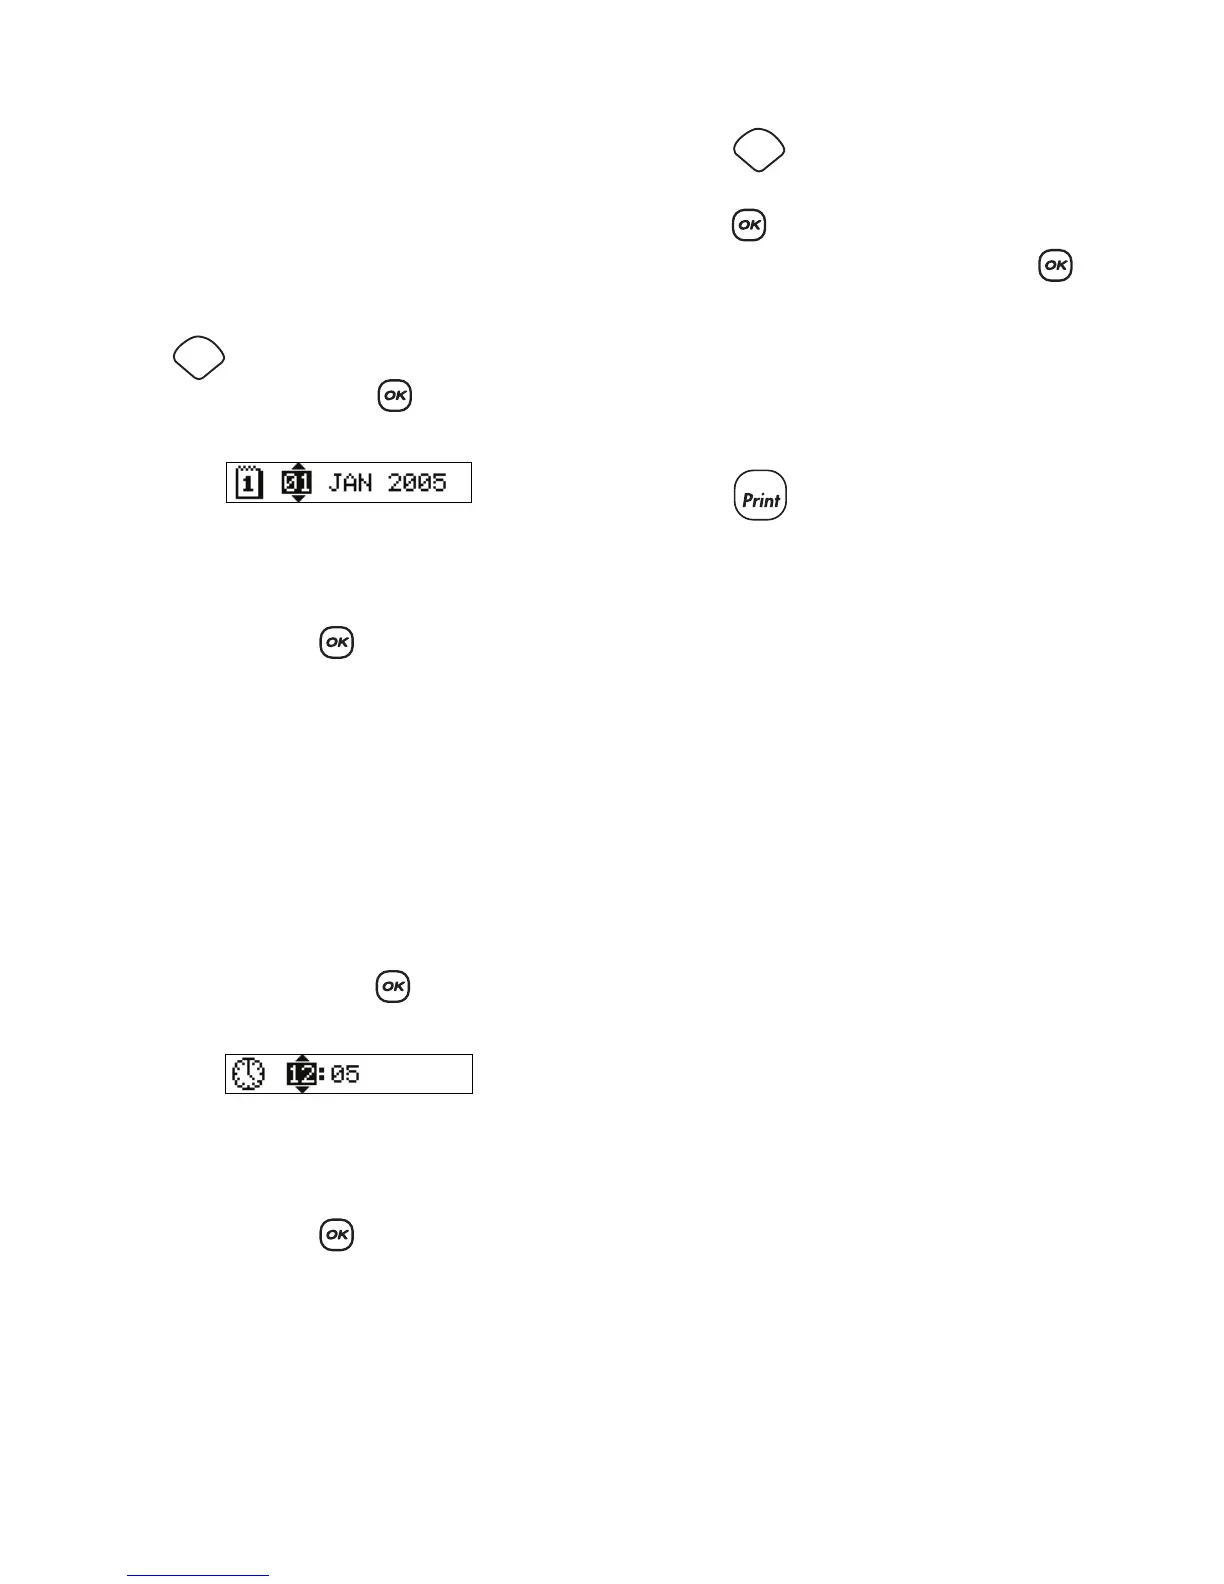
To set the date
1. Press .
2. Select Set Date, and press . The default date
is displayed.
3. Move the cursor over each setting (month, day, and
year) and use the arrow keys to increase or decrease
the value.
4. When finished, press .
Setting the Current Time
The default time format depends upon the language
selection for the label maker. You can change the
default time format by following the instructions in
Changing the Time Format on page 13.
To set the time
1. Press Settings.
2. Select Set Time, and press . The default time
is displayed.
3. Move the cursor over each setting (hours and
minutes) and use the arrow keys to increase or
decrease the value.
4. When finished, press .
Selecting Units of Measure
You can choose to show measurements in inches or
millimeters. The default units of measure depends
upon the language chosen.
To set the units of measure
1. Press .
2. Use the arrow keys to select Set Units and
press .
3. Select inches or millimeters and press .
Printing Your First Label
You are now ready to print your first label.
To print a label
1. Enter text to create a simple label.
2. Press . The label is automatically cut.
The Auto Cut feature is turned on by default. To
disable the Auto Cut feature, see Changing the
Cutting Option on page 15.
3. Remove the label.
Congratulations! You have printed your first label.
Continue reading to learn more about the options
available for creating labels.
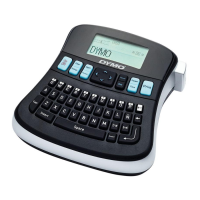
Getting to Know the Label Maker
The following sections describe each feature in detail.
Become familiar with the location of the feature and
function keys on your label maker. See Figure 1 on the
inside front cover.
Power
The
A
button turns the power on and off. After two
minutes of no activity, the power is switched off
automatically. The last label created is remembered
and displayed when the power is turned back on. The
previously selected style settings are also restored.
LCD Display
The label maker’s LCD display shows a row of up to 16
characters. However, you can enter up to 99 characters
and spaces.
Settings
Settings
1,2...n