Set Up Procedure / Maintenance
10
1. Open the rear side of the housing according
to the chapter "Opening the OxySpy", (page 7).
Consider the safety considerations on
page 5.
2. Pull the battery (if there is any) out of the bat-
tery holder, by hooking a finger under the bat-
tery.
Take care of the environment: Dispose of the
used battery properly!
3. Wait a minimum of 2 minutes before installing
the battery. Check that it is the correct type of
battery (see "Technical Information" page 20).
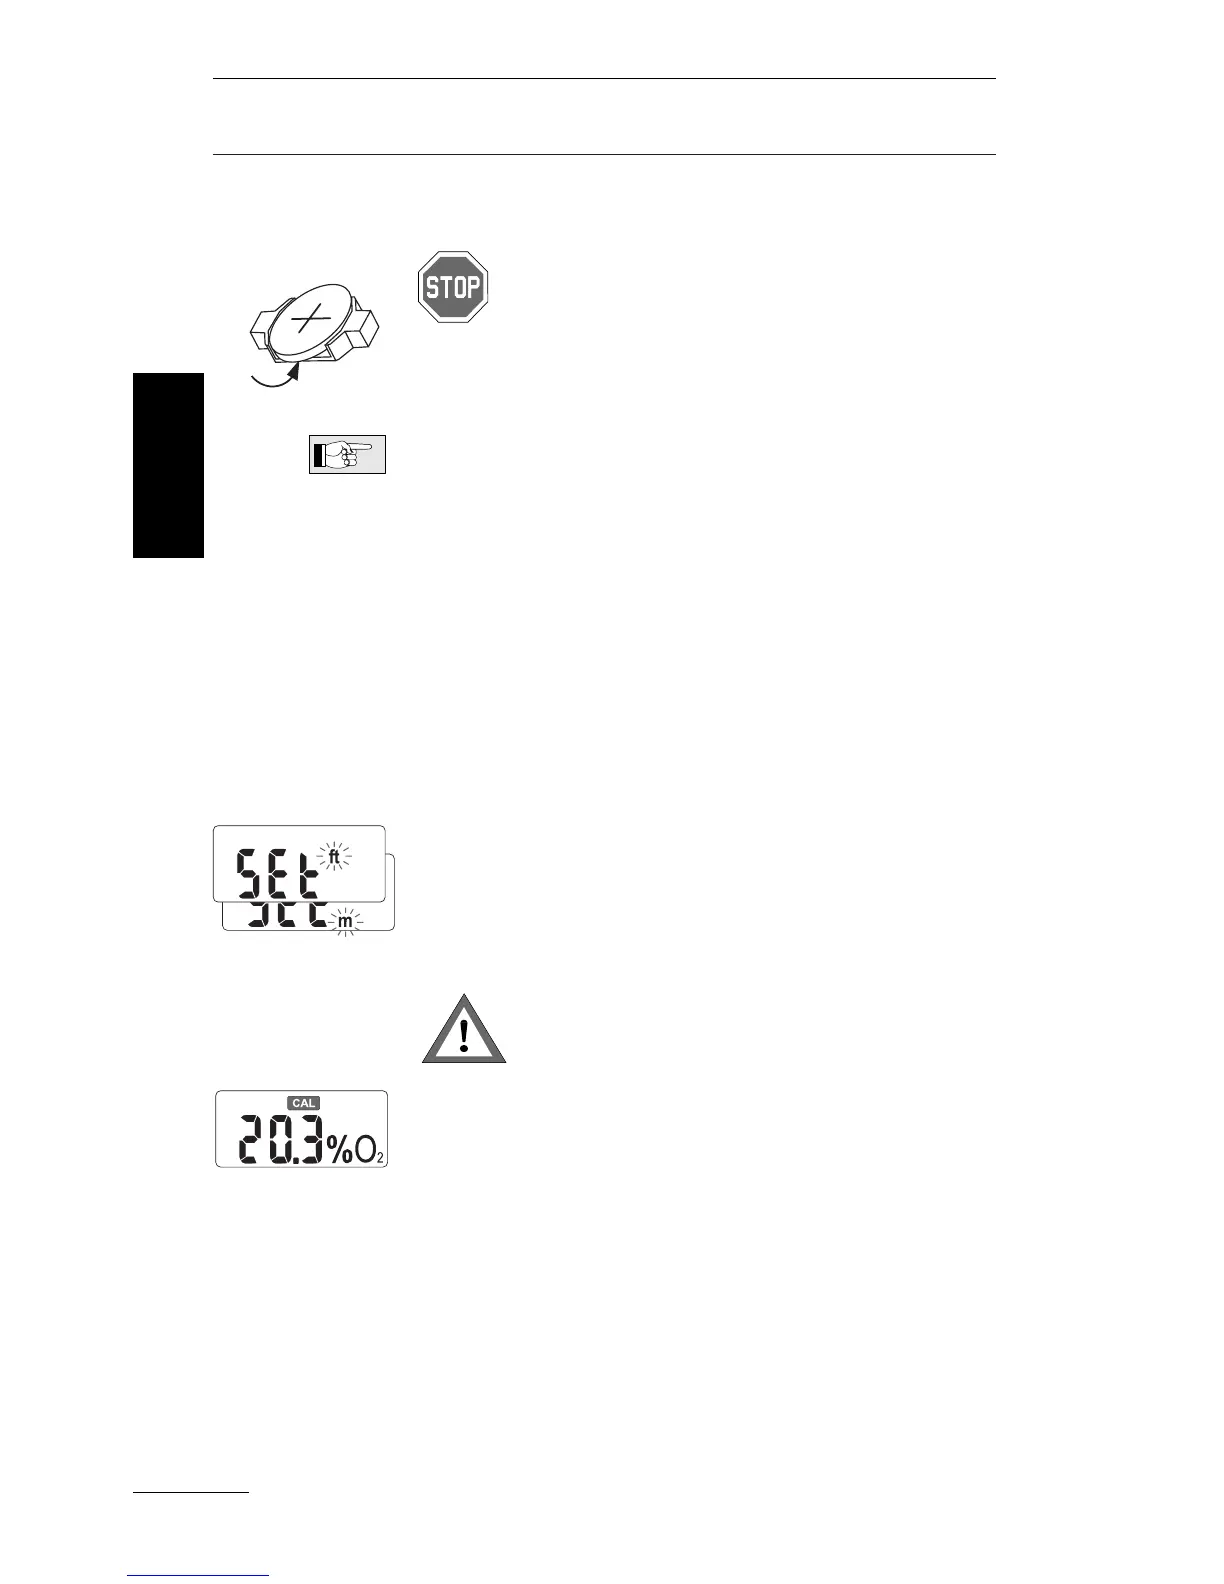
Press the battery into the battery holder until it
snaps in place ( + on the top). The battery hol-
der prevents an incorrect fitting.
4.
Switch the unit on and check if the display is on.
If the unit cannot be switched on, repeat step 2
and 3.
Choose the correct depth unit (mtr. or ft.) to dis-
play the maximum operation depth (MOD) by
quickly pressing the push button.
To confirm the depth unit press the push button
for at least two seconds.
Check the chosen metric system before
refitting the parts of the case!
The unit will show the CAL symbol, because the
OxySpy requires calibration. The displayed
O
2
percentage may be incorrect.
5. Carefully refit together the 2 parts of the case.
Make sure that none of the wires get trapped
and damaged by the case. Take care that the
two parts fit together well and carefully tighten
the 7 screws.
6. Calibrate the OxySpy or mount a new sensor.
See "Calibration" or "Fitting the
O
2
sensor" on
page 11 or page 8, respectively.
Fitting the
battery
English