P19P18
Positioning
Distance to back and side
walls
Every loudspeaker not only disperses
sound energy directly into the room, but
also to the side and even backwards. As
a result, time-delayed reections occur
and add to the original music signal. Thus,
when loudspeakers are positioned too
close to walls, the sound quality can be
restricted.
Dynaudio loudspeakers were developed
to be placed free-standing, and therefore
they reach their optimum performance
when positioned as clear of any walls as
possible.
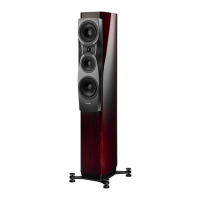
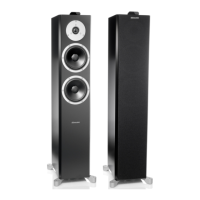
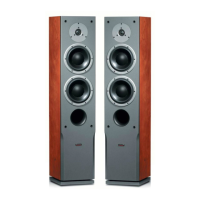
Floor-standing
loudspeaker set-up
The oor-standing models feature a special
base construction, which offers both an
ideal performance and mechanical basis.
Integrated into the base plinth are four
individual spike assemblies. These stabilize
the cabinet on an extremely small contact
area, and therefore prevent any wobbling
while offering optimal resonance control.
The individually adjustable spikes allow
leveling of the cabinet on uneven oors.
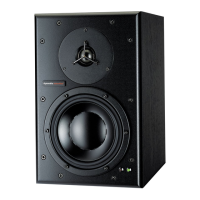
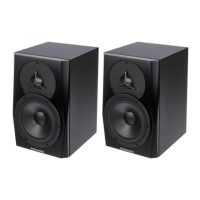
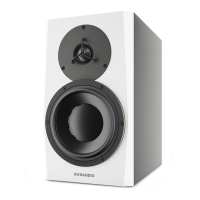
Compact loudspeaker set-up
The compact models are designed to
offer exceptional performance while taking
up minimal space. The mini-monitors will
realize their optimum performance when
used in conjunction with a dedicated stand
(such as the Dynaudio Stands) to position
them at the proper height while absorbing
any resonance.
Due to its dimensions, you can also place
the loudspeaker on a ledge or shelf or on
top of furniture. But to avoid the possibility
of any negative inuence on sound quality,
one should take care to utilize a stable
surface offering a wide enough space in
Spikes with sharp peaks
The sharp peaks of the spikes may cause injuries and damage sensitive surfaces like
hardwood ooring or tile.
Be careful when handling the loudspeakers.
Place plates between the spikes and the surface to protect the underlying surface.
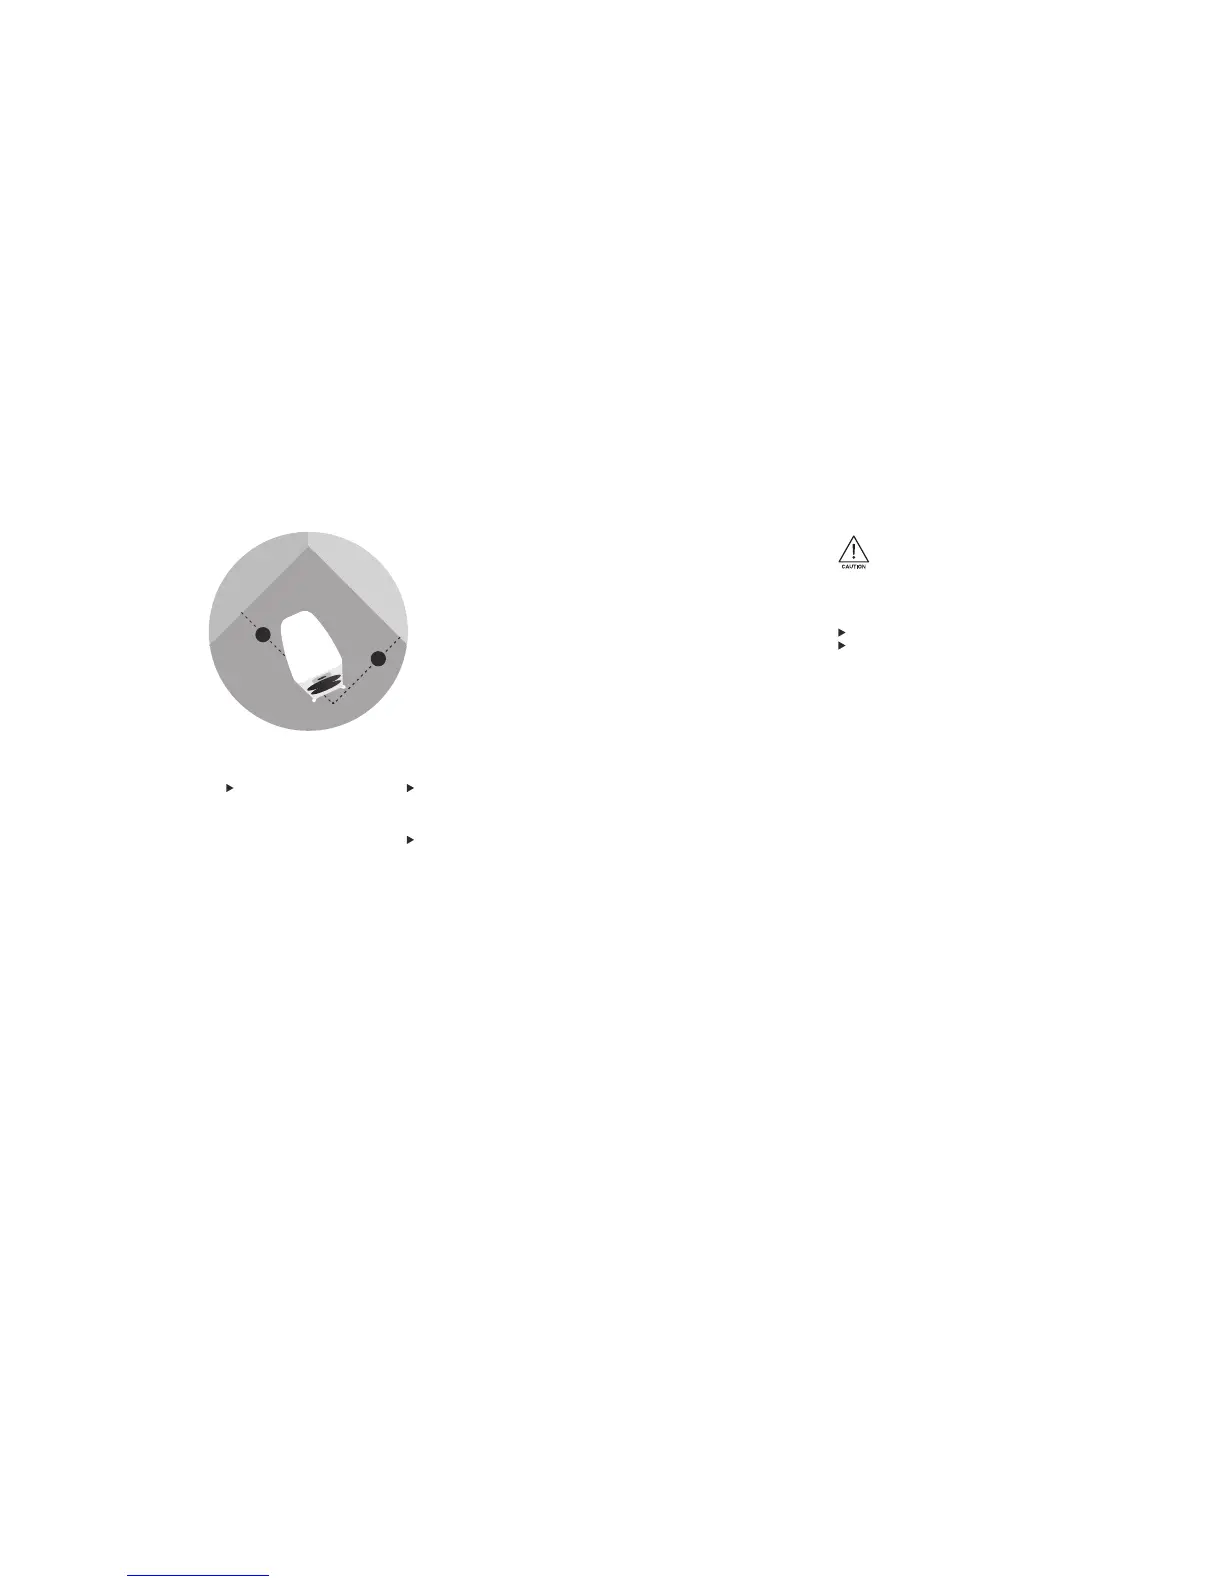
To reduce possible inuences from the
back and sidewalls, the distance to
these boundaries should ideally not be
less than 0.5 meter (see Fig. 4).
Adapting the bass reex port
To minimize low frequency reections,
which will be heard as a thickening of the
sound, the loudspeaker models can be
adapted to the room’s acoustic character
by using foam plugs in the bass reex port.
This will essentially attenuate the room-
induced boost in the low frequency range by
dampening the deep frequencies, yielding
a more clear and tight sound when the
loudspeaker is positioned near rear walls.
front of the loudspeakers as to not limit the
sound quality and performance. In such
applications or if placing the speakers in
enclosed audio/video furniture, the bass
reex port can usually be left unplugged
as long as there is minimal clearance to
the boundaries at the top and rear of the
loudspeaker cabinet.
Fig. 4 Distance to walls.
Fully insert the foam port plugs packed
with your loudspeaker into the bass
reex port, to attenuate the bass
output (if required).
If the attenuation of the bass volume is
too high (bass level too low) remove the
inner part of the foam plug. Then fully
insert the foam ring in the bass reex
port. Make sure the ring is formed in
a concentric circular shape within the
port to prevent reduced and turbulent
airow.
B
A
A, B ≥ 0.5 m
A ≠ B

 Loading...