B3 ESS Unit User Manual
©Dyness reserves the copyright of this document.
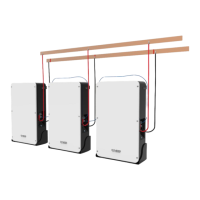
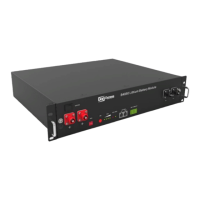
2. Battery module total positive cable installation
3. Battery module total negative cable installation
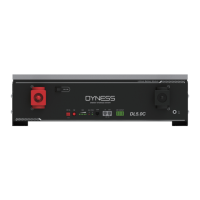
4. Connect the communication cable from the master CAN IN to the inverter
5. Turn on the Power switch and wake up system by SW button
6. Close the DC breaker between inverter and battery
7. Turn on the inverter and check the communication between inverter and battery
system
Installation preparation
Prepare equipment and tools for installation.
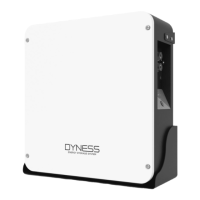
Check the B3 unit and confirm that the ON/OFF switch is in the "OFF" state to ensure the
device is shut off.
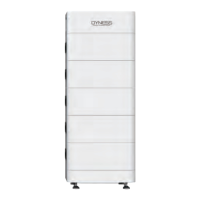
Mechanical installation
Installation method 1:With fixed rack
1. Place the B3 unit on the bracket as shown in the figure and push the device into the
cabinet at the installation position. (The cabinet structure in the figure is for reference
only)
Figure 3-3
2. Secure the B3 unit to the cabinet with a nut through the mounting holes top on the
hanging ears of the B3 unit.
Figure 3-4
Installation method 2: With flexible brackets (up to six layers)