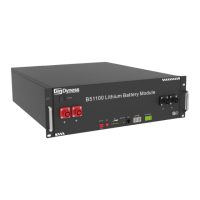
B51100 User Manual
3.1.5 Engineering coordination
Attention should be paid to the following items before construction:
Power line specification.
The power line specification shall meet the requirements of maximum discharge current
for each product.
Mounting space and bearing capacity.
Make sure that the battery has enough room to install, and that the brackets have
enough load capacity.
Wiring.
Make sure the power line and ground wire are reasonable. Not easy to short-circuit,
water and corrosion.
3.2 Equipment installation
Table 3-2 Installation steps
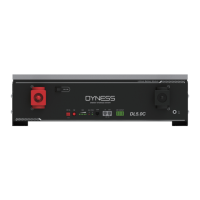
Confirm that the ON/OFF switch on the front panel of
B51100 unit is in the “OFF” state to ensure no live
operation.
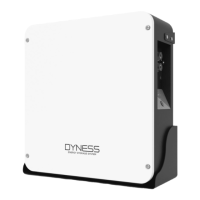
1. Battery placement position determination
2. Battery module installation
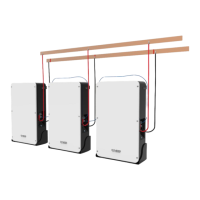
1. Ground cable installation
2. Battery module parallel cable installation
3. Parallel communication cable connection
1. Turn the ON/OFF switch to the "ON" state
2. Press SW button 3S to wake up battery
3. Check the system output voltage and led status
1. Connect total positive & total negative cable of the
battery system to the inverter
2. Battery module total positive cable installation
3. Battery module total negative cable installation
4. Connect the communication cable from the master CAN
IN to the inverter
5.Turn on the Power switch and wake up system by SW
button
6.Close the DC breaker between inverter and battery
7.Turn on the inverter and check the communication
between inverter and battery system
3.2.1 Installation preparation
1. Prepare equipment and tools for installation.
2. Check the B51100 unit and confirm that the ON/OFF switch is in the "OFF" state to
ensure the device is shut off.