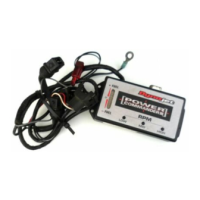
FIG #
FIG #
FIG #
1 Remove the main seat and both side
covers.
2 Remove the fuel tank.
3 Remove the air box.
There are several hoses going into the
air box. We recommend referring to the
service manual for proper removal and
installation.
4 Route the wiring harness from the PCIII
behind the left hand side of the frame and
go towards the throttle bodies (Fig. A).
FIG A
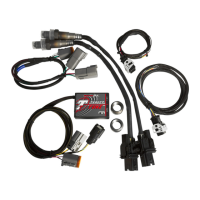
5 Unplug the stock wiring harness from each
injector (Fig. B).
FIG B
FIG C
6 Plug the connectors from the PCV inline
of the stock injectors and the stock wiring
harness (Fig.C).
Orange - cylinder 1- front
Yellow - cylinder 2 - rear
PCV harness
Unplug
Unplug