Do you have a question about the Dynojet Power commander V and is the answer not in the manual?
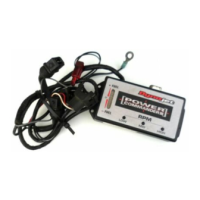
Allows switching between two base maps on the fly using a switch.
Connects to the Dynojet quickshifter for gear change timing.
Taps into the speed sensor for gear position calculation.
Accepts 0-5v signals for engine temp, boost, etc.
Connects to a switch to limit RPM for controlled launches.
Open seat and storage, remove covers under front storage lid.
Remove lower, mirror, upper, and inner side panels on both sides.
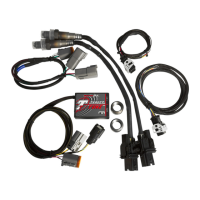
Secure PCV and O2 Optimizer units under the seat using supplied velcro.
Route PCV and O2 Optimizer harnesses to throttle bodies and air box.
Remove MAP sensor bolt and unplug the stock injector wiring.
Connect PCV yellow and orange wires inline with stock injector harness.
Connect PCV grey wire to the TPS harness using a Posi-tap.
Attach PCV ground wire to the left rear cylinder head bolt.
Unplug stock crank sensor and connect PCV in-line.
Plug PCV connectors inline with the stock ignition coil wiring.
Connect O2 Optimizer FRONT connector to the stock front O2 sensor.
Connect O2 Optimizer REAR connector to the stock rear O2 sensor.
Reinstall all vehicle body panels after completing wiring connections.
Details on O2 optimizer controlling closed loop for target AFR.
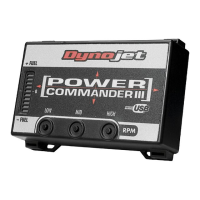
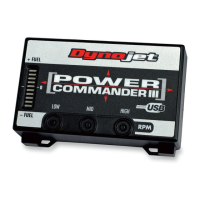
| Fuel Control | Yes |
|---|---|
| Rev Xtend | Yes |
| USB Connectivity | Yes |
| Software | Power Commander Software |
| Size | Compact |
| Quick Shifter Input | Yes |
| Analog Input | Yes |
| Map Switching | Yes |
| Power Supply | 12V DC |
| Weight | 0.5 lbs |
| Warranty | 1 year |
| Ignition Control | Yes |
| Auto-tune | Optional |
| Operating Temperature | 85°C |
| Adjustable Parameters | Fuel, ignition |
| Compatibility | Various motorcycle models |