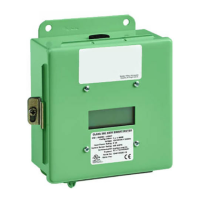
Method 2: Daisy Chain with Wire Terminal
1. Connect the “HI” terminal (display PCB J3 Pin 1) of each Green Class
Net Meter unit together so that all unit HI terminals are linked. (HI to HI
to HI, etc.)
2. Connect the “LO” terminal (display PCB J3 Pin 2) of each Green Class
Net Meter unit together so that all unit LO terminals are linked. (LO to
LO to LO, etc.)
3. Connect the “GND” terminal (Display PCB J3 Pin 3) of each Green
Class Net Meter unit together so that all unit GND terminals are linked.
(GND to GND to GND, etc.)
4. After completing the wiring of connector J3 for all units, you need to
decide what device will be used to communicate with this network of
Green Class Net Meters.
A. Option 1: Internal Modem - installing a master unit such as Class
3000 or E-Mon IDR within the daisy chain of Green Class Net Meter
units. The selected units internal modem will then communicate via the
RS485 network. Simply connect a phone line to one of the two
telephone jacks inside the Class 3000/E-Mon IDR to the telephone line
to complete the installation.
B. Option 2: Local Computer - If adding the Class 3000 or E-Mon IDR is
not an option, a locally residing computer can communicate with the
RS-485 network. The computer must be connected to the E-Mon
RS232/485 key. The RS232/485 key is then connected to one of the
daisy chained Green Class Net Meters available RS-485 jacks using
RJ-11 cabling.
5.7 Optional Modem Wiring
For Green Class Net Meter units installed as stand-alone devices, the only com-
munications interface required is a telephone line for interfacing to the optional
modem module. Connect one end of the phone line cable plug into the RJ-11
jack located on the modem interface card and the other end to a functional tele-
phone outlet.
NOTE: If the unit is sharing a phone line with a DSL device, a DSL fi lter
must be installed between the phone line and phone jack to ensure reliable
operations.
Page 16