7EATON EP Control for Heavy Duty Series 2 Piston Pumps Parts & Service 08-10-0002-EN-0901 September 2001
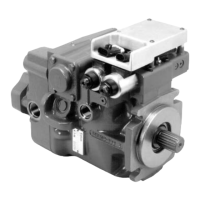
Step 5
The two solenoid coils can be
removed by turning each solenoid
tube knob counterclockwise.
Remove the knob and associated
O-ring. Slide the coil off the tube
subassembly. Repeat for other coil.
Note: Each coil is stamped with a
position number “1” and “2” and
the voltage “12V” or “24V”. There
are also numbers stamped on the
valve assembly indicating positions
#1 and #2. When reassembling the
coils, the numbers stamped on the
coil and valve assembly must
match. Refer to page 3.
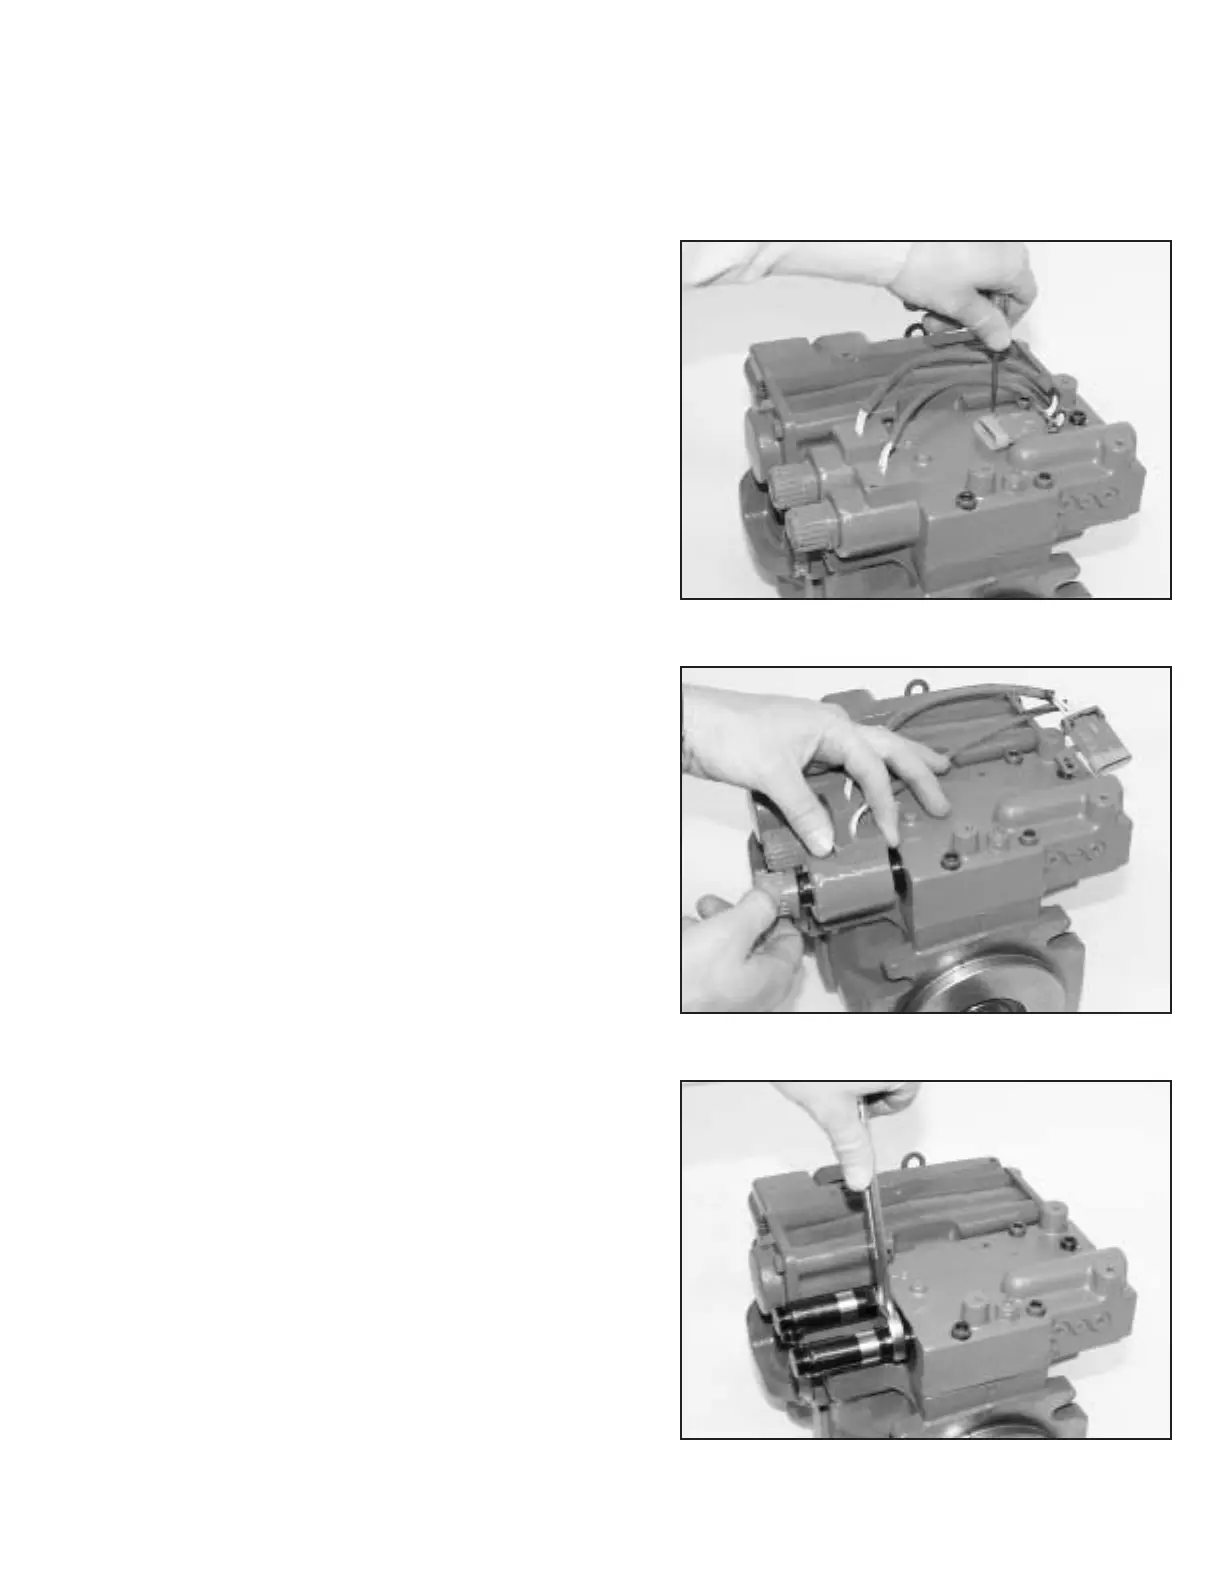
Step 6
Using a 3/4" open-end wrench,
remove solenoid tube subassembly
by turning counterclockwise.
Repeat on the second tube.
If just replacing the coil and tube
subassemblies, skip to Reassembly,
Step 16.
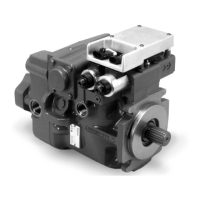
Step 4
Using a Phillips screwdriver, remove
the set screw and lockwasher
which hold the
Metri-Pack
®
connector to the
EP Control valve assembly.
Repair & Service