I.B. 17555C
Effective November 1999
Page A7
6.0 DRAWOUT OPERATION
6.1 INSERTING THE RELAY
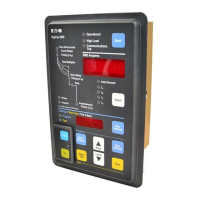
Before the Digitrip 3001 is inserted into the Drawout
Outer Case:
• Verify that all wiring is correct as shown in the wiring
diagram.
• Set the DIP switches per Table 5.1 on page 36.
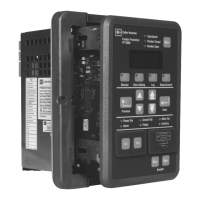
When inserting the DT3001 Drawout into the Drawout
Outer Case, use the guides to align the exterior of the
device chassis with the interior of the outer case. Slide
the unit into the Case using the guides, pressing firmly
until all four latches located on the sides of the device are
seated and latched into place. Tabs on the DT3001 Dra-
wout Inner Chassis will prevent the inner chassis from
being inserted upside down or being inserted into an
outer case of another IQ product.
CAUTION
THE DT3001 INNER CHASSIS MUST BE FULLY
INSERTED AND FULLY LATCHED IN TO ITS DRA-
WOUT OUTER CASE FOR PROPER OPERATION OF
THE DEVICE.
When the unit is seated properly, the quick release but-
tons at the top and bottom of the unit will return to their
non-compressed position. The device can now be
secured in the outer case by inserting a utility locking ring
in the provided slot.
6.2 REMOVING THE RELAY
WARNING
REMOVAL OF THE DIGITRIP 3001 INNER CHASSIS
FROM THE DRAWOUT OUTER CASE EXPOSES LIVE
PARTS, WHERE THE HAZARD OF A FATAL ELEC-
TRIC SHOCK IS PRESENT. ALWAYS DISCONNECT
ANY CONTROL OR SOURCE POWER BEFORE
TOUCHING ANYTHING ON THE INTERNAL OR
EXTERNAL PARTS OF THE DRAWOUT OUTER
CASE.
When removing the Inner Chassis from the Drawout
Outer Case, first remove any locking ring that has been
installed. Press the top and bottom quick release buttons
simultaneously, and pull the relay out by its front panel.

 Loading...


