28
B. Disassembly
General
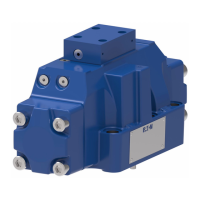
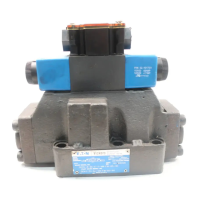
This manual describes the disassembly sequence of a typical
DG5S4-10*C-W3-53 two-stage directional valve. See
Figures 15 and 18. Slight variations may be noted on your
model depending on the type of accessories and unit design.
Figure 15 may be used for all models, except pressure
centered “D” models regardless of the design. Refer to Figure
17 for pressure centered “D” models. Figure 18 shows the
disassembly sequence of a DG4S4-016C-W3-*-50 wet
armature pilot valve. If your pilot valve is of a different type,
refer to Figures 19, 20 or 21.
C. Pilot Valve Removal
Refer to Figure 15.
1. Remove the four attaching screws (4) from the pilot
valve. Remove the pilot valve from the main stage body (6).
2. Remove and discard O-Rings (5) from pilot valve
mounting face.
NOTE
The following section (D) pertains to main stage
disassembly. If your unit does not require main
stage disassembly, omit the following section.
D. Main Stage Disassembly
Refer to Figure 15.
1. Loosen the four end cover screws (7) from end cover
(8). Be ready to catch any oil trapped inside the unit. Re-
move the end cover and discard O-Ring (9).
2. Remove spring (10) and washer (11) from main stage
spool (17). NOTE: Spring (10) and washer (11) do not exist
on spring offset “A” or floating type models.
3. Loosen the four screws (12) from end cover (13).
Remove the end cover and discard O-Ring (14).
4. If applicable, remove spring (15) and washer (16)
form main stage spool (17).
5. Remove main stage spool (17) from body (6).
6. Turn the body (6) on its side and remove O-Rings
(18, 19 and 20) from mounting face.
NOTE
The following step (7) pertains to integral check
valve models only. DO NOT remove check valve
parts unless inspection or unit operation indicates a
check valve problem. If check valve removal is
necessary, perform step (7).
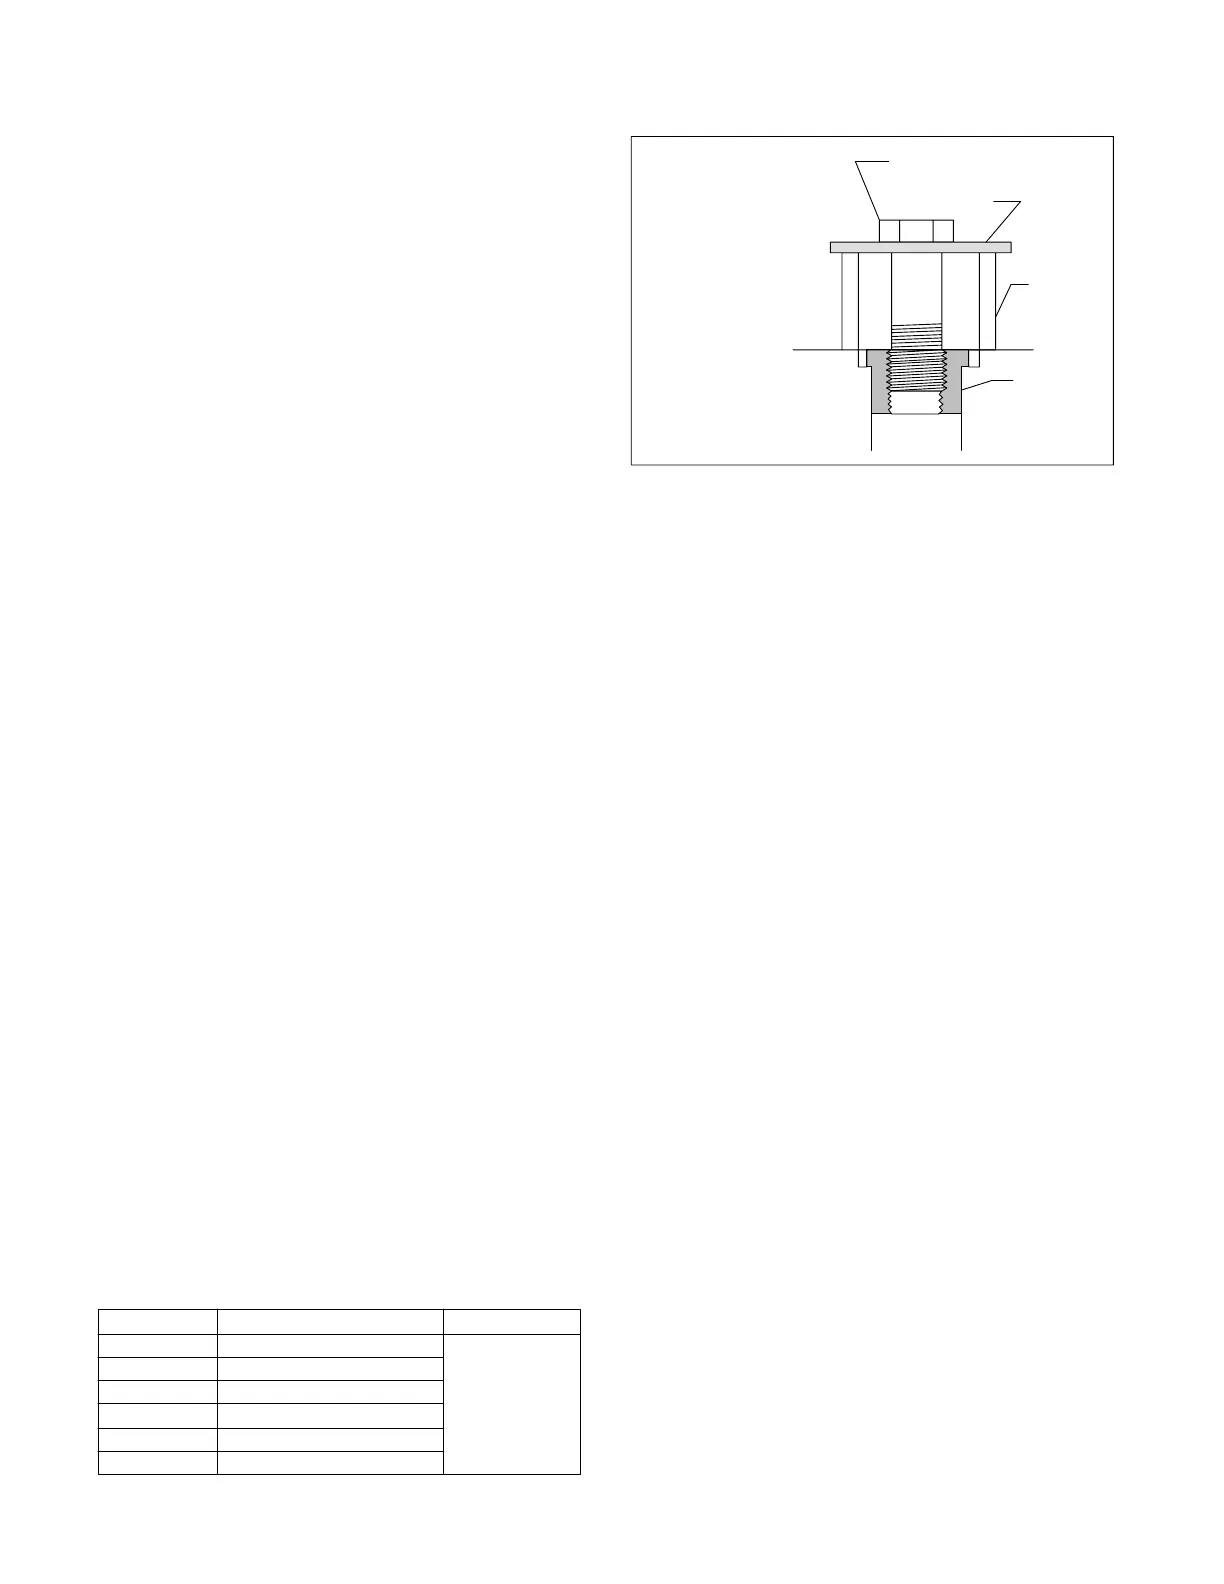
7. Select the correct screw listed in Table 6. Obtain a
piece of pipe or tubing with an inside diameter that is slightly
larger than outside diameter of seat.
Model
DG5S4-04 .5000-13 UNC-2B
DG5S4-06 .5625-18 UNF-2B
DG5S4-H06 .875-14 UNF-2B
DG5S4-10 1.125-7 UNC-2B
DG5S4-H8 .750-16 UNF-2B
DG5S4-8 .750-16 UNF-2B
Screw LengthScrew Dia./Thread Type
76.2mm (3”)
Table 6. Screw Tabulation for Seat (21) Removal
Also obtain a flat washer. Remove seat (21), Figure 15, per
instructions noted in Figure 16. Remove poppet (22) and
spring (23). DO NOT remove sleeve (24).
Screw
Figure 16. Check Valve Seat Removal
Tubing
Washer
Seat (21)
(Figure
15)
NOTE:
Thread seat (21)
then place tubing
and washer over
seat area as shown.
Thread the screw
into seat (21).
Tighten the screw to
remove seat.
8. If necessary, remove rest pins (25) with vise grip
pliers.
9. Remove SAE straight thread construction plugs and
O-Rings (26 through 49) from body (6). DO NOT remove
construction plugs if your unit is equipped with the pipe plug
variety (50 and 51 design models).
NOTE
DO NOT remove the internal plugs of body unless
inspection reveals a problem.
E. Pilot Valve Disassembly
Refer to Figure 18.
NOTE
The following steps (1 through 9) describe the
disassembly sequence of a DG4S4-01**-W3*-50
wet armature pilot valve. If your pilot valve is of a
different type, refer to figures 19, 20, or 21 and
follow the item number sequence for disassembly.
1. Remove the two screws (1) from solenoid coil (2) and
remove the coil. Remove and discard gasket (3).
2. Remove and discard O-Ring (4) from exposed core
tube S/A (7).
3. Remove the two screws (5) from flange (6). Then
remove the flange and core tube S/A from body (38). Re-
move and discard O-Ring (8) from core tube S/A.
4. Remove push pin (9), pole face (10), armature (11)
and manual plunger (12) from core tube (7). Remove and
discard O-Ring (13) from manual plunger (12).
 Loading...