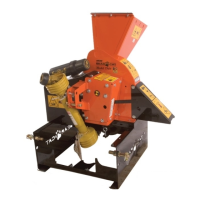
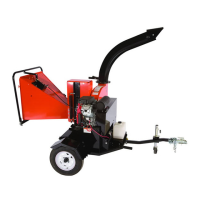
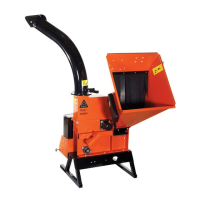
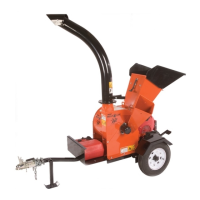
14 3 INCH CHIPPER/SHREDDER
SERVICE & MAINTENANCE
WARNING
1.
second blade.
Attach the shredder screen to the machine with one 2.
3.
5.5 INSTALLING THE BLADES
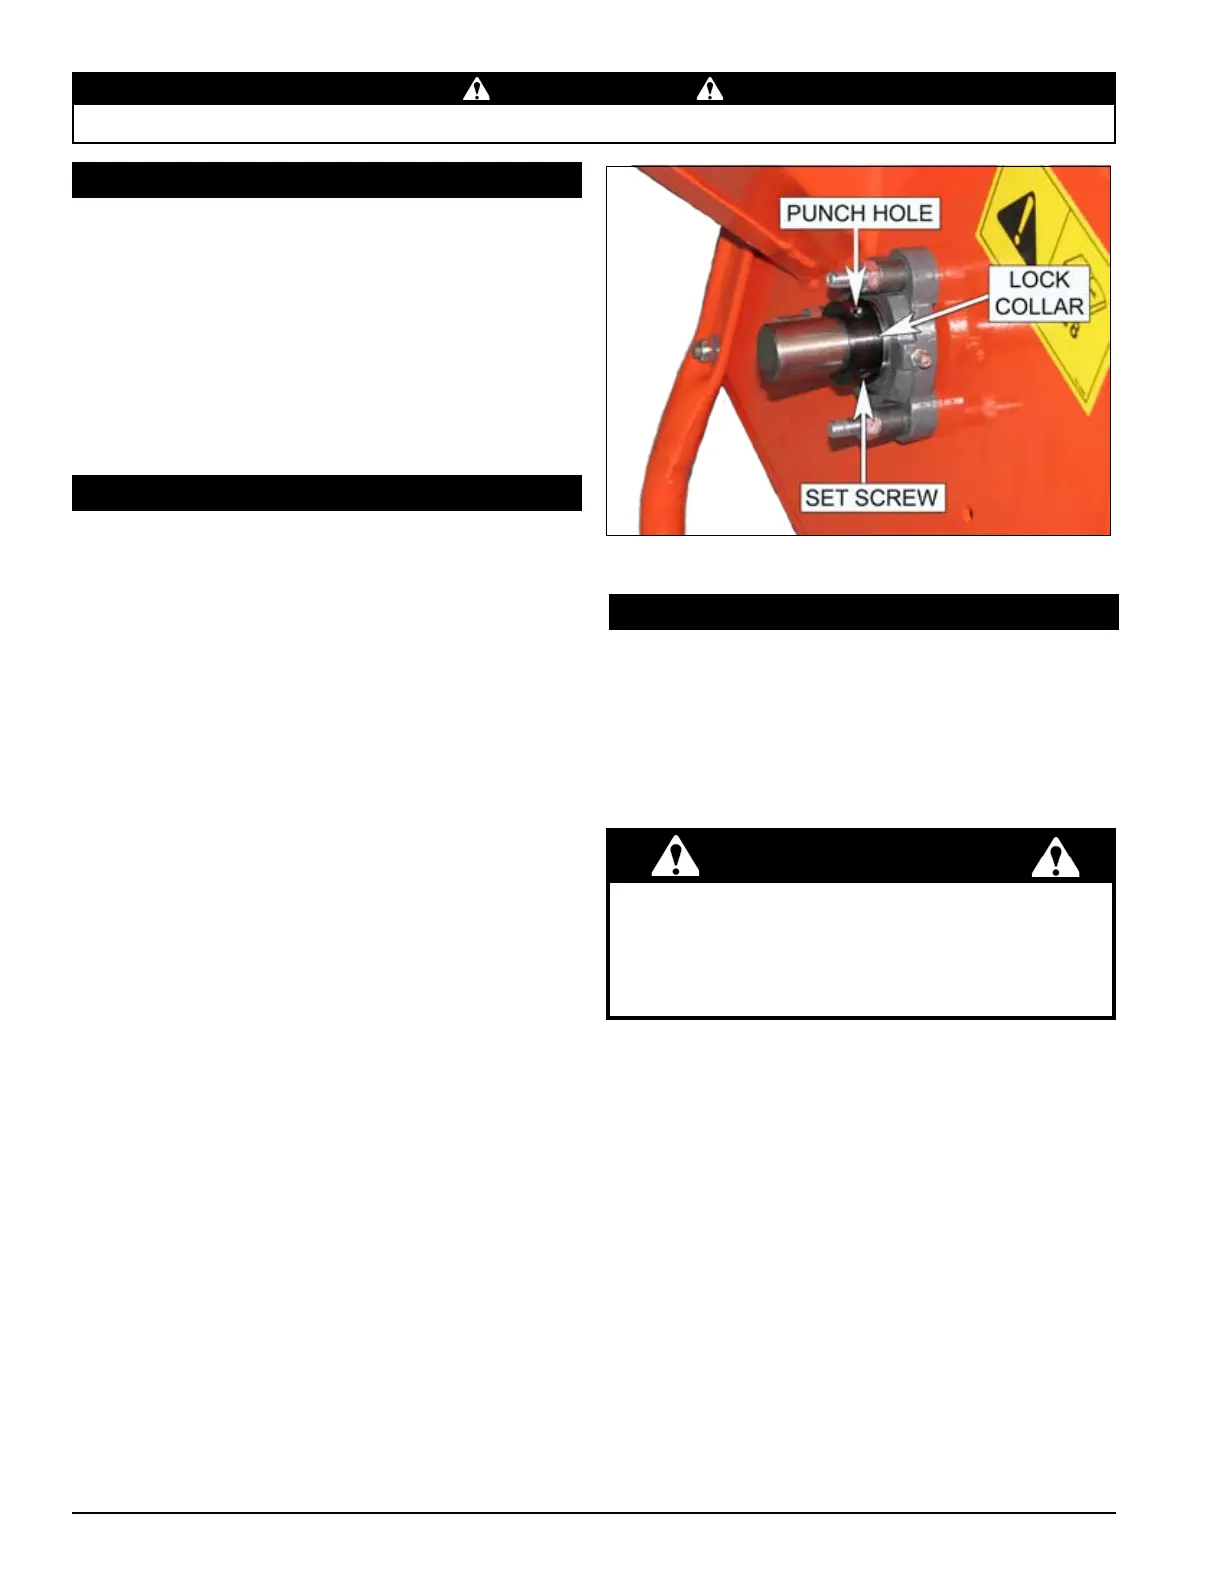
5.6 ADJUSTING THE CHIPPER ANVIL
1.
2.
3.
On the
chute side bearing, tap punch in a CW rotation.
On the engine side bearing, tap punch in a CCW
rotation
4.
check the clearance on all chipping blades.
5.
rotation (clockwise on the engine side bearing and
counterclockwise on the chute side bearing) and
set them with a hammer tap. Tighten the lock collar
set screws.
6.
160 In-lbs.
7.
8.
1.
remove discharge door/shield and discharge screen.
2.
3.
4.
5.
Install a new 10-24 x 1-3/8" bolt
and nut.
Repeat steps 3 through 6 to assemble the other three 6.
7.
Ft-lbs. Test run machine.
Figure 5.2 - Lock Collar
balance.
5.7 REPLACING THE SHREDDER KNIVES
IMPORTANT
blades. Never reuse the #10-24 nut and bolt. Never