40
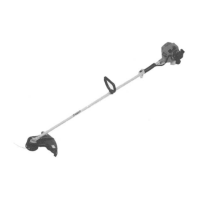
SRM-250/250SI
E
N
G
L
I
S
H
D
E
U
T
S
C
H
I
T
A
L
I
A
N
O
ASSEMBLING
(U-HANDLE VERSION)
ZUSAMMENBAU
(U-GRIFF VERSION)
ASSEMBLAGGIO
(VERSIONE CON IMPUGNATURA AD U)
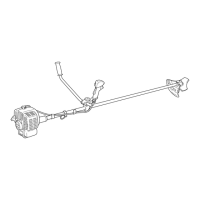
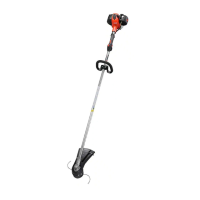
To eliminate loosening of throttle wire fix it to shaft tube
(2 places) and to right hand U-handle (1 place) with wire
fixing clips.
1. Wire fixing clip
2. Shaft tube
3. Throttle wire
Um zu verhindern, daß sich der Gaszug löst, fixieren Sie
ihn am Schaft mit 2 Kabelklemmen und am rechten Griff
mit 1 Kabelklemme, wie nebenstehend abgebildet.
1. Kabelklemme
2. Kabelhülle
3. Gaszug
Per evitare che il cavo acceleratore si allenti fissatelo al
tubo dell’albero (2 posizioni) e all’impugnatura destra ad
U destra (1 posizione) con i fermi di fissaggio.
1. Fermo cavo acceleratore
2. Tubo albero trasmissione
3. Cavo acceleratore
1
2
3
4
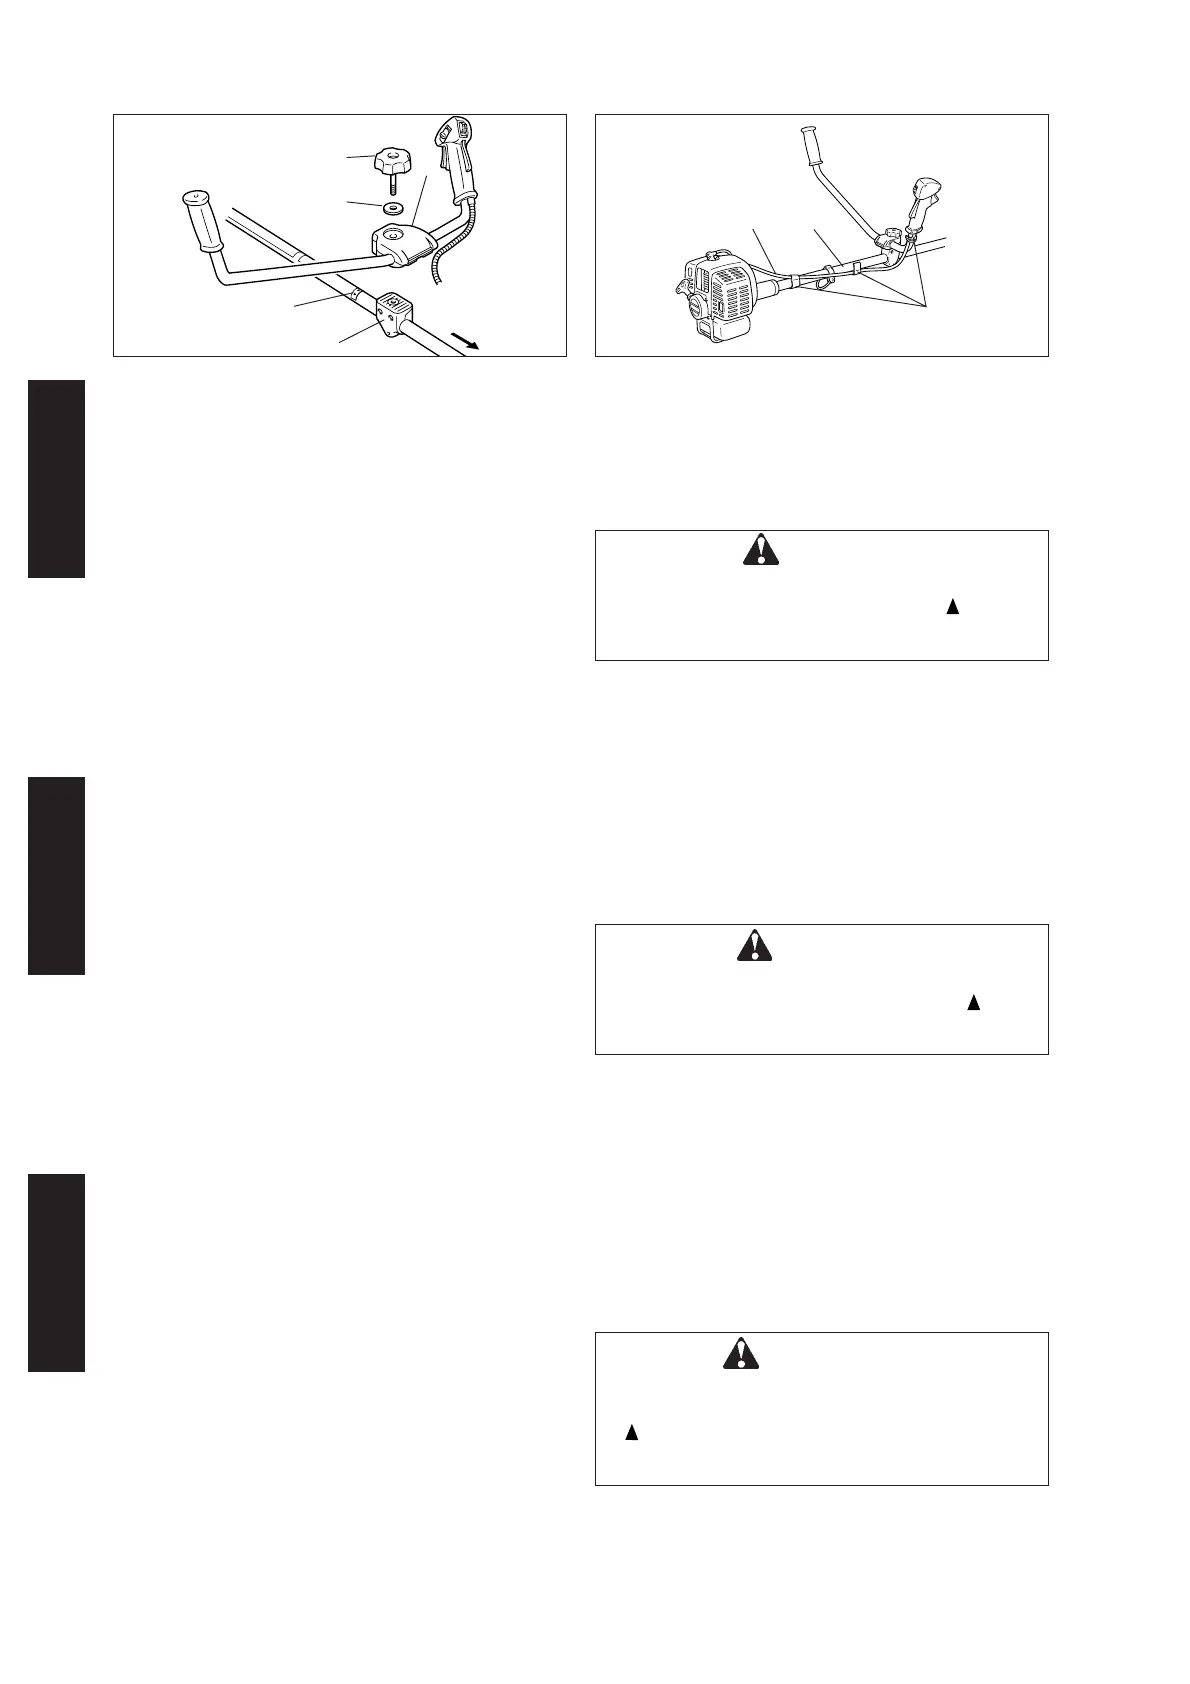
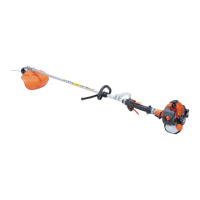
1. Handle assembling bracket (upper)
2. Handle assembling bolt (8 mm)
3. Washer
4. Handle assembling bracket (lower)
5. Arrow
6. To engine
Install handle assembling bracket (upper) in handle
assembling bracket (lower) and fix handle by tightening
handle assembling bolt (8 mm) lightly.
Adjust inclination of handle to adequate position (easy to
operate) and tighten firmly handle assembling bolt (8 mm).
Setzen Sie den oberen Griff-Befestigungsbacken auf den
unteren und fixieren Sie das linke Griffrohr indem Sie den
Haltebolzen leicht anziehen.
Stellen Sie die Neigung des Handgriffes in die
entsprechende Position (so daß die Griffe bequem zu
bedienen sind). Ziehen Sie den Griffhaltebolzen fest.
1. Griffbefestigungsbacken (oben)
2. Griffhaltebolzen (8 mm)
3. Scheibe
4. Griffbefestigungsbacken (unten)
5. Pfeil
6. zum Motor
Montate il supporto impugnatura (superiore) nel supporto
impugnatura (inferiore) e fissate l’impugnatura sinistra
stringendo il bullone di montaggio impugnatura (8 mm),
ma non troppo.
Regolate l’inclinazione dell’impugnatura in posizione
adeguata (comoda per il lavoro) e stringete bene il bullone
montaggio impugnatura (8 mm).
1. Supporto (superiore) impugnatura
2. Bullone impugnatura (8 mm)
3. Anello
4. Supporto impugnatura (inferiore)
5. Freccia
6. Al motore
6
1
2
3
5
CAUTION
• Do not install the suspension point to be located
farther from you than the arrow mark (
).
• Install the handle so that it does not hide any of
the safety decals.
VORSICHT
• Trageöse so montieren, dass diese nicht weiter
von Ihnen entfernt ist als die Pfeilmarke (
).
• Handgriff so montieren, dass er die
Sicherheitsaufkleber nicht verdeckt.
ATTENZIONE
• Non installare l’attacco della cinghia per
collocarlo più lontano da te rispetto alla freccia
(
).
• Installare l’impugnatura in modo che non si
stacchi nessuna delle decalcomanie.