15
Eclipse RatioMatic Burners, RM Series, V5, Installation Guide 110, 12/3/2014
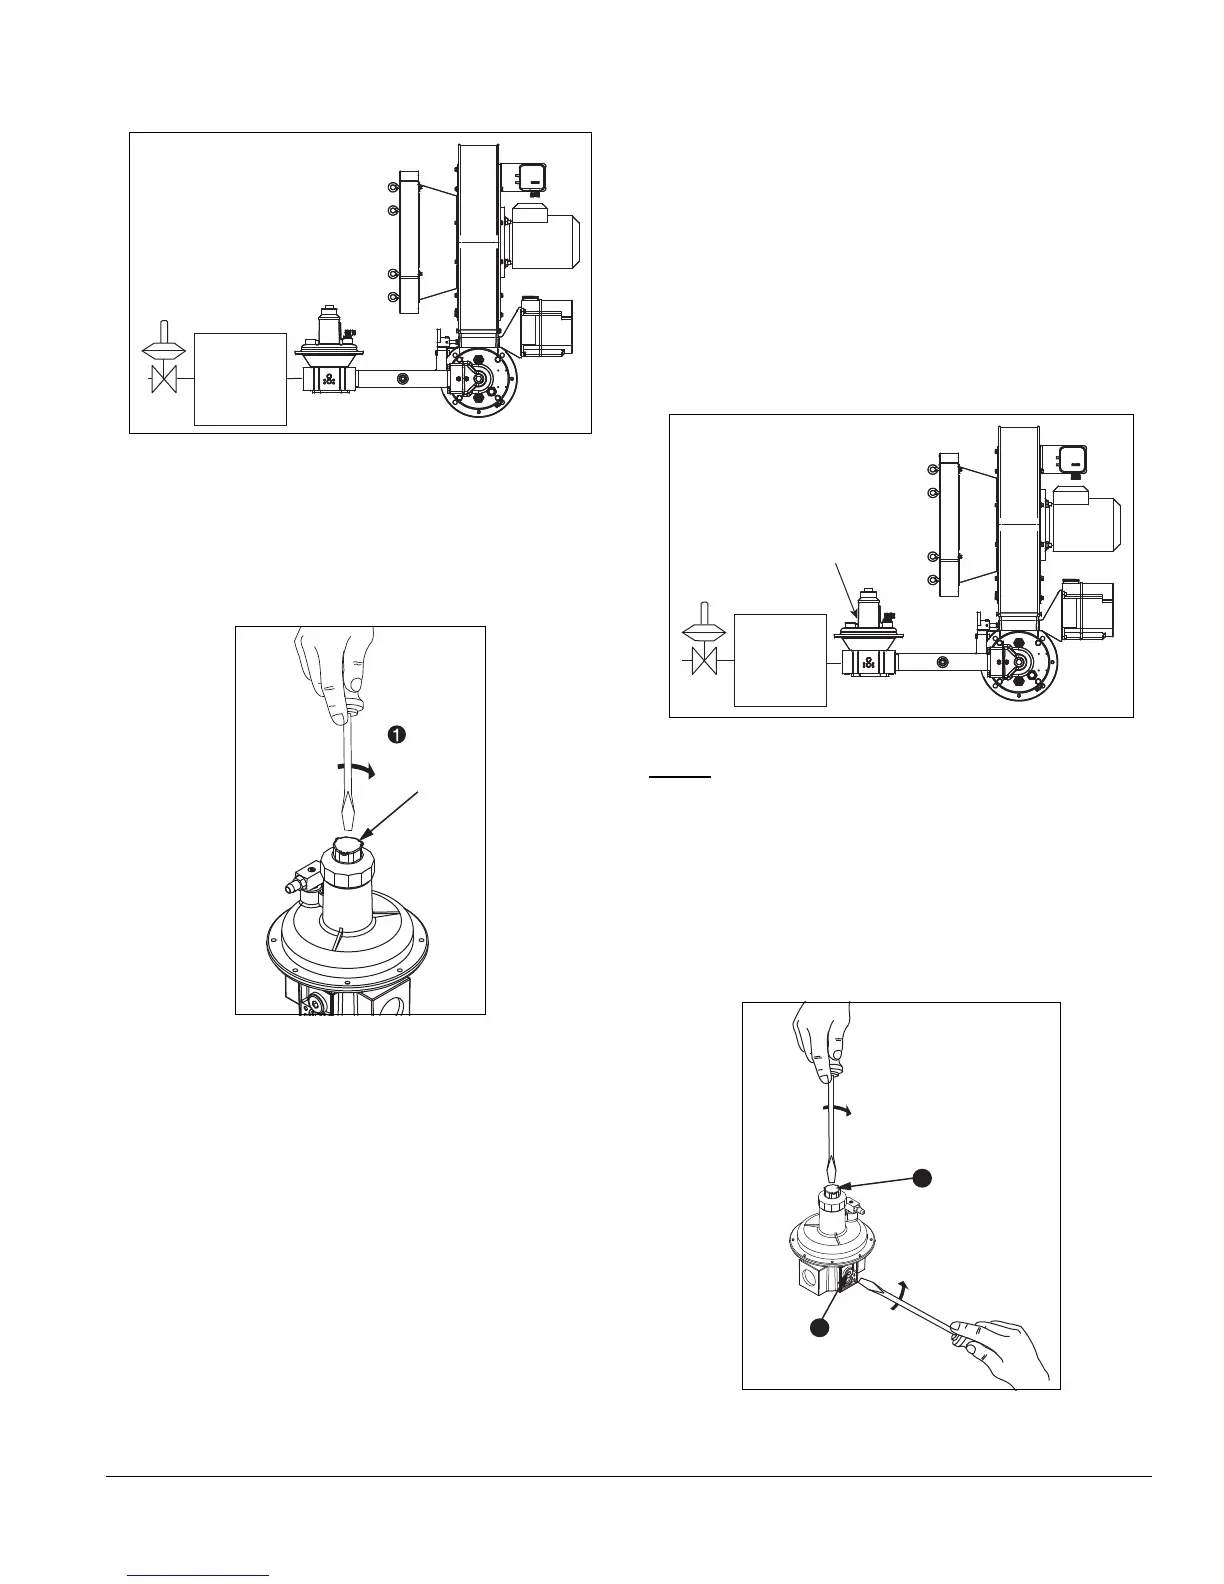
Procedure A: Low fire start without high turndown
option
Figure 4.7. Procedure A
1. Drive control motor to low fire.
2. Be sure combustion air blower is running.
3. Verify bias adjusting screw on ratio-regulator spring
column is six full clockwise turns (360° x 6) down from
the top (initial setting).
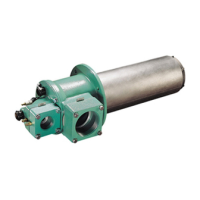
Figure 4.8. Ratio Regulator
4. Open main gas manual shut off valves.
5. Set system control to stay at low fire during and after
ignition sequence.
6. Attempt to ignite burner.
7. If burner does not ignite:
a. Attempt to ignite burner again to purge air from the
gas piping.
b. If burner still does not ignite, turn bias adjusting
screw a half turn clockwise to increase gas flow.
c. Attempt to ignite burner.
d. Repeat steps b and c until burner ignites. If
necessary, refer to Chapter 5 for troubleshooting
tips.
8. Flame signal strength: Adjust gas flow with bias
adjusting screw for lowest gas flow that maintains
a stable flame signal:
• clockwise, for more fuel
• counterclockwise, for less fuel
9. Verify low fire flame:
a. Shut off gas. When chamber temperature is below
250°F (121°C), shut off combustion air blower.
b. Restart combustion air blower and ignite burner.
c. Verify repeatability of ignition and low fire flame
signal.
Procedure B: Low fire start with high turndown option
Figure 4.9. Procedure B
NOTE: The RatioMatic burner with high turndown option
includes a ratio regulator with internal bypass adjustment.
1. Drive control motor to low fire.
2. Be sure combustion air blower is running.
3. Verify bias adjusting screw on ratio-regulator spring
column is six full clockwise turns (360° x 6) down from
top (initial setting).
4. Open main gas manual shut off valves.
Figure 4.10. Ratio Regulator with Internal
Bypass Adjusting Screw
Main gas
shut-off
valve train
%LDV
$GMXVWLQJ
6FUHZ
&:IRU
PRUHJDV
Main gas
shut-off
valve train
Ratio regulator
with bypass
adjusting screw
1
2
CW for
more gas
Bias
adjusting
screw
CCW for
more gas
Internal bypass
adjusting screw