- 8 -
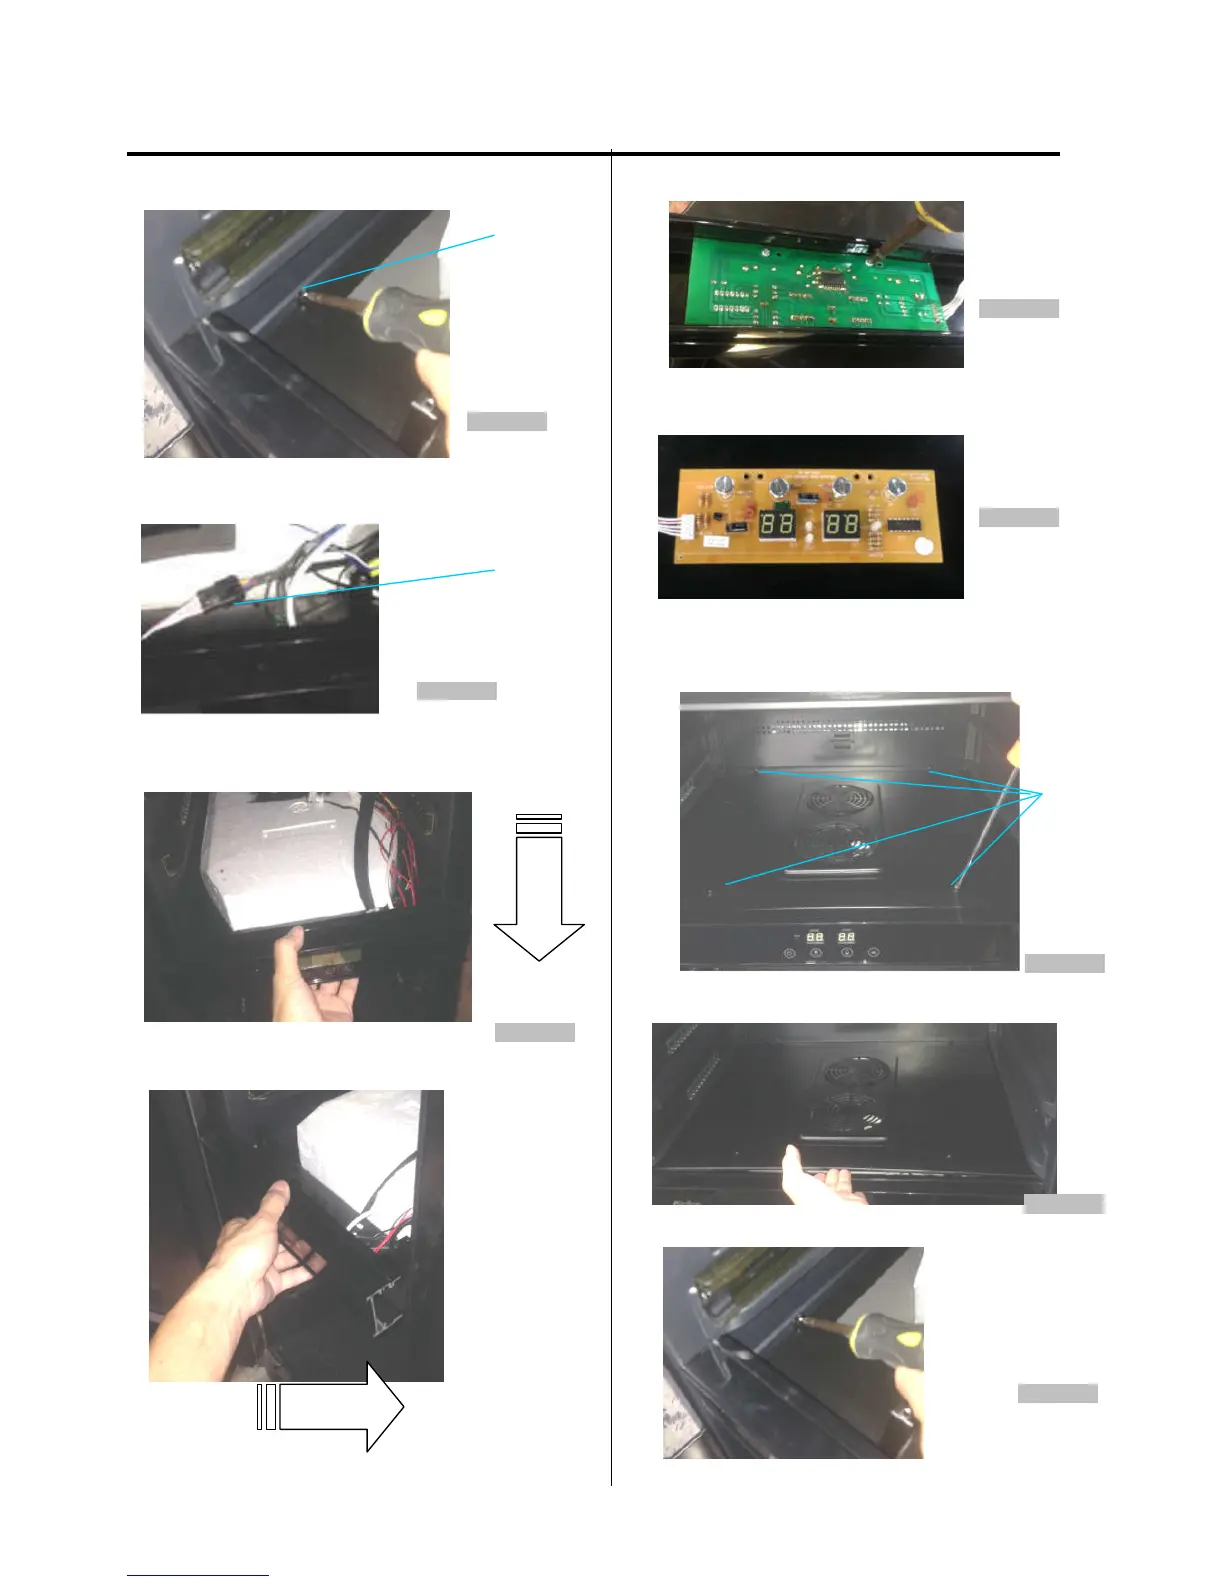
3. DISASSEMBLY
3. Loosen two screws. (figure 14)
screw
Figure 14
4. Find out the display board connector. (figure 15)
Figure 15
5. Pull out the air duct board assemby from the cabinet,
then remove the front display support bracket from right
side (figure 16)
Figure 16
6. Loosen two screws. (figure 17)
Figure 17
7. The display board is pictured below.
(figure 18)
Figure 18
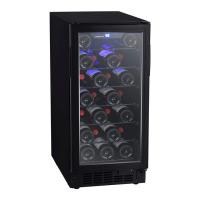
(Models:AWC241DZ)
1. Loosen four screws. (figure 19)
screw
Figure 19
2. Lift up the cover and pull it out. (figure 20)
Figure 20
3. Loosen two screws. (figure 21)
Figure 21