8.0 INSTALLATION
8.1 UNPACKING
Remove the RH CALIBRATOR from its shipping carton and remove any shipping
ties, clamps, and packing material. Save the Certificate of Calibration shipped
with this manual. Locate and save the Cleaner Kit included in the shipping
carton.
IMPORTANT:
1. Locate the RH-CAL on a flat horizontal surface. Leave a minimum of 6 inches
(15 cm) on both sides for proper air flow.
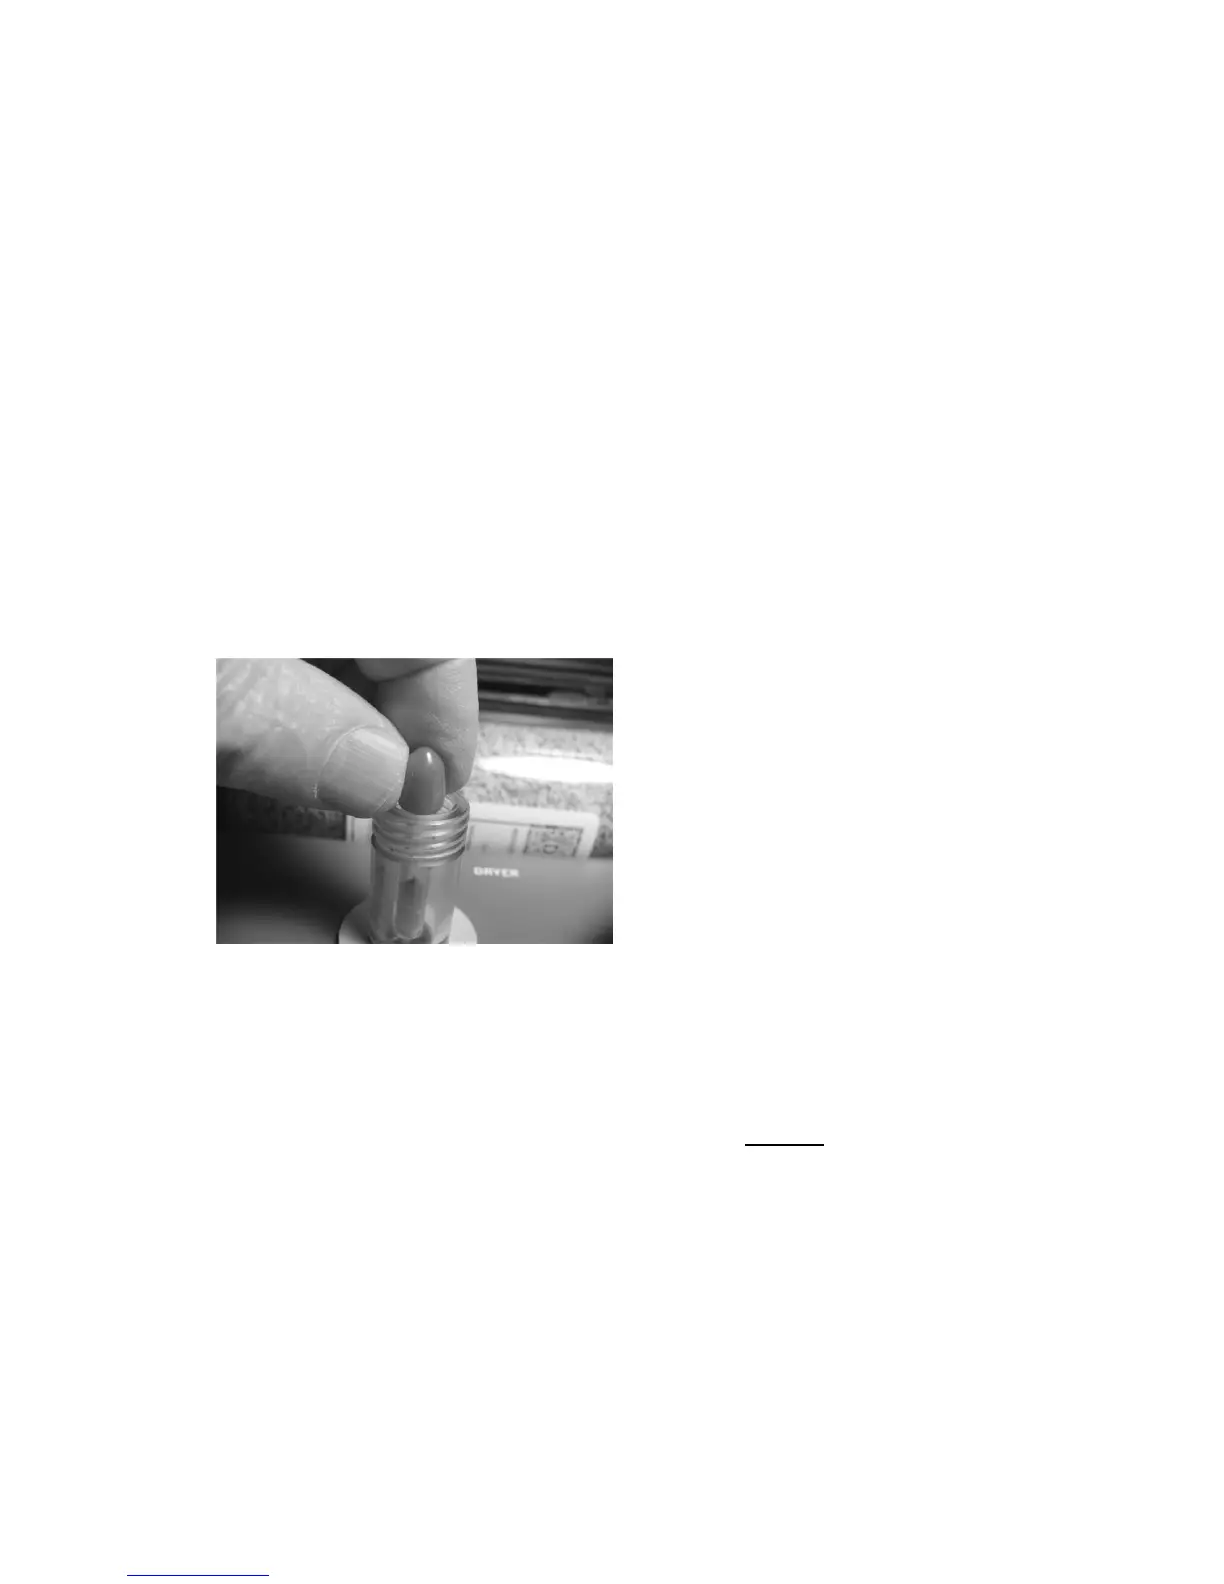
2. Before first use, unscrew the Saturator Cap and remove the Shipping Plug
(Red Top/Clear Tube) from the small stainless steel Saturator Air Outlet Tube.
Put the Shipping Plug away in a safe place – you may need it later.
Figure 8-1. Remove Shipping Plug
NOTE: Whenever the RH CALIBRATOR
is moved, the saturator Shipping Plug
should be installed to prevent water
leakage.
8.2 WIRING CONNECTIONS
Connect the RH CALIBRATOR to a
grounded, instrument quality power
source of between 100 to 240 VAC, 50-60
Hz. There are no jumper or switch setting
modifications over this range; only the fuse must be changed if changing from a
nominal 115 VAC to 230 VAC.
Note: The correct fuse is installed at the Factory, depending upon the normally
supplied voltage at the shipping location.
Fuse Location: The AC power line fuse is located behind the left side of the
carrying handle, on a printed circuit board mounted inside the carrying case.
Fuse Values:
For U.S. use (and others): For power line voltage between 100 to 150 VAC, the
fuse type is 3A, 3AG, 250VAC, Slo-Blo. For power line voltage between 150 to
240 VAC, the fuse type is 1.5A, 3AG, 250 VAC, Slo-Blo.
For European use: Use Type T fuses. For nominal 230 VAC, the required fuse
value is 1.6A.