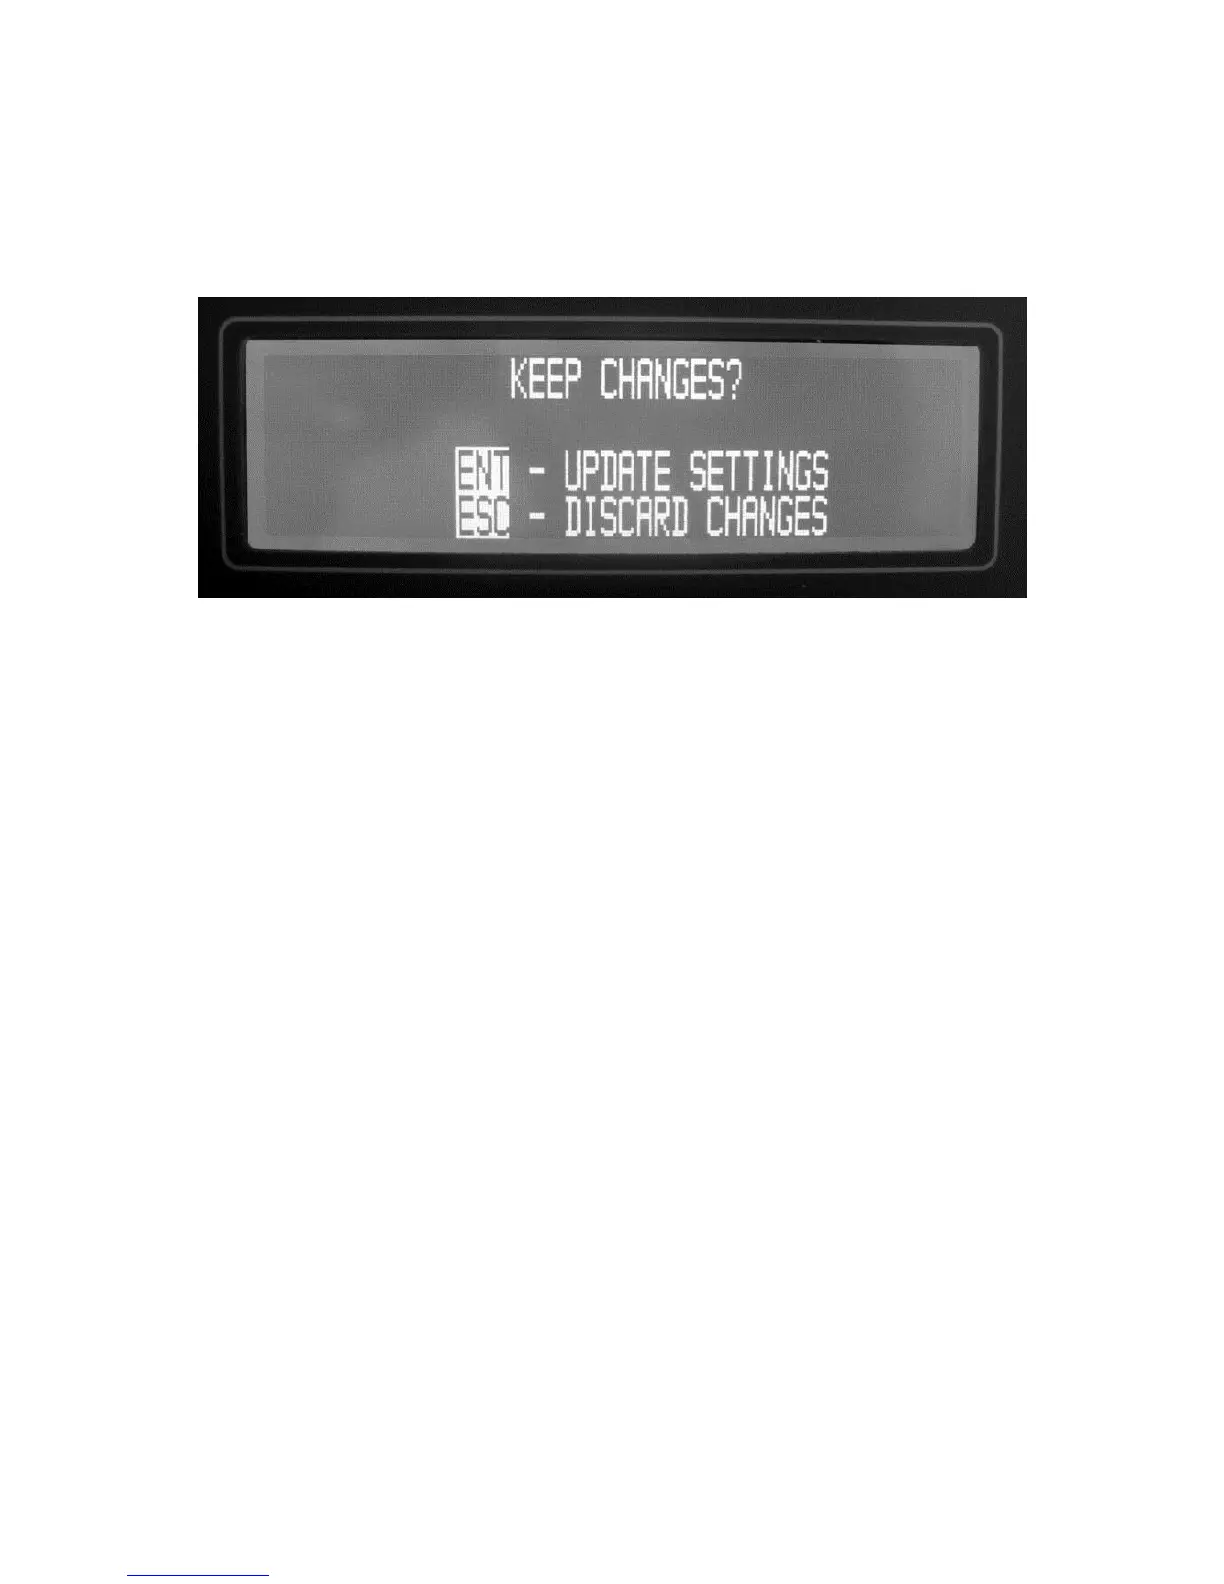
LOCKING IN THE PROGRAM CHANGES
Once the modifications to the previously programmed settings have been inserted to
your satisfaction, you must lock them in. To do this, press ESC on the Keypad. The
KEEP CHANGES? screen will appear.
Figure 12-5. Locking In the Changes
If you are not sure, or if you would like to make additional modifications to the program,
press ESC on the Keypad and start over. Only by pressing ENT at this time can you
lock in the changes.
12.4 CALIBRATING RH SENSORS WITH THE RH-CAL
It is beyond the scope of this Operator’s Manual to discuss the science of calibrating
humidity sensors. However, in the interest of successful calibrations, several points
should be mentioned.
1. If the Sensors Under Test are small enough to fit entirely inside the chamber,
run the sensor cables through the supplied rubber seals. If a longer sensor or
an entire RH transmitter is being calibrated, insert the measuring portion of
the RH sensor into the chamber. In both cases, try to seal around the cables
or sensor barrel as tightly as possible, such that chamber air does not escape
and room air does not seep into the chamber. The internal pump creates a
small positive pressure inside the chamber to make it more difficult for outside
air to enter and contaminate the chamber.
2. If possible, set the chamber air temperature to the same temperature that the
sensors will be exposed to in actual operation. This way, you have eliminated
the sensor temperature coefficient error.
3. If the Sensor Under Test may exhibit a hysteresis error, run a calibration cycle
first upward (from low RH to high RH), then back down (from high RH to low
RH). The recorded output curve will show the exact hysteresis error of your
sensor.