❑ Re-tighten the grub screw to retain the tail drive gear on the main shaft.
❑ The ball-link from the rear of the swashplate can now be connected to
the mounted ball on the fore/aft servo.
❑ Rock the anti-rotation link back into position and replace the two forward
screws that were previously removed.
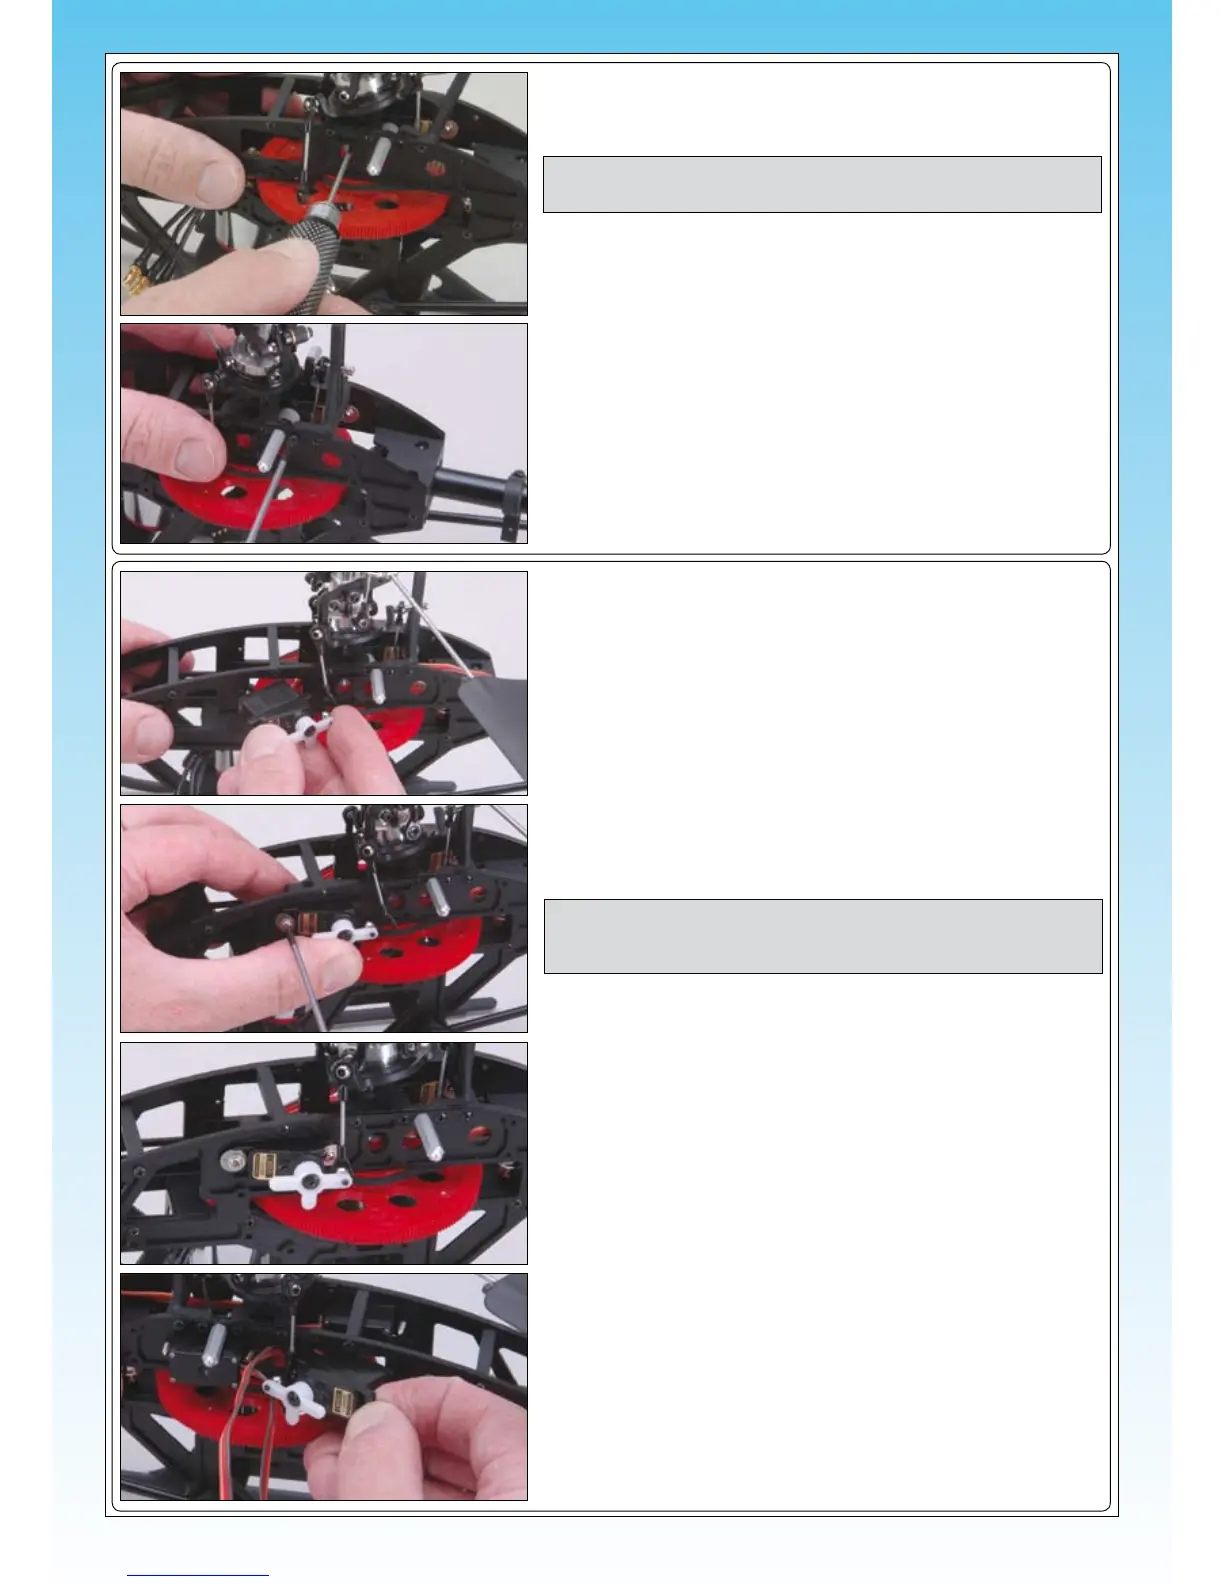
❑ Ensuring the servo is centred, attach the previously prepared servo horn
to the left cyclic servo with the mounted ball to the rear and at 90° to the
shaft as shown. Tighten the servo horn retaining screw securely.
❑ Slide the servo into its mount.
❑ The ball-link from the left-hand side of the swashplate can now be
connected to the mounted ball on the left cyclic servo.
❑ Ensuring the servo is centred, attach the previously prepared servo horn
to the right cyclic servo with the mounted ball to the rear and at 90° to
the shaft as shown. Tighten the servo horn retaining screw securely.
❑ Slide the servo into its mount, noting that the lead should be drawn back
through the sideframe.
NOTE We recommend the grub screw be removed and a drop of thread
locking compound applied before replacing it.
❑ Screw the servo into its mount using the screws supplied with the servo.
Do not use rubber mounting grommets.
NOTE If necessary, slide a larger washer over each of the mounting
screws so that they retain the servo effectively with no risk of
them pulling through the mounting lugs.