7
❑ Screw the servo into its mount using the screws supplied with the servo.
Do not use rubber mounting grommets.
❑ Centre the servo, then t the previously prepared servo horn at 90° to
vertical and pointing backwards as shown. Tighten the servo horn retaining
screw through the access point in the main frame.
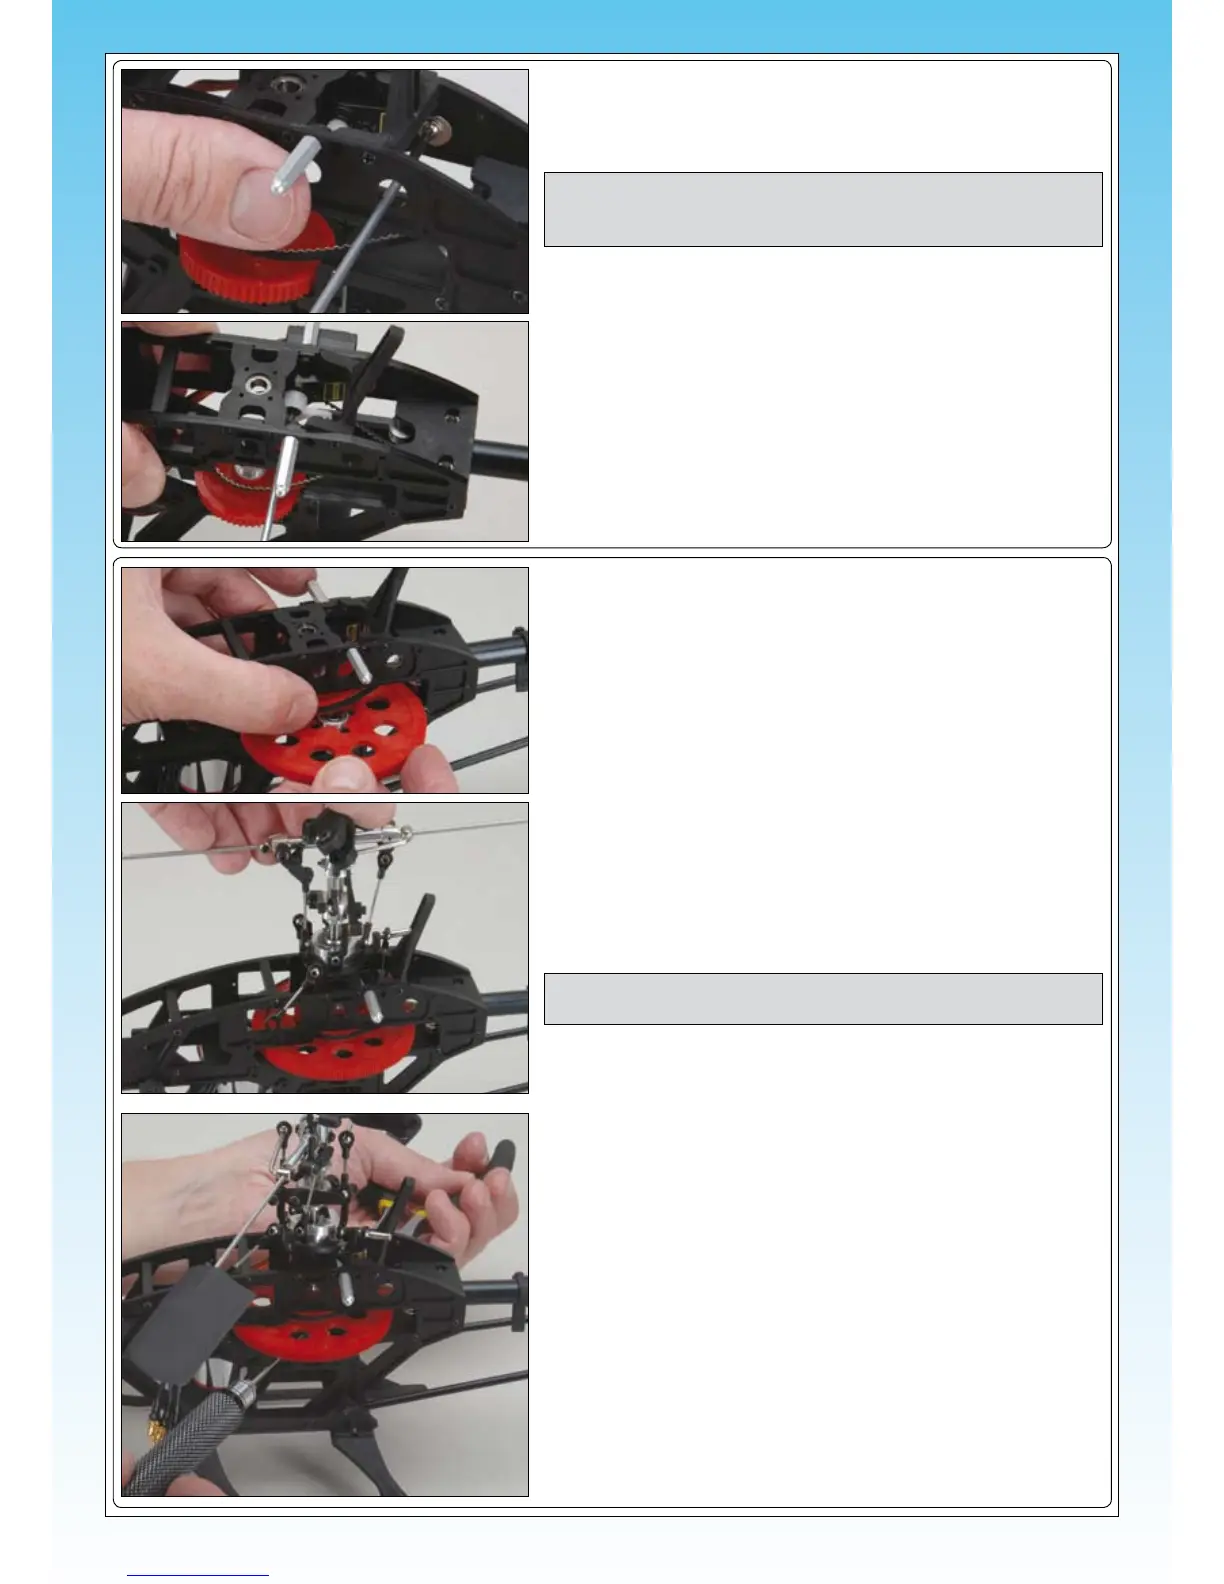
❑ This completes the installation of the fore/aft servo and the shaft assembly
can now be replaced as shown below.
❑ Ensure the tail drive belt is located on its pulley and is not twisted.
❑ Lift up the tail drive pulley and slde the main drive gear under it, ensuring
that the auto-rotation unit is below the main gear as shown.
❑ Carefully slide the main shaft assembly through its bearing block in the
main frames and through the tail drive pulley.
❑ Holding the main gear in mesh with the motor, the shaft can slide through
the auto-rotation unit and into the lower bearing block.
IMPORTANT Ensure the long arm on the rear of the swashplate aligns
with the slot in the anti-rotation link.
❑ Rotate the shaft until the hole in the auto-rotation unit aligns with the hole
in the bottom of the shaft.
❑ Replace the mounting bolt you originally removed using a drop of thread
locking compound on the retaining nut. Hold the nut with pliers or an
adjustable wrench as you tighten the bolt.
NOTE If necessary, slide a larger washer over each of the mounting
screws so that they retain the servo effectively with no risk of
them pulling through the mounting lugs.