21Schmid & Wezel
D 75433 Maulbronn
Page
5/ 22
Version
02.2009
4. Assembly
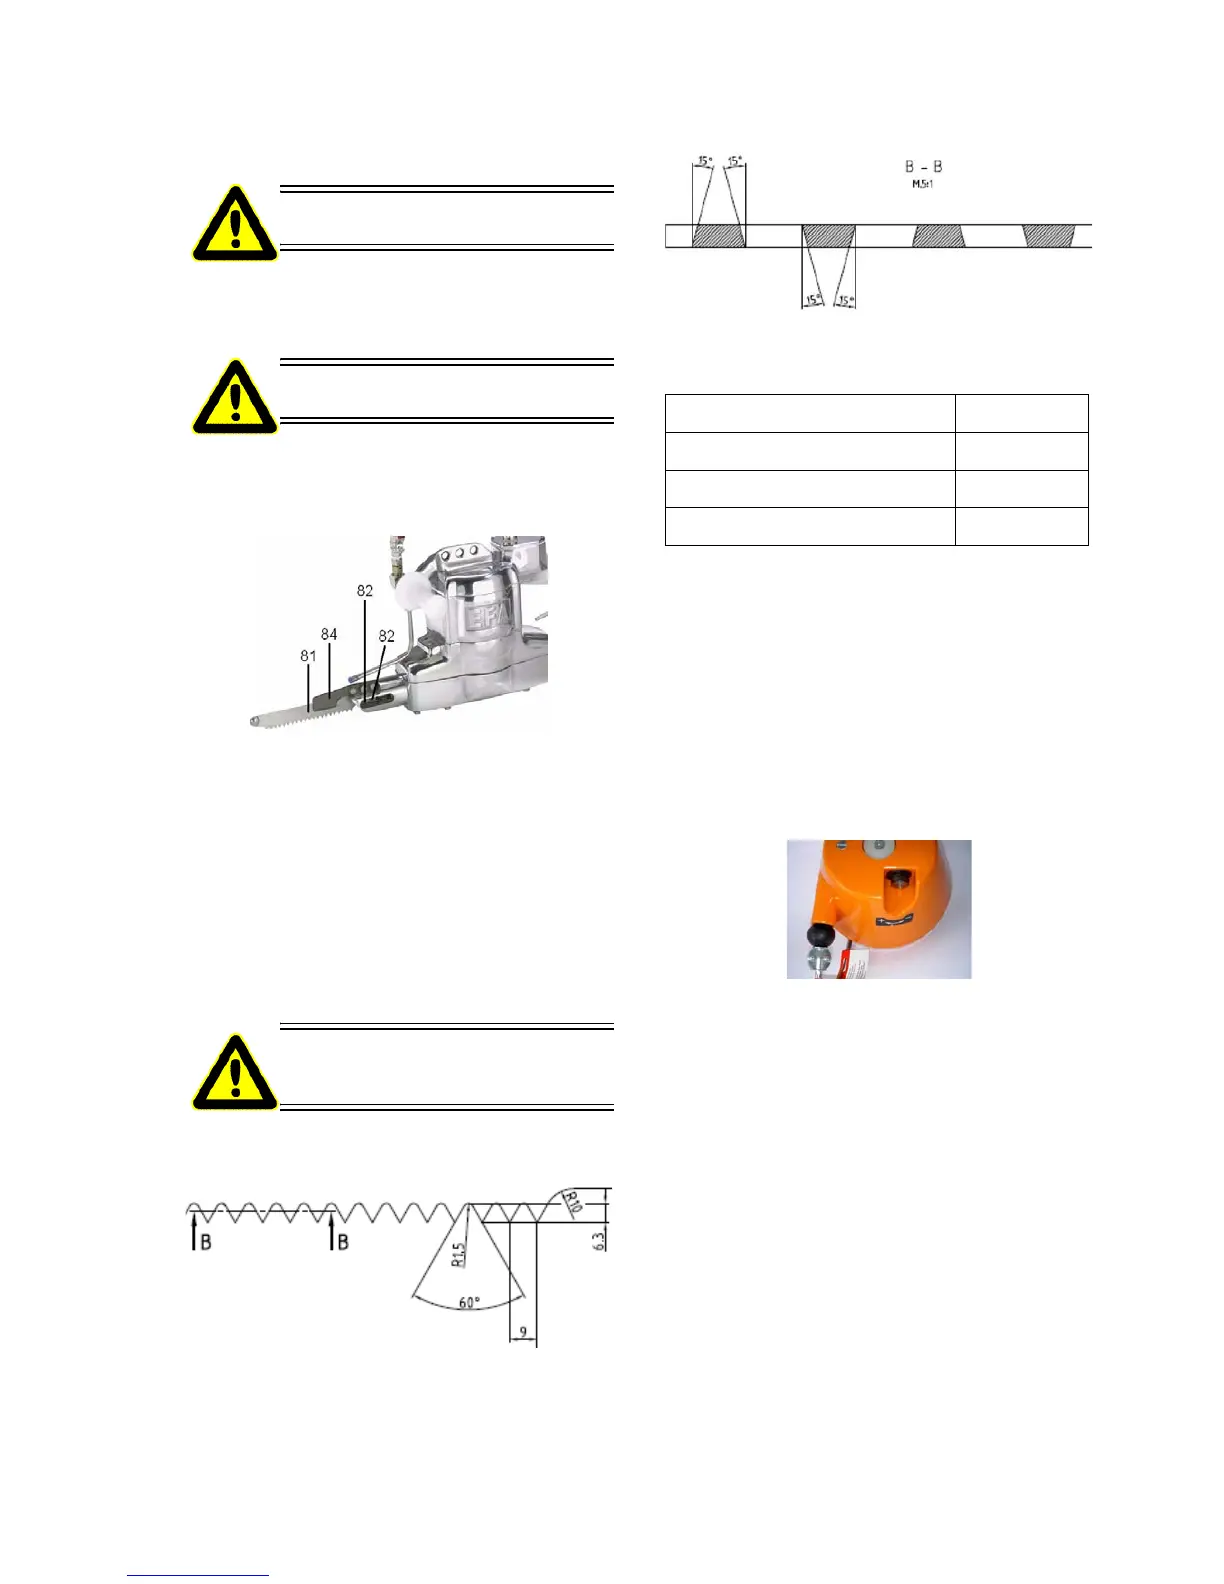
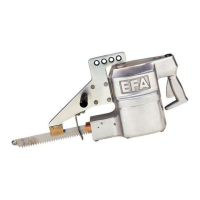
4.1 Replacing the sawblade
Loosen both hexagon screws (82) (see Fig. 3)
Pull the sawblade (81) from the guide (84). (see
Fig. 3)
Figure 3: Loosening the sawblade
Replace the sawblade (81). Insert the new
sawblade in the guide (84) and push in until the
screws (82) can be reinserted.
Tighten the hexagon screws, turn clockwise and
tighten with approx. 20 Nm.
Perform a test run.
4.2 Sharpening the sawblade
Disconnect the saw from power
before any assembly work.
Only use original EFA -
sawblades!
Sawblades that are not properly
sharpened pose an increased
danger to operating personnel
We have a sharpening service in our service
department. Incorrectly sharpened sawblades result
in production loss and/or increased danger for the
user.
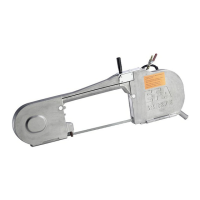
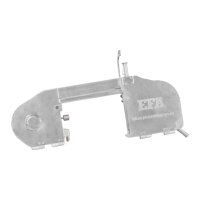
4.3 Adjustment of the spring
balancer
The fine adjustment of the spring balancer is done
using the PLUS/MINUS screw on the housing (see
Fig. 4).
Figure 4: Spring balancer
Turn the screw in the MINUS direction until the
machine is suspended freely and balanced (with
the spring balancer) at working height
If it cannot be pulled out any more, the spring
balancer is blocked and a new setting is required:
Turn the screw in the PLUS direction until pulling
out is possible and repeat the fine setting (see
above)
5. Maintenance
During operation, malfunctions can occur but
correcting the error is relatively simple in most
cases. These malfunctions with possible causes and
the resulting options for removing them are listed in
Tabelle 1: Störungen und ihre Behebung.
Table 1: Sawblade EFA 66
Sawblade length (mm) 269
Toothing (mm) 9
Number of teeth 21
Order no. 007 009 819