QS Series Basic Operator's Guide
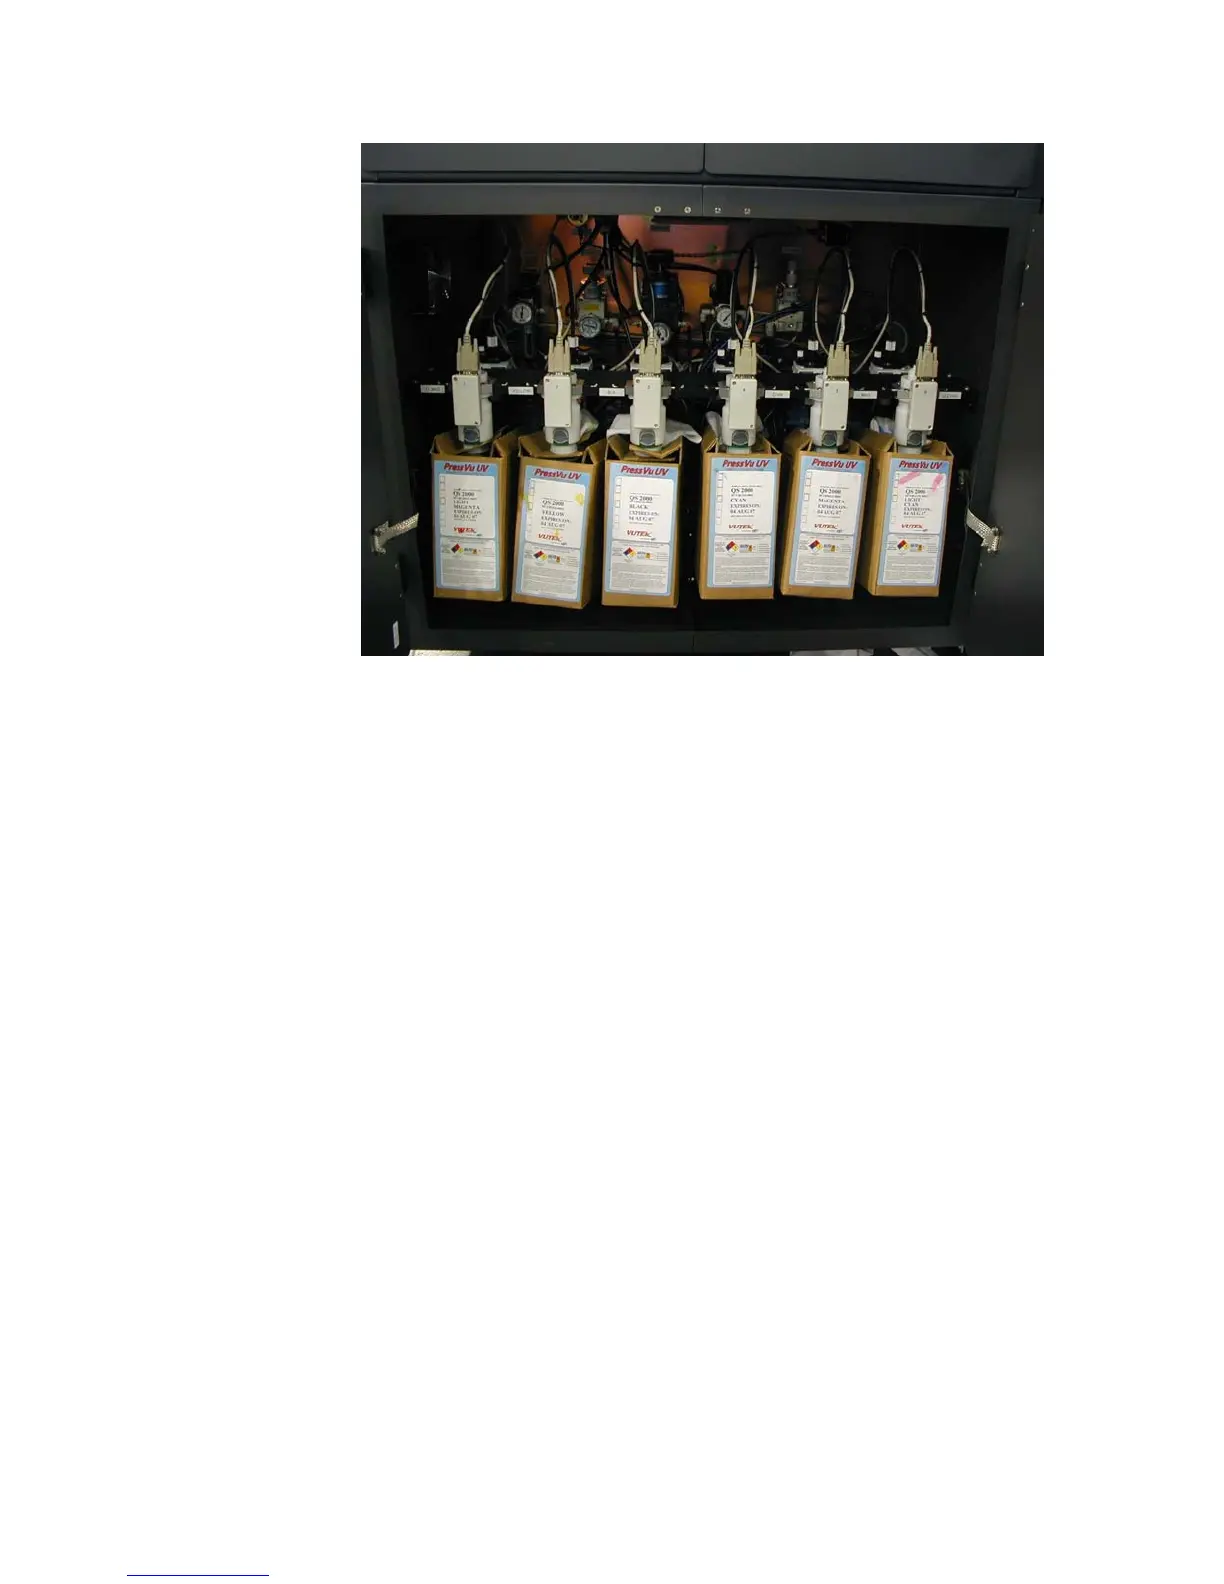
Ink cabinet
1. Open the ink compartment doors.
2. Remove the ink support bracket from the box of ink by
gently sliding the bracket off the coupler and off the
bottom of the ink box.
3. Remove the old ink box from the ink support bar and set
the box on the bottom of the ink compartment.
4. Press and hold the button in the center of the quick-
connect fitting, pull the fitting gently away from the top of
the ink box.
5. Remove the empty ink box from the ink compartment and
discard appropriately.
6. Set a new ink box of the appropriate color on the bottom
of the ink compartment.
7. Remove the ink box cutout to expose the ink coupler. Pull
up on the coupler to straighten the tube inside the bag.
8. Install the support bracket by sliding the cutout portion
around the ink coupler and under the bottom of the ink
box.
9. Press the quick-connect fitting onto the ink box opening.
Pull up on the coupler to straighten the tube inside the
bag.
42 OMM-00038-US English-F