Do you have a question about the EFI IQ-501 and is the answer not in the manual?
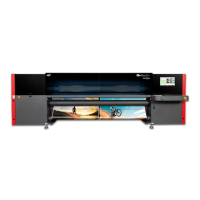
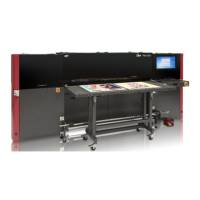
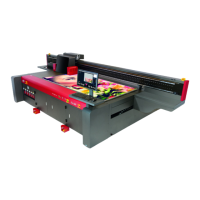
Provides an overview of the IQ-501's capabilities and the guide's purpose.
Lists the key features and functionalities supported by the IQ-501.
Details FCPS and CWS features that are not supported by the IQ-501.
Detailed steps to enable and configure Auto Image Adjustment for a job.
Explains Image Viewer limitations and troubleshooting for position marks.
Guide to accessing calibration tools through the press control panel interface.
Steps for initiating the calibration print and selecting media.
Steps to confirm calibration success and apply it to the current calibration set.
Guide to launching FCPS and opening the Calibrator module.
Steps to select the Fiery server and initiate a recalibration process.
Steps to choose an existing calibration name and move to the next stage.
Setting up the IQ-501 instrument and printing calibration patches.
Configuring media settings and initiating chart measurement.
Examining calibration results and applying them to complete the process.
Launching FCPS and selecting the Printer module for profile creation.
Beginning the profile creation by printing patches and selecting the Fiery server.
Option to create a new calibration setting for profile creation.
Guidance on selecting the G7 gray balance target for calibration.
Selecting the IQ-501, chart size, and printing the patches.
Setting media attributes and measuring the calibration chart.
Choosing patch set, chart size, and printing profiler patch pages.
Automatic display of results from the Fiery measure module.
Reviewing average and maximum variation for anomalies.
Option to review the gamut map for color space visualization.
Adjusting apply settings and processing/optimizing the profile.
Recommendation to create a virtual printer for the new profile.
Final step to confirm the successful creation of a printer profile.
The new profile is automatically installed as an output profile on the Fiery server.
The virtual printer is set up under Device Center > Workflows > Virtual Printers.
The virtual printer is available for application when importing a new job.
Launching FCPS and selecting the Printer Match module.
Choosing 'New common calibration' and moving to the next step.
Entering a measurement name and selecting up to five printers.
Clicking 'Next' after all desired Fiery servers have been added.
Selecting IQ-501, chart size, and printing patch pages.
Setting media attributes and measuring the calibration chart for the first server.
Examining calibration results and continuing to the next server.
Setting up and measuring the calibration chart for the second server.
Displaying calibration results for all servers and proceeding.
Selecting IQ-501, patch set, chart size, and printing profiler pages.
Automatic display of results from the Fiery measure module for the first server.
Reviewing the summary for the first server and initiating measurement for the second.
Displaying measure module results and summary for the second server.
Option to review gamut maps for color space visualization.
Importing settings and selecting a base profile that matches the media.
Making changes to Gamut mapping and Separation settings as needed.
Completing profile description, comments, and media information.
Processing and installing the Print Matcher profiles and calibration sets.
Finalizing the printer match process by clicking 'Done'.
Launching FCPS and navigating to the Preferences menu.
Choosing the Verifier tab and acknowledging the system message.
Selecting the Fiery server, IQ-501 instrument, and confirming.
Clicking the 'Verify' icon to start the color verification process.
Choosing one of three reference presets and printing.
Choosing chart size and printing the control strip for verification.
Setting media attributes and measuring the control strip.
Continuing to verify measurements against the selected reference.
Launching FCPS and accessing the Server License window to get the serial number.
Navigating the EFI fulfillment site to download the license file.
Entering the engine serial number in the EFI Spectrophotometer field.
Generating and saving the license file (.lic) for activation.
Copying the license file and restarting FCPS to complete activation.