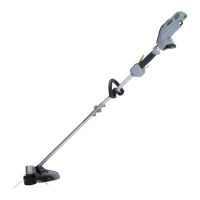
56V LITHIUM-ION CORDLESS LINE TRIMMER14
4
Front-Assist Handle
Lower Clamp
5
MOUNTING AND ADJUSTING THE FRONT-ASSIST HANDLE
1. Remove the battery pack from
the trimmer.
2. Loosen the four screws in the
handle with a Phillips screwdriver
(available separately) and remove
the screws, spring washers, at
washers and lower clamp from the
handle (Fig. 4).
3. Attach the front-assist handle
and lower clamp on the shaft and
secure them by pre-tightening the
four screws. Turn the front-assist
handle upwards to point toward the
top of the handle (Fig. 5).
4. Adjust the front-assist handle
position between the soft sleeve
housing and warning label on the
shaft (Fig.5). Shorter users may
adjust handle to a lower position
(away from you) and taller users
may adjust the handle to an upper position (towards you). The handle should be
adjusted so that your front arm is straight when using the trimmer.
5. Tighten the four screws so that the handle cannot be rotated on the shaft.
PACKING LIST
PART NAME QUANTITY
Line Trimmer 1
Guard 1
Front-assist handle assembly 1
Operating manual 1