- 8 -
STEP 10: FANS – CONNECTING
CABLES
Fan D-RGB LED Light
Connector
Fan Connector
STEP A:
OPTION 1:
Connect the 4-pin PWM connector from the
fan cable directly to the CPU fan-header on the
motherboard. Always use the CPU fan-header
if possible.
OPTION 2:
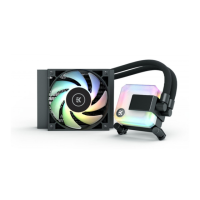
In the case of EK-AIO 240 / 280 D-RGB and EK-
AIO 360 D-RGB versions (with 2 or 3 fans), you
may connect the connectors from each of the
fans with the connectors on the Y-splitter cable
and then connect the Y-splitter connector to
the fan-header on the motherboard. Always
use the CPU fan-header if possible.
Y-splitter
Fan Connector
STEP B:
OPTION 1:
Plug the 3-pin connector for D-RGB LED light
of the fan(-s) to the D-RGB HEADER on the
motherboard.
D-RGB Header
RGB Header
OPTION 2:
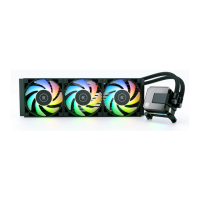
In the case of EK-AIO 240 / 280 D-RGB and
EK-AIO 360 D-RGB versions, you may fi rst
connect 2 or 3 fans together in a “daisy-chain”
connection and then connect them all together
to a D-RGB header on the motherboard.
5. INSTALLATION INTEL LGA20XX SOCKET
STEP 1: ATTACHING MOUNTING
SCREWS (LGA-20XX)
LGA-20xx (2066 / 2011 V3 / 2011) socket
motherboards do not require backplate
installation. Install 4x LGA-20XX mounting
thumb screws into M4 threaded stubs on the
integrated latch mechanism (ILM) of the LGA-
20XX socket.
Thumb screws are to be installed without the
use of tools (i.e. pliers).
Continue installation by following
the instructions from Step 4 on
page 6
OPTIONAL STEP! APPLYING THE
THERMAL COMPOUND
This step is relevant only in the case of a
second installation of AIO or if you have
damaged the pre-applied paste on the
backside of the pump unit! For the fi rst
installation, you don’t need to apply the
additional thermal compound to the CPU’s
contact surface!
Wipe the CPU’s contact surface (using a
non-abrasive cloth or a Q-tip as shown in the
sample image). On a clean IHS, apply a line
of thermal compound and spread it over the
whole CPU heat spreader (IHS) with a credit
card or something similar.
Non-abrasive
cloth
IHS
Fan
Connector
LGA-2011 M3
Thumb Screw
 Loading...